iOS campaign setup
Promote your app on iOS devices and drive new users to download it with a user acquisition campaign.
Watch this video to learn how to create a new campaign for iOS devices on the ironSource Network that also supports reporting for SKAdNetwork. Step-by-step instructions are listed below.
How to create a new iOS campaign
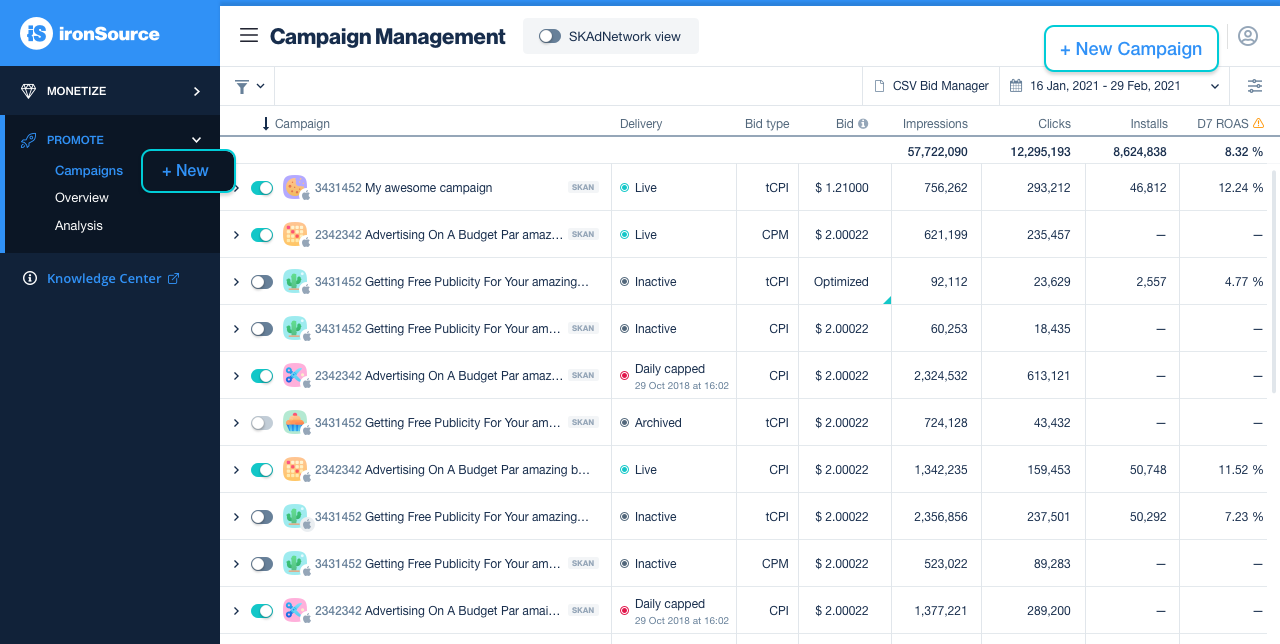
Inside the ironSource platform, go to the Campaign Management page and click New Campaign.
Step 1: Basic information
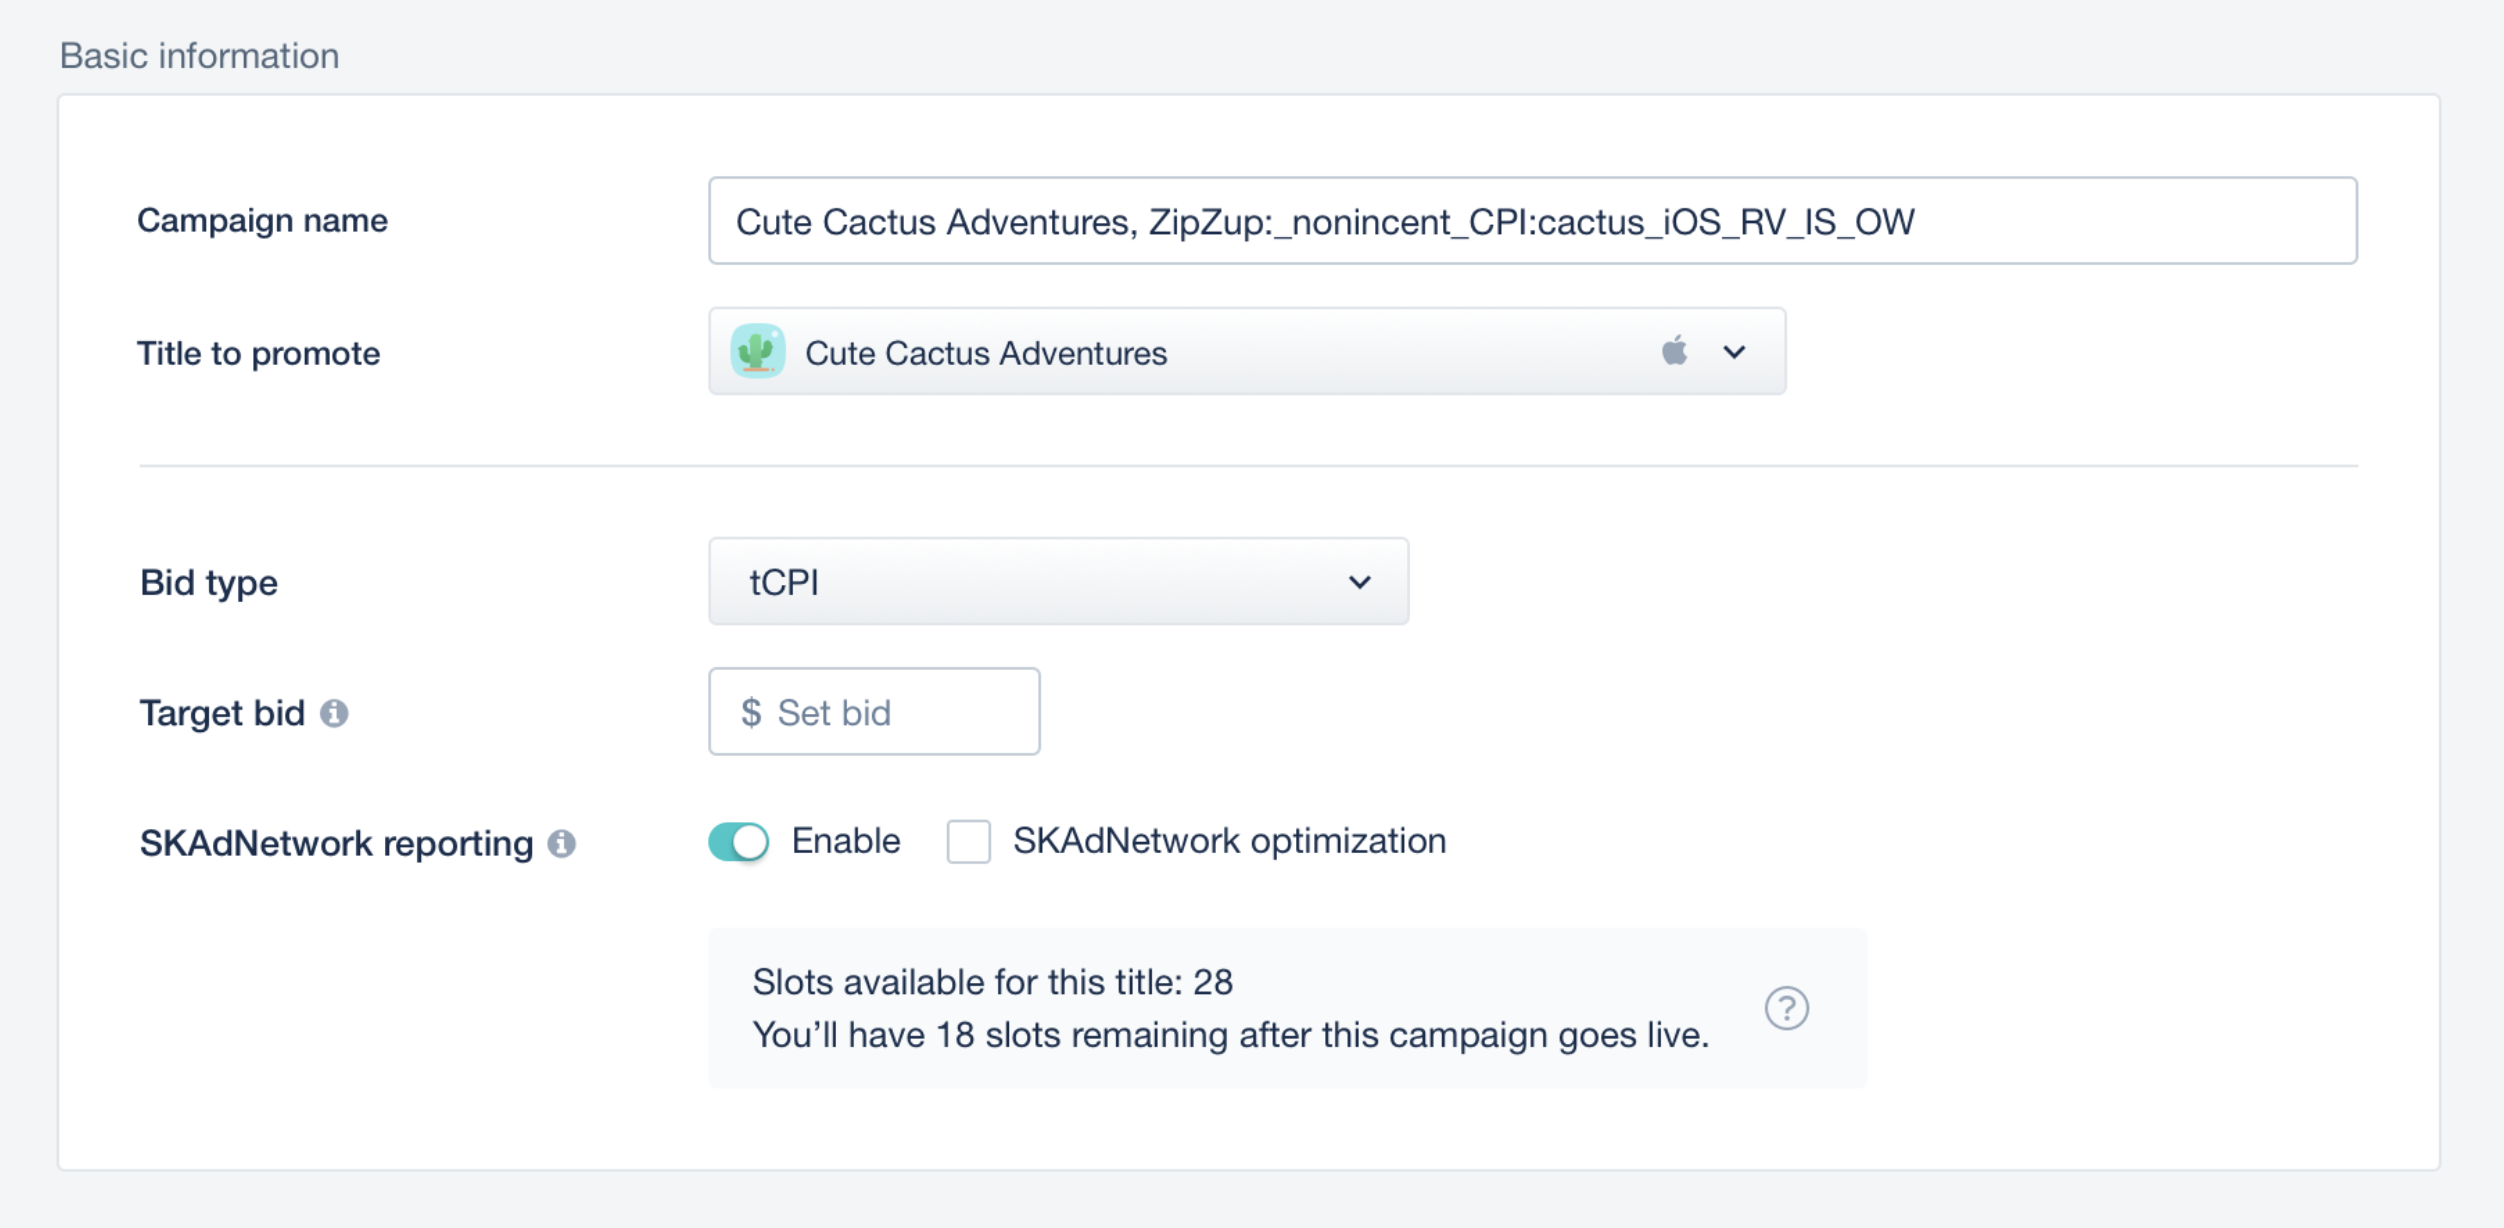
Give your campaign a name and add the title you want to promote. Select a title from the drop-down menu or add a new one.
Then, choose your bid type and bid amount (default bid).
Each iOS campaign will use SKADNetowork reporting, enabling you to get SKAdNetwork data for your campaign. Each SKADNetwork campaign will use up a portion of the available slots (70 slots are available for each title). The number of slots taken up by a campaign is determined by the bid type you select:
- CPM – 3 slots
- CPI and tCPI – 10 slots
You can make slots available again by suspending an active campaign.
Step 2: Measurement

Add both the click and impression URLs for attribution and reporting purposes. These URLs must be formatted correctly and contain our required macros. If using the default URLs from your mobile measurement partners, all formatting will be correct.
Editing the click or impression URLs can affect campaign performance and reporting. It’s best to check with your account manager prior to making changes to these links post-launch.
Learn more about the attribution companies ironSource works with here.
Step 3: Targeting and cross promotion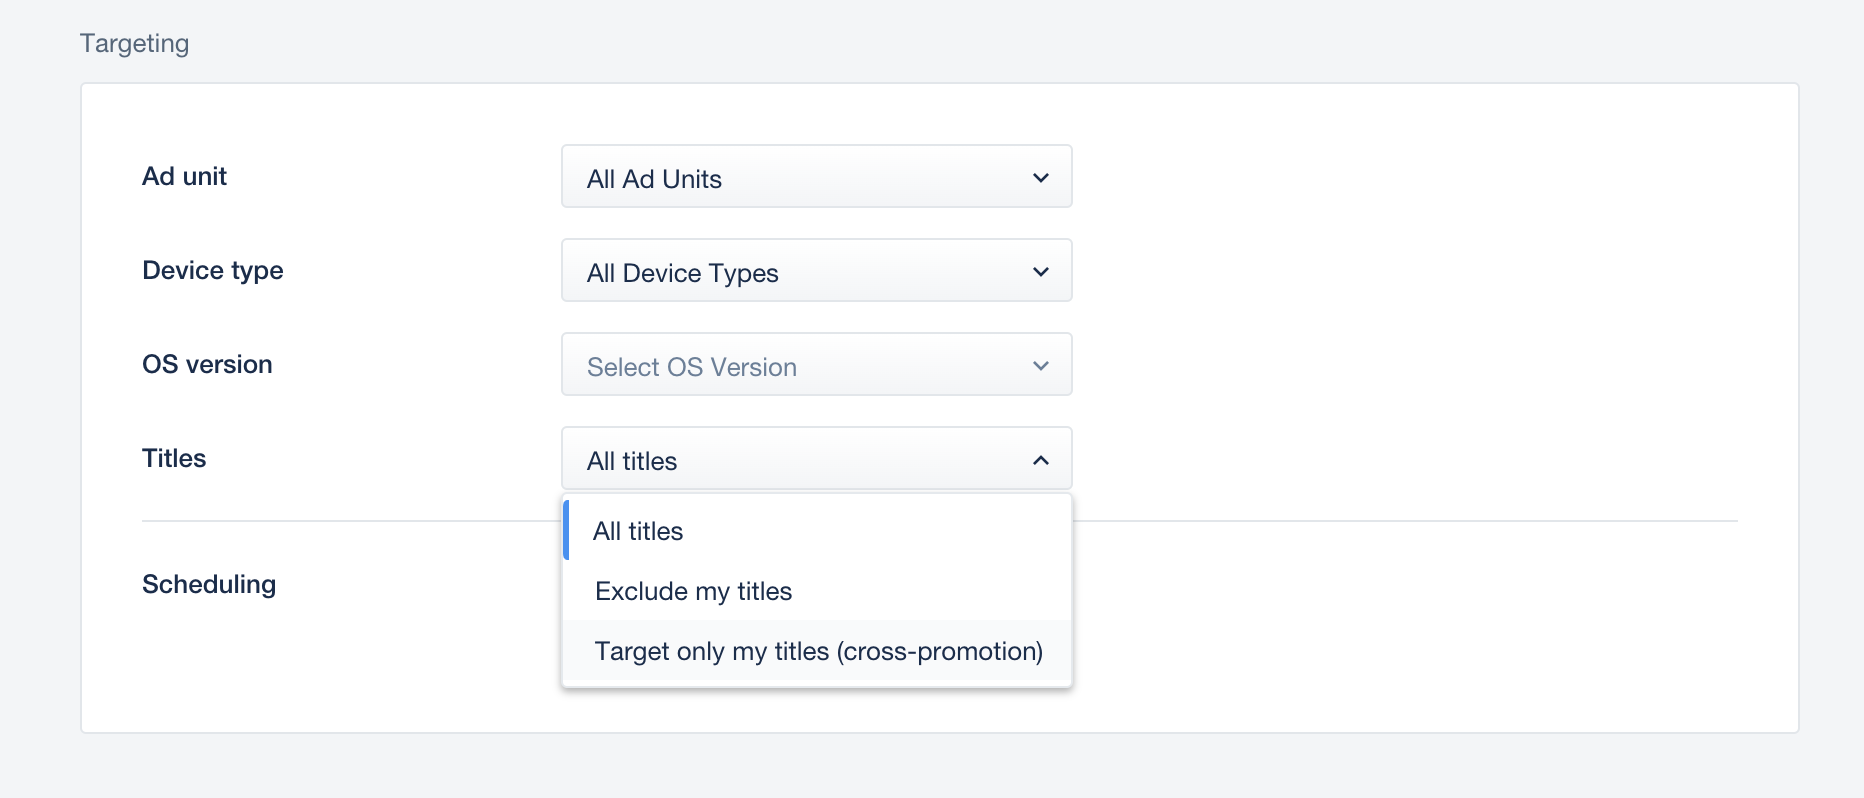
You can choose here the Ad units, Device type, OS versions and scheduling time that your campaign targets alongside with the ability to setup here a Cross Promotion campaign.
To set up a cross promotion campaign, you can either create a new campaign or run cross promotion in an existing campaign. Contact your account manager for back office support.
When creating a new cross promotion campaign, make sure the “Target only my titles” is selected.
If you choose to run cross promotion in your existing campaigns, select in the drop down “Target only my titles”. This will enable the campaign to start running on the cross promotion bidder once cross promotion is activated in the platform.
Learn how to set up the cross promotion bidder here.
Step 4: Bid, countries, and budget
Choose the budget type, then set your target bids and budget per country (specified below).
Total budget:the total budget for your promote
Daily budget shared: daily cap shared for the whole campaign
Daily budget by countries: separate budget per country group
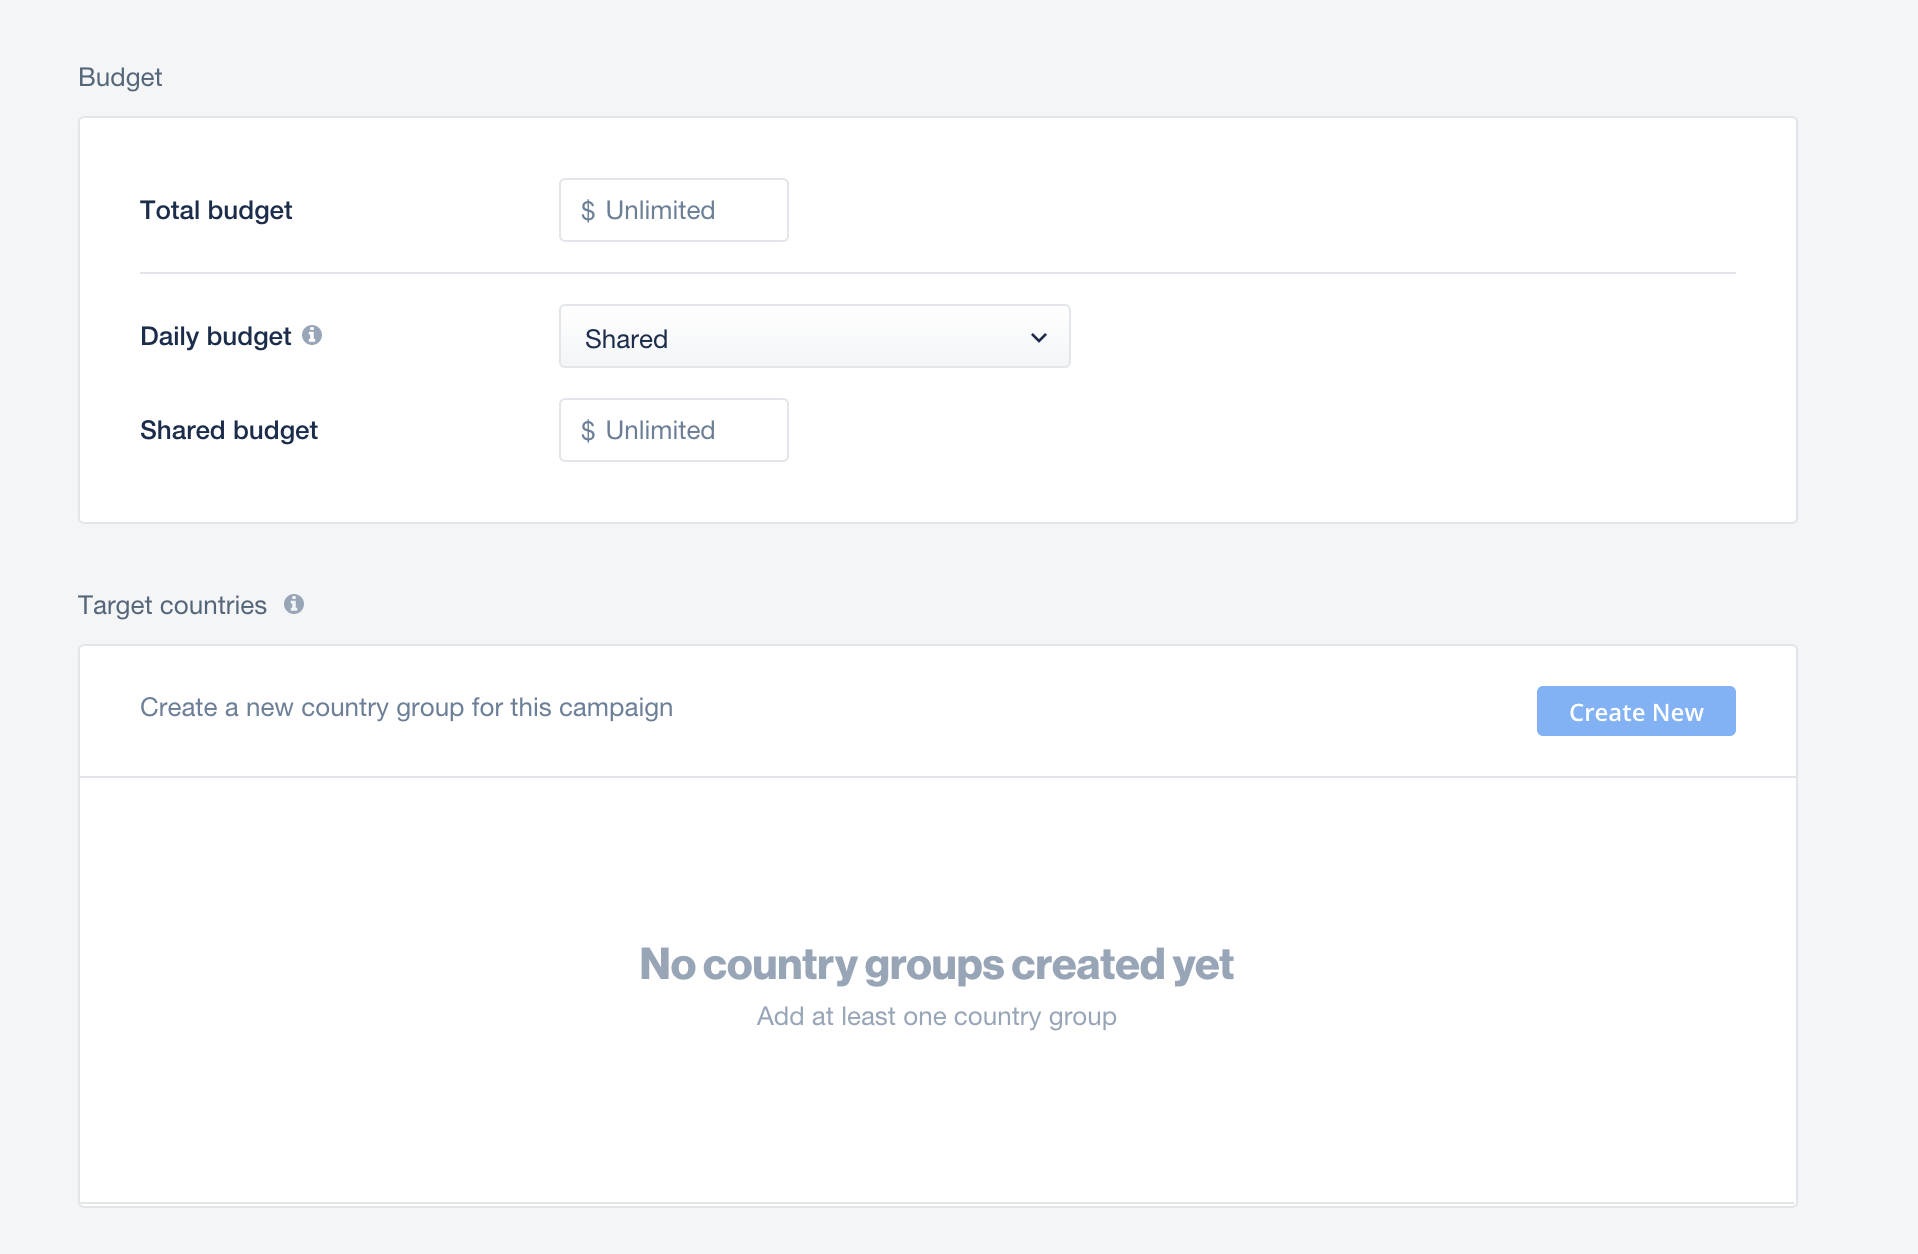
You can chose now the target countries for your campaign and set bid for each country.
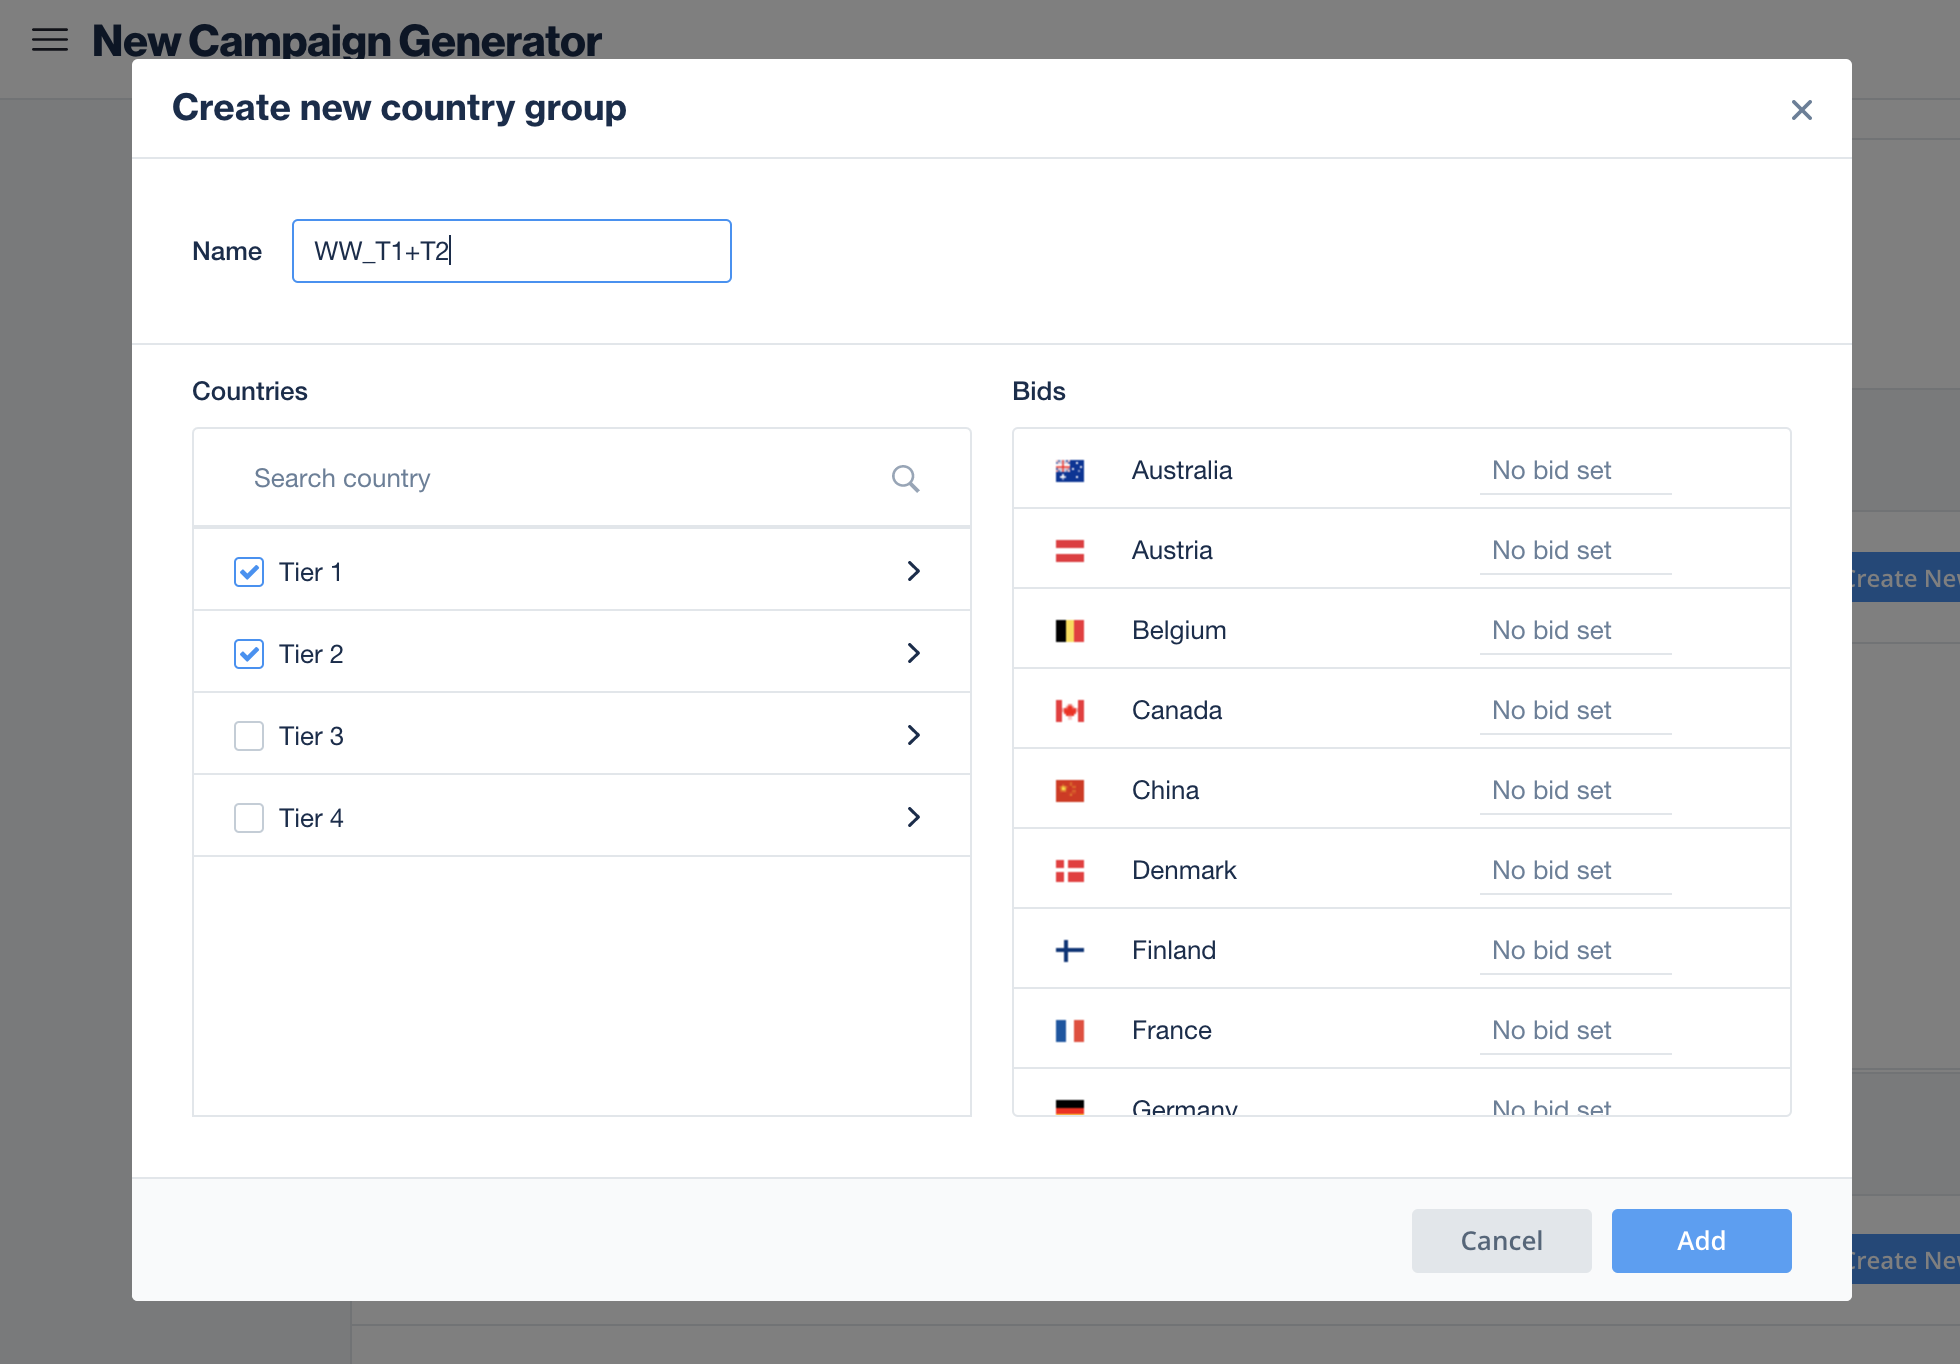
Note: If you don’t set a budget or schedule your campaign, your campaign will run with an unlimited budget and will launch immediately once approved.
Step 5: Creative sets
A creative set is the ad the user sees and then clicks. You can create a new creative set or apply a previously uploaded creative set to your campaign.
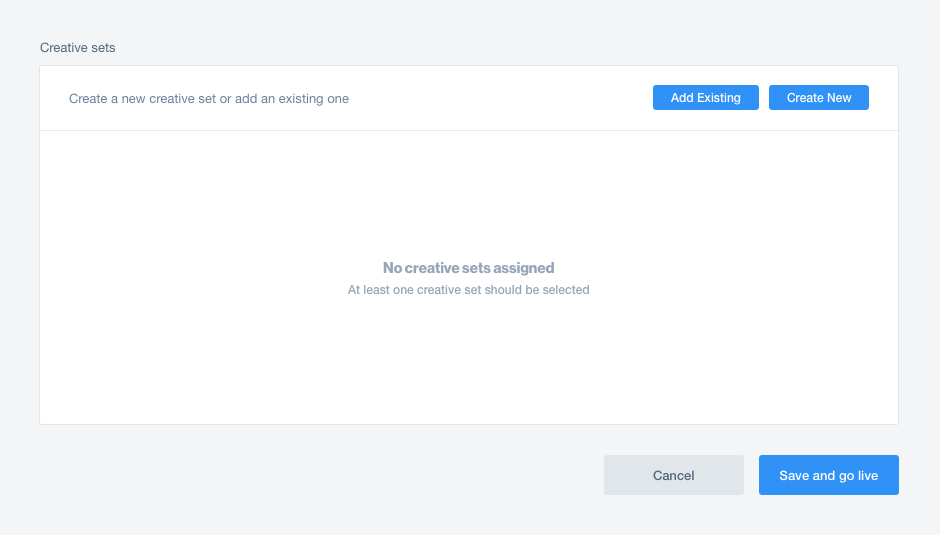
To apply an existing creative set that’s linked to a different title, simply adjust the title in the dropdown menu and select your preferred creative set.
We recommend launching a campaign with no more than 4 creative sets. To learn more, read the creative sets article.
To launch, click Save and Go Live!
Note: The campaign will be under review until your account manager approves the creatives and confirms your measurement URLs.

