
Bidding test
A bidding test is a quick A/B test that will help you decide if using in-app bidding is the right monetization strategy for your app business. The bidding test enables publishers to compare the performance of a traditional waterfall (A) vs. a hybrid waterfall that includes in-app bidding and traditional instances (B).
Once activated, the bidding test will divide traffic equally between groups A and B —comparing a traditional vs. bidding hybrid waterfall.
- Group A will include only traditional instances from a network that has both bidder and non-bidder instances
- Group B will include all active bidders + traditional instances. Any traditional instances that are of the same network as a bidder will automatically be filtered out. For example, if the waterfall includes an ironSource network instance, that instance will be removed because ironSource bidding network will be active
Pre-setup
Step 1: Waterfall Setup
To ensure that your test runs properly, set up your waterfall according to the following:
- Move all instances to Tier 2 (unless you’re running a deal)
- Set the tier to Sort by CPM
- Set rates for any instance that is less than 2 days old. To learn how to set an instance rate, see this article.
Step 2: Set up bidding networks
Activate each bidding network you want to test and include it in each waterfall group where you would like to test bidder vs non-bidder. Run the test in all countries for the most conclusive results.
Make sure that each bidding network has at least one traditional instance in the same waterfall. This ensures that the traffic is split correctly, with the traditional instance of that network in group A, and the bidding instance of that network in group B.
Important:
If a bidding network is set up without at least one traditional instance, the bidder will run in both A and B groups when the test is live.
Starting a bidding test
Step 1: Select the test you want to create
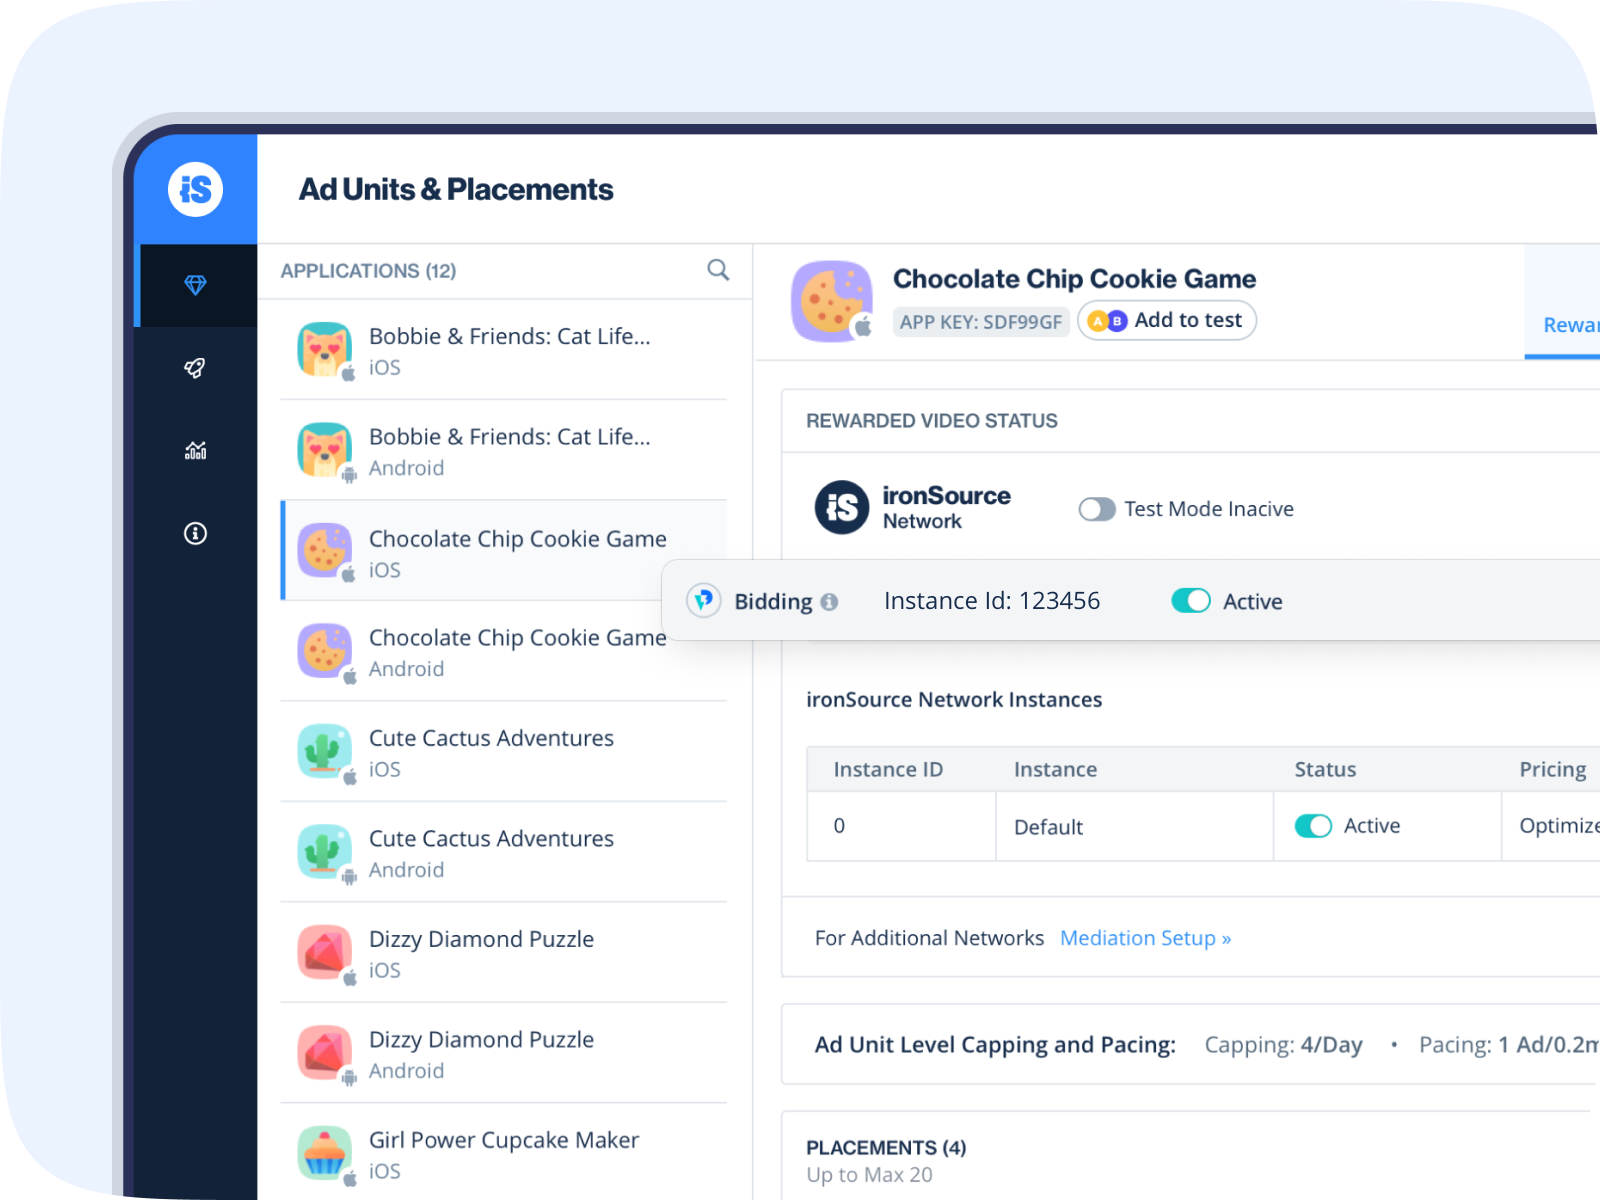
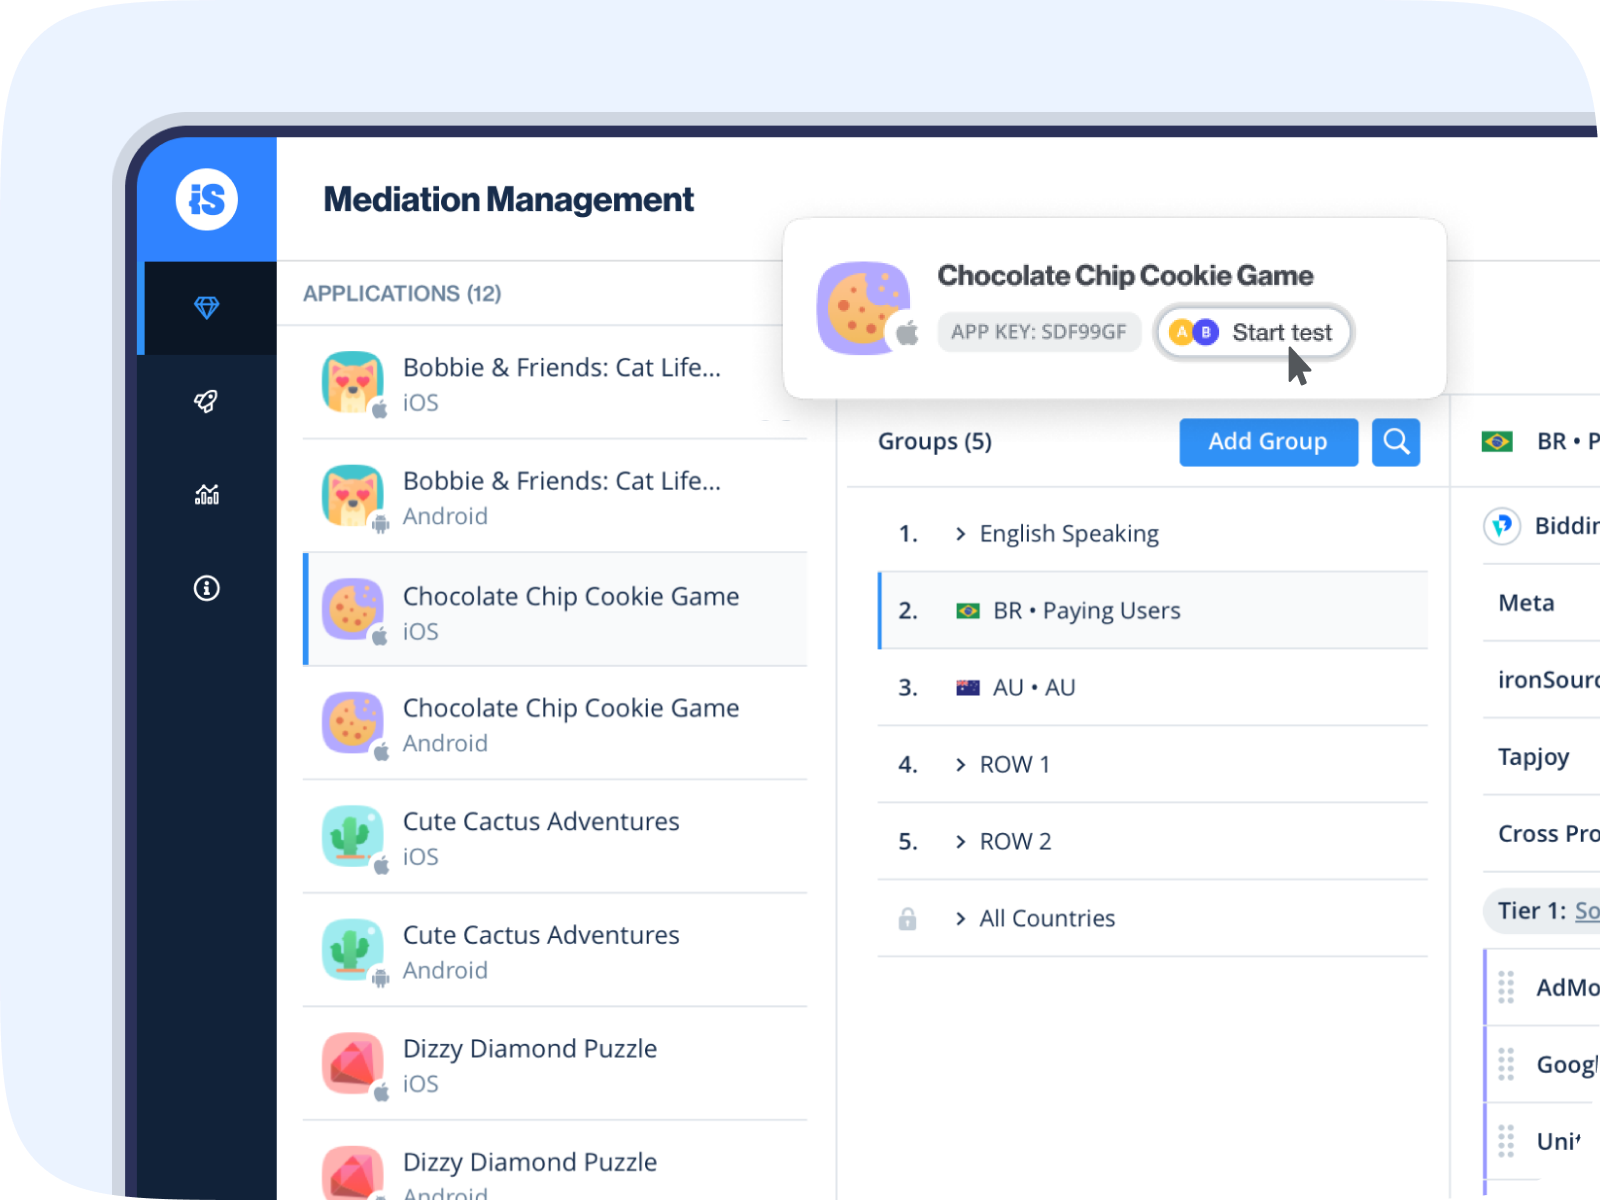
Under Management, click on Mediation. Select the app, then the ad unit you want to run the bidding test on. The, click Start Test at the top of the page.
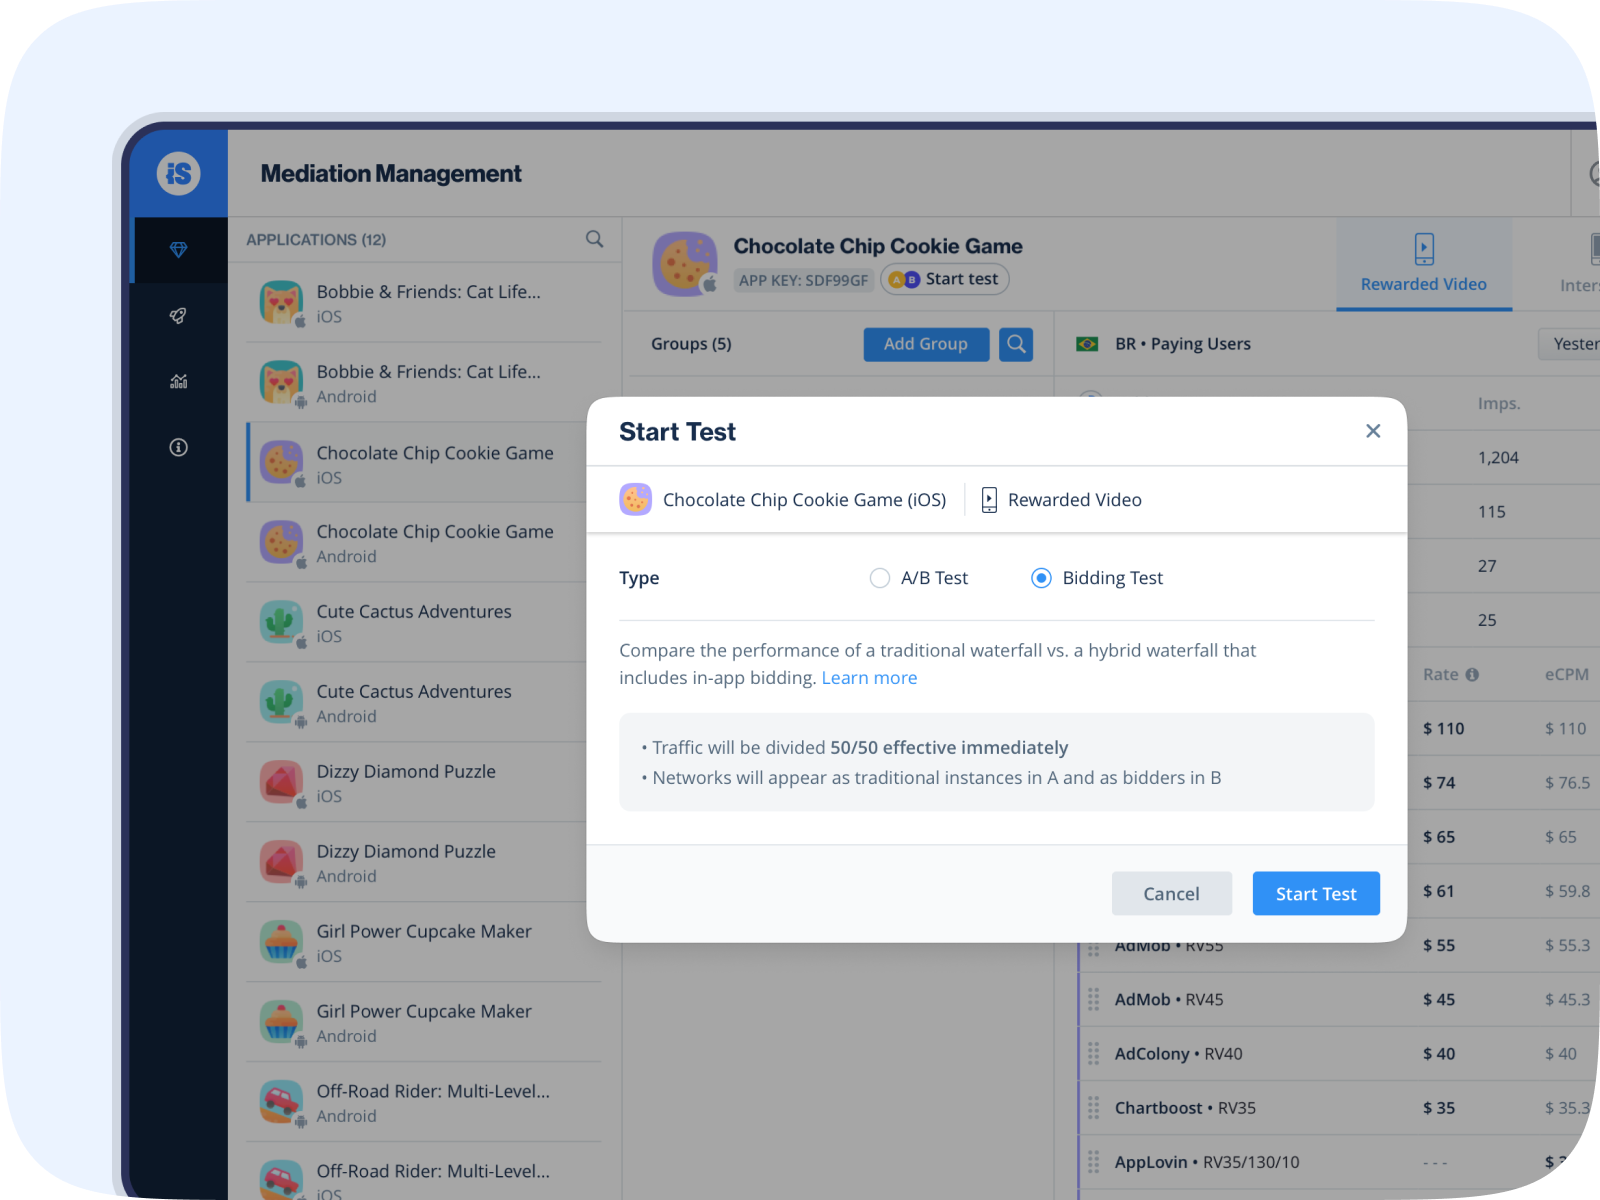
For type, choose Bidding. Give your test a name and a description, and click Start Test. Your traffic for the ad unit will now automatically be split 50/50 between groups A and B.
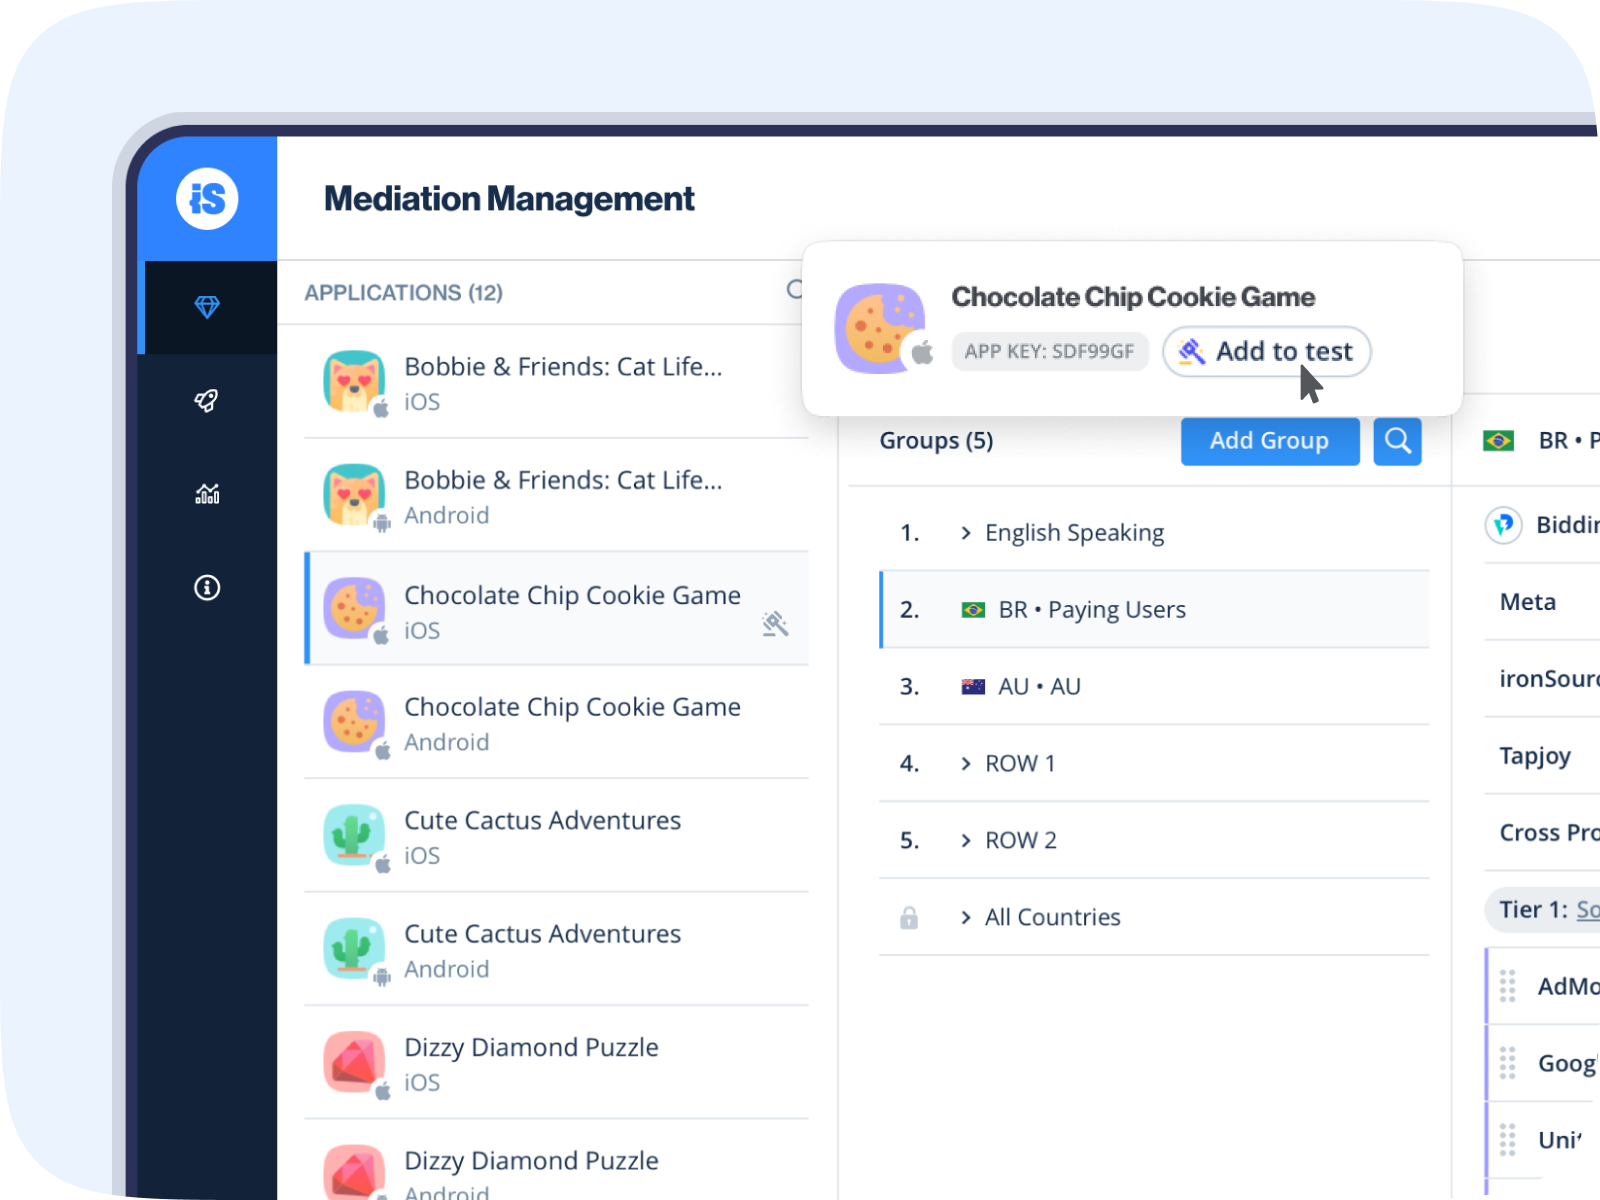
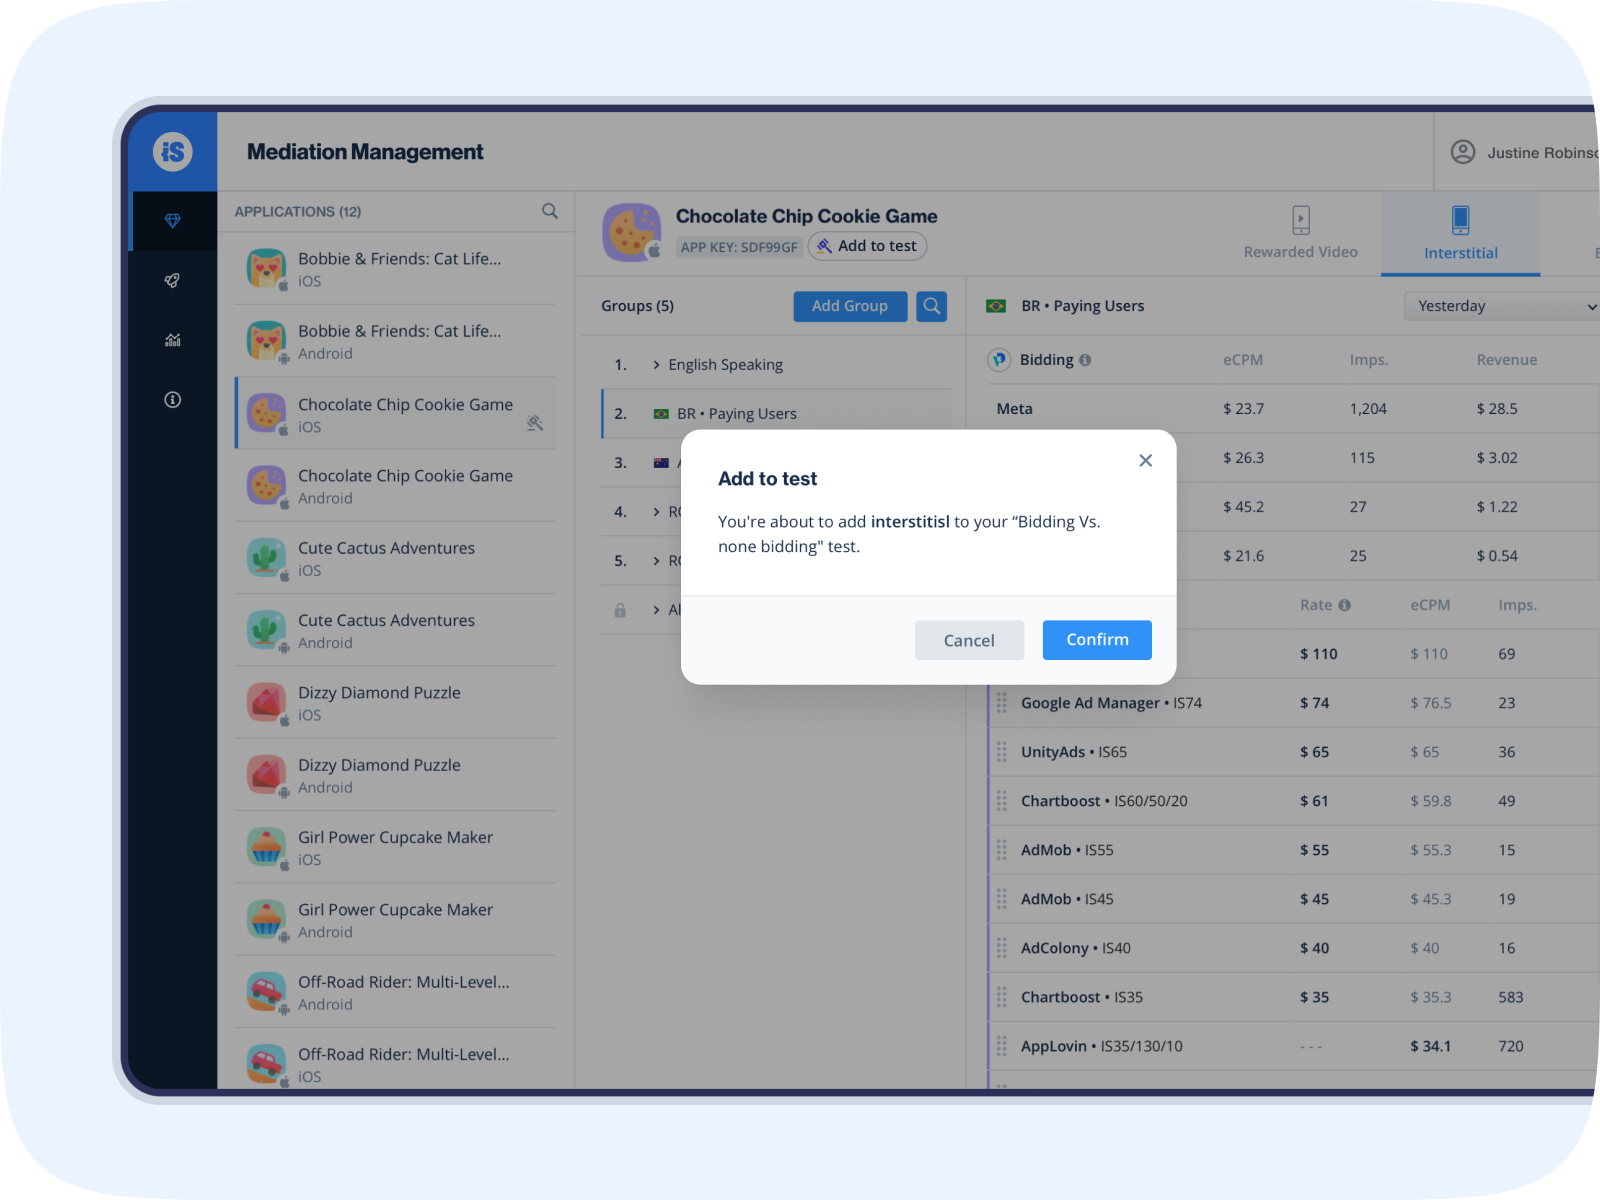
Step 2: Include additional ad units
You can add additional ad units to your test by clicking on the the type of ad unit (rewarded video, interstitial and banner) at the top of the page, then click Add to test.
Click Confirm and the ad unit will immediately be added to the test.
Test monitoring and reports
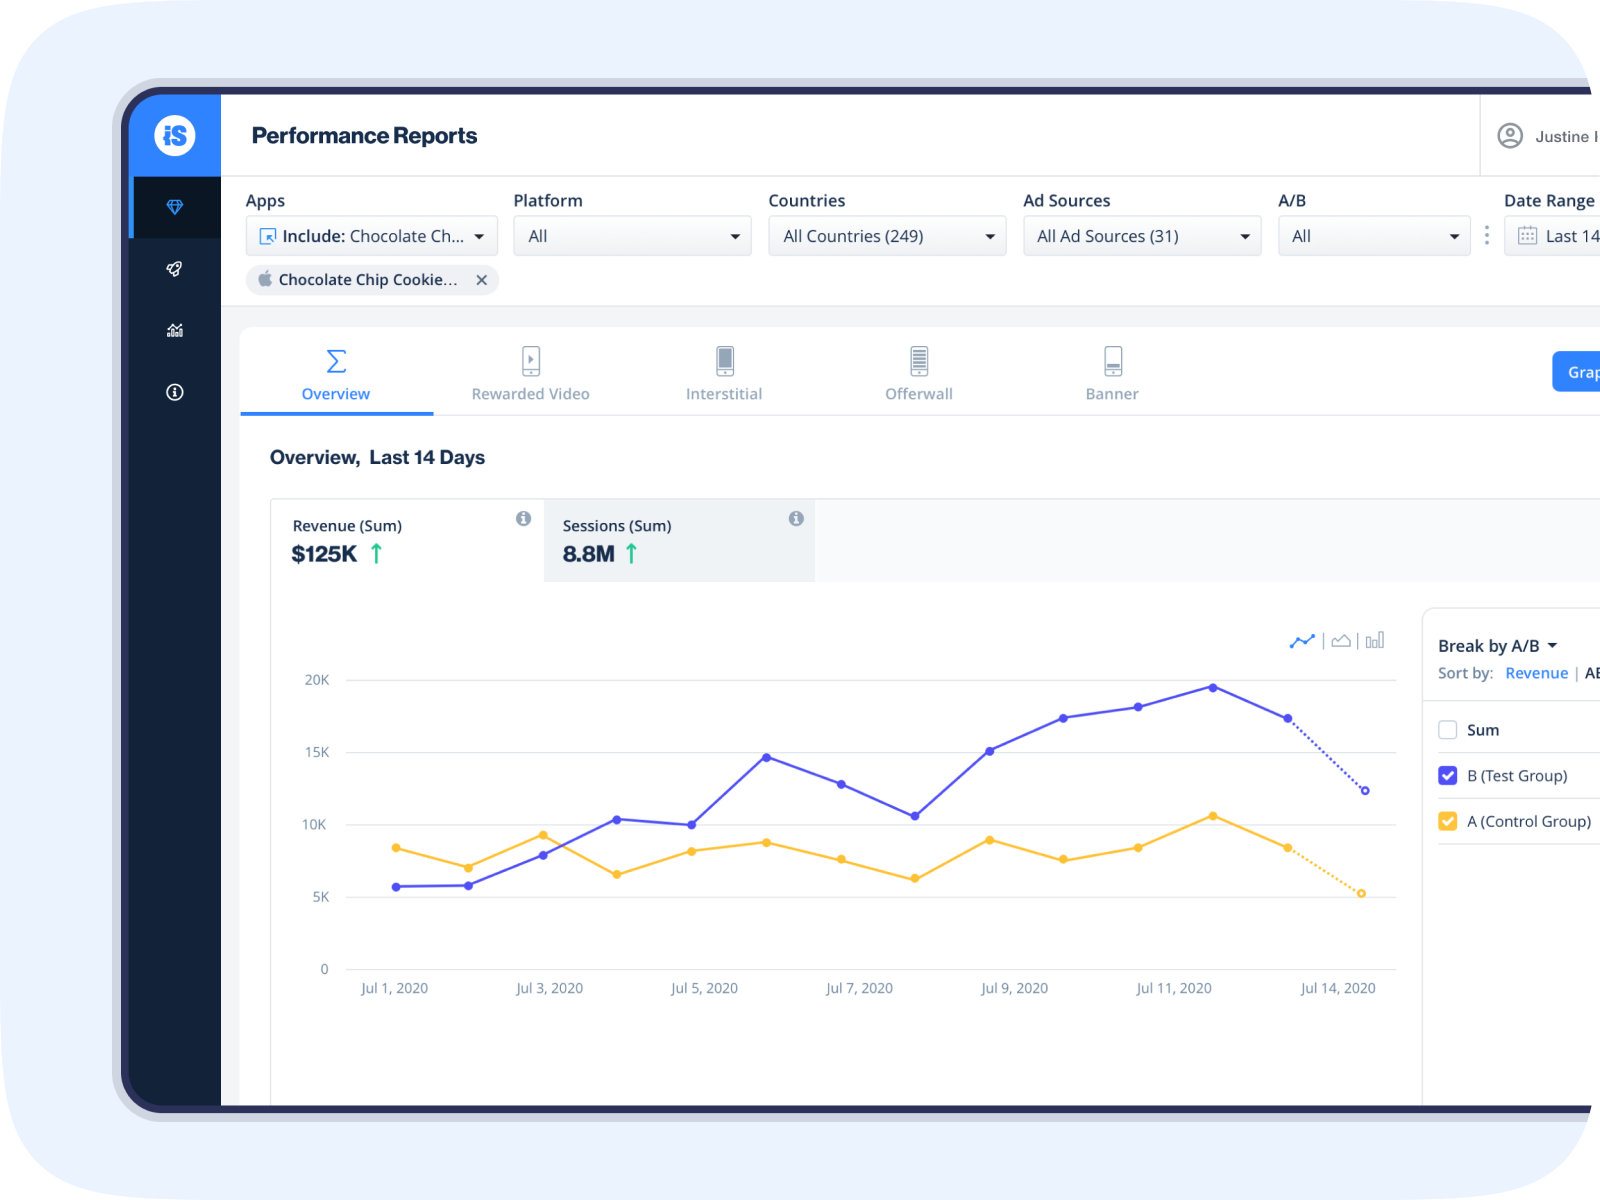
From the left side nav bar, select A/B testing. There you’ll see a list of the apps that currently have an A/B test running. To see the performance of the test, select an app, click the action button, then, click View report.
This will take you to the Performance page. Break the data by A/B to see an overview of the difference in performance between the 2 groups. Click on the different ad units to see data from that particular ad unit.
Click on User Activity, Bidding, or Cohorts in the left side nav bar to view additional data.
Terminate the A/B test
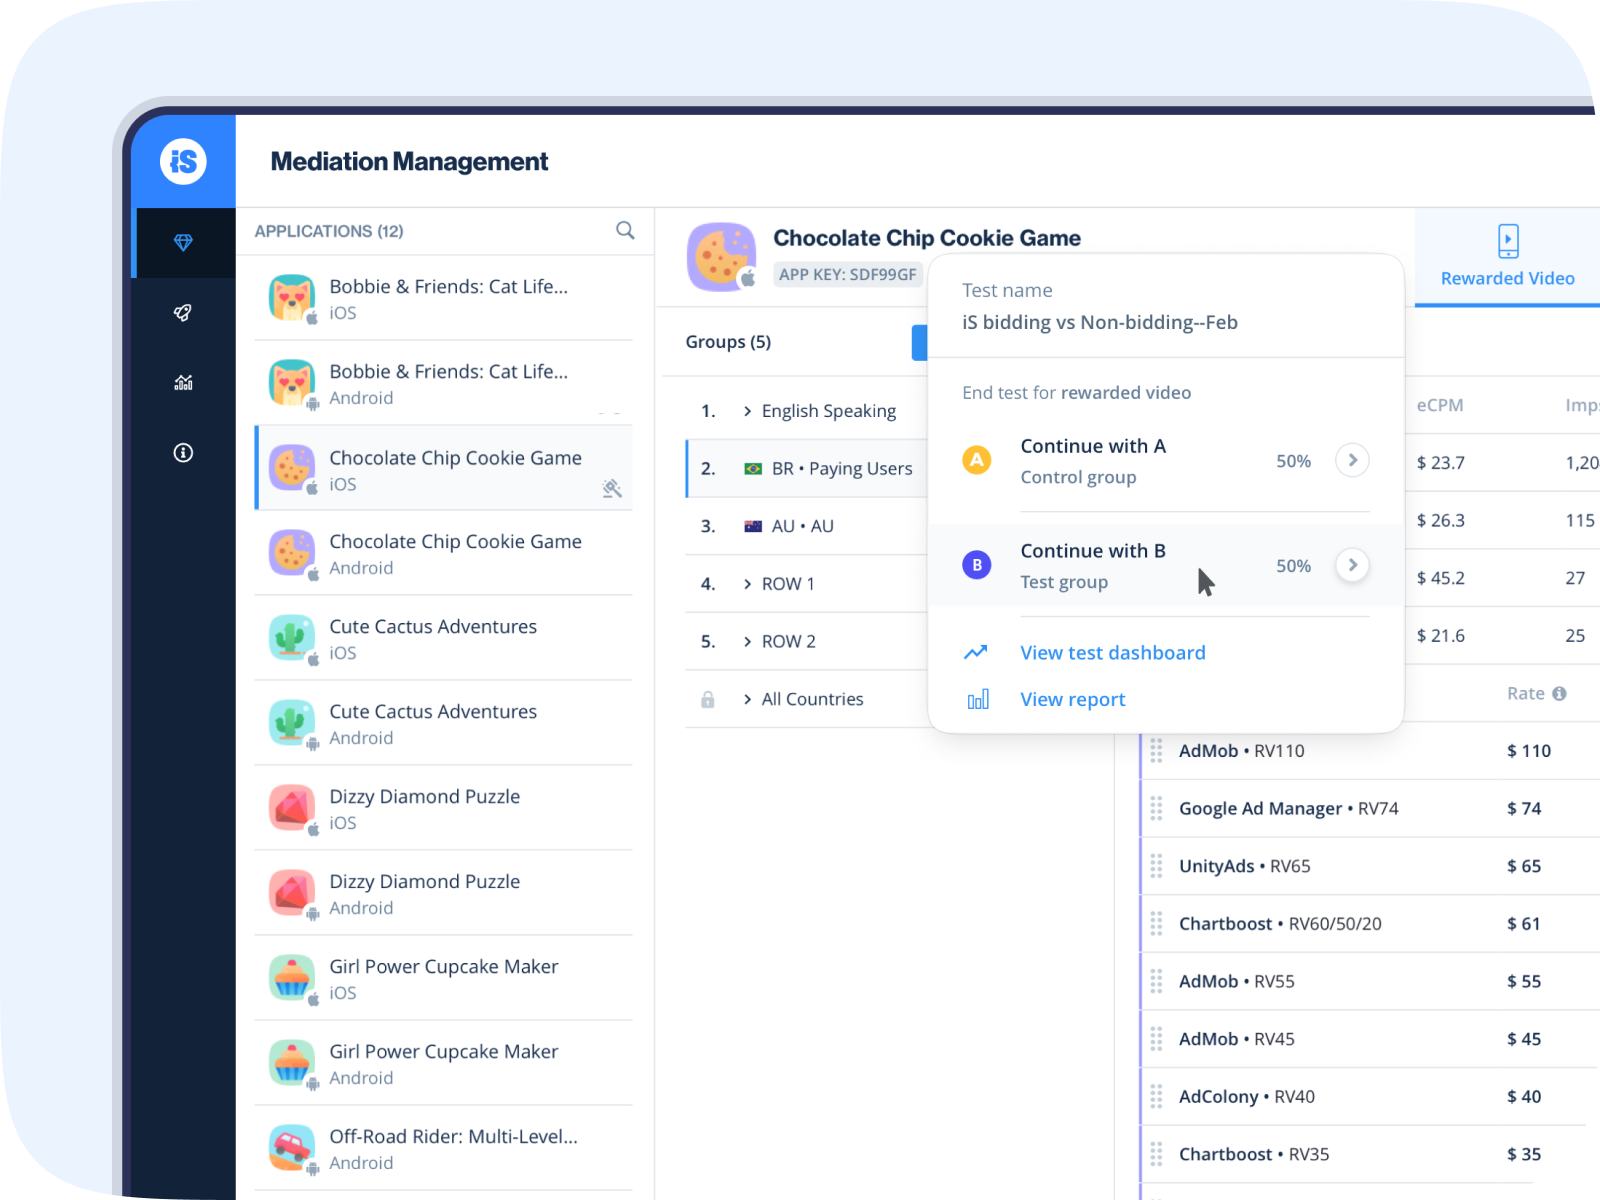
Individual ad units
You can remove an ad unit at any time without it terminating the entire test. From the Mediation Management page click on the ad unit. Then click on the dropdown menu at the top of the page and select to continue with either group A or B.
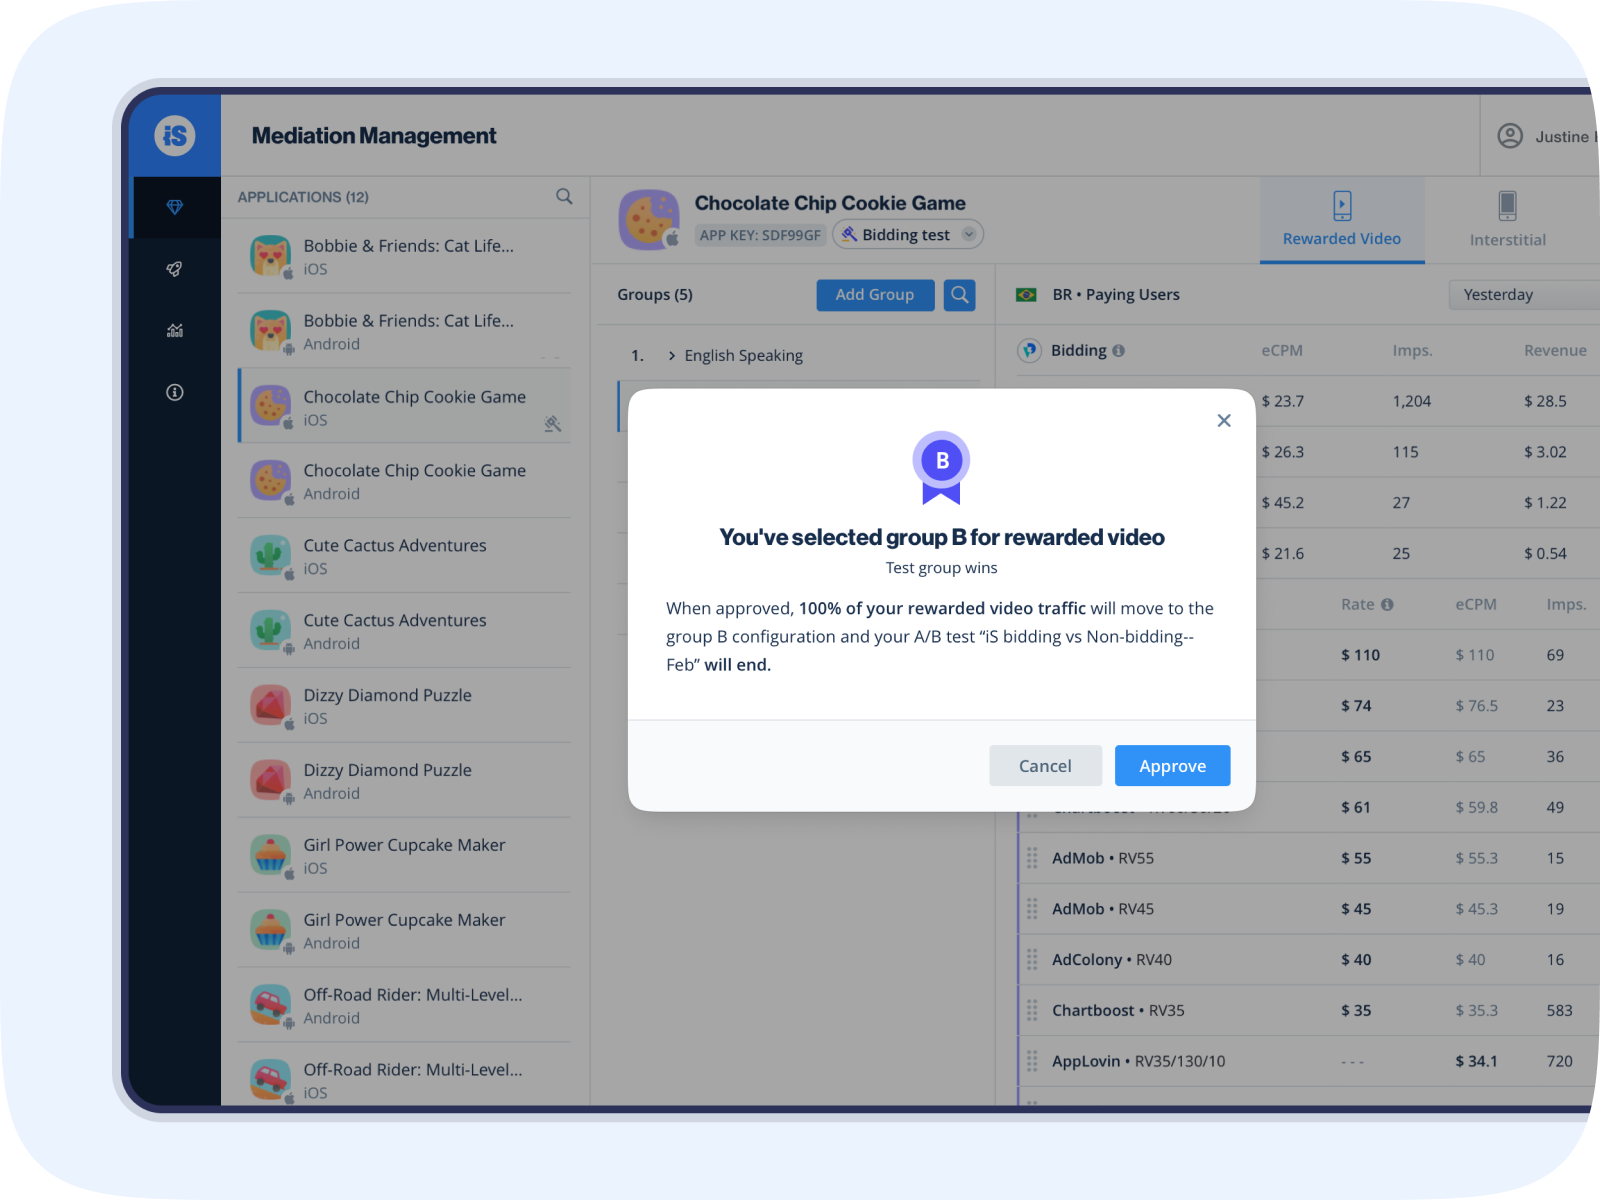
Click Approve and the test for that specific ad unit will end. Now the winning group’s settings will immediately apply to 100% of the traffic for the selected ad unit.
End all ad unit tests
To continue with group A or B across all ad units, go to the A/B Management page, and select the app with the active test. Then, click on the action button and select to continue with either group A or B.
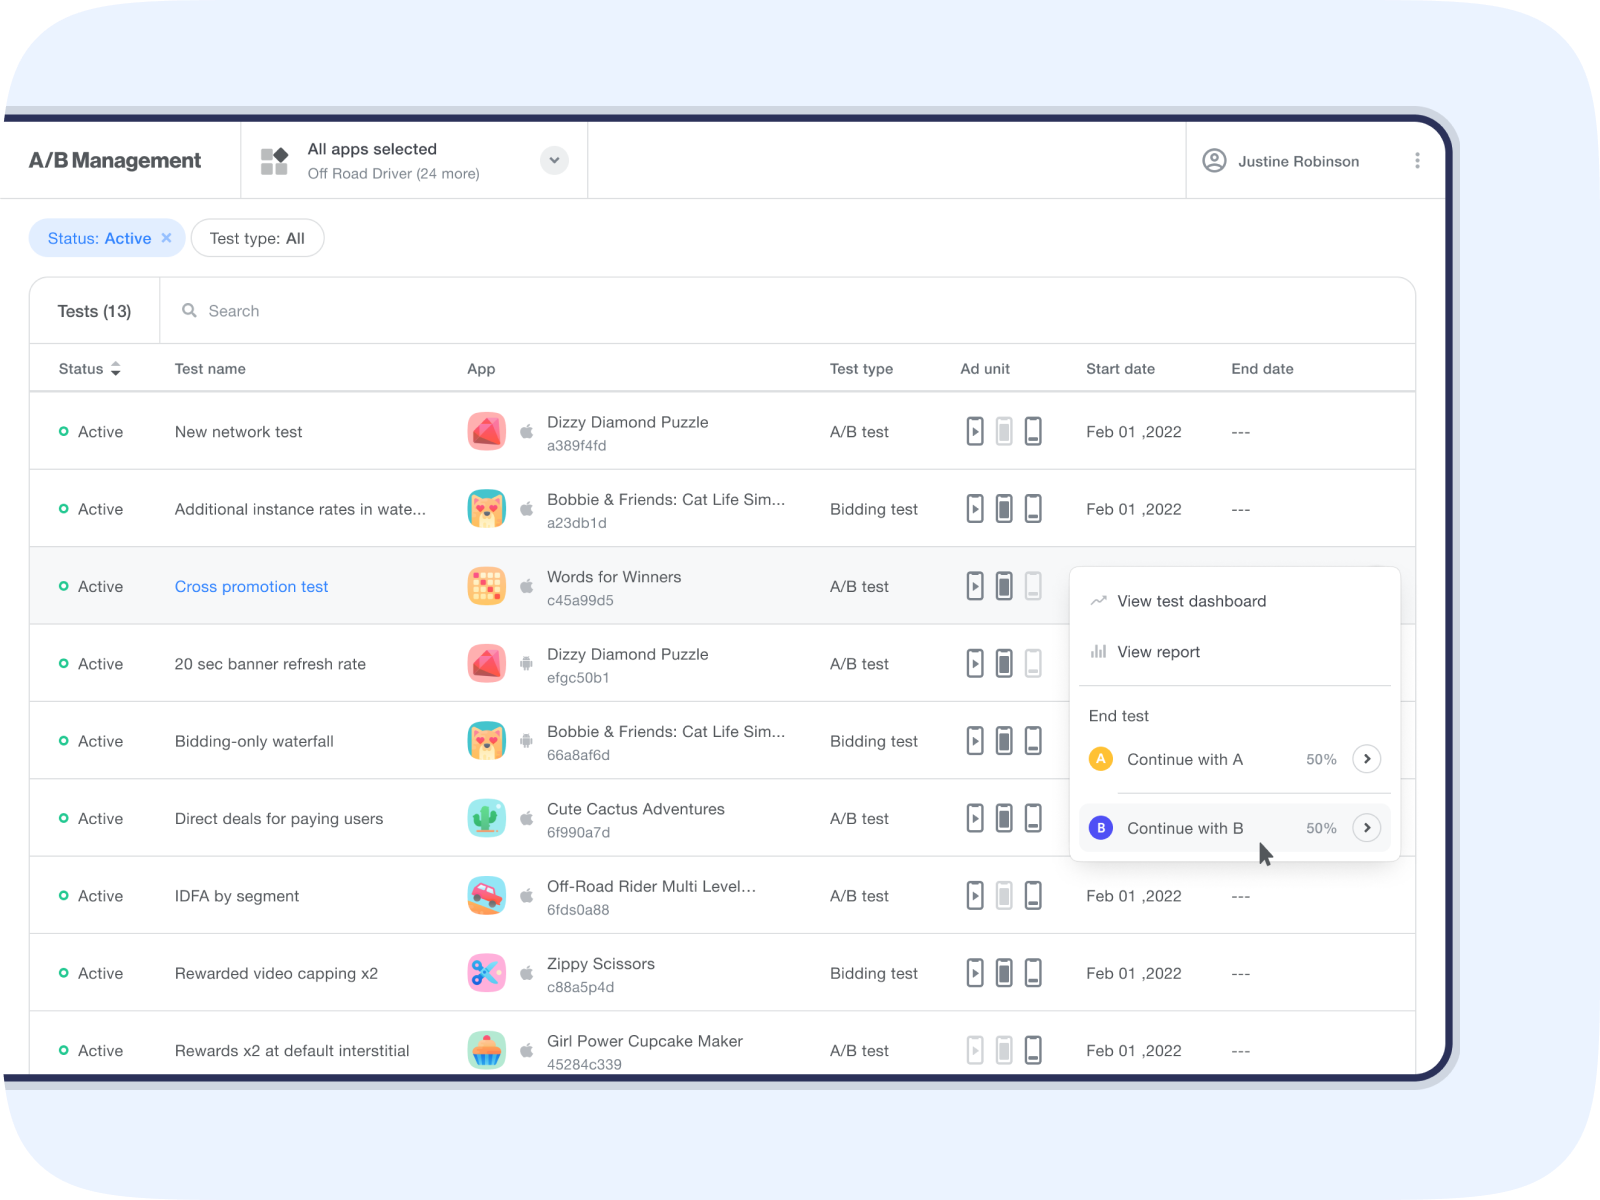
Click Approve and the test will end. Now the winning group’s settings will immediately apply to 100% of the traffic on your app.
