
Move from Unity Mediation to Unity LevelPlay
To move your app’s mediation from Unity Mediation to Unity LevelPlay, follow these steps. It will be easiest to have a tab open with your Unity Mediation dashboard and a tab open for Unity LevelPlay.
Step 1: Create an ironSource account
If you already have an ironSource account, skip to step 2. To create your account, go to the ironSource sign-up page.
Step 2: Integrate the ironSource Mediation SDK
Integrate the ironSource SDK by following this guide.
Step 3: Add an app to LevelPlay
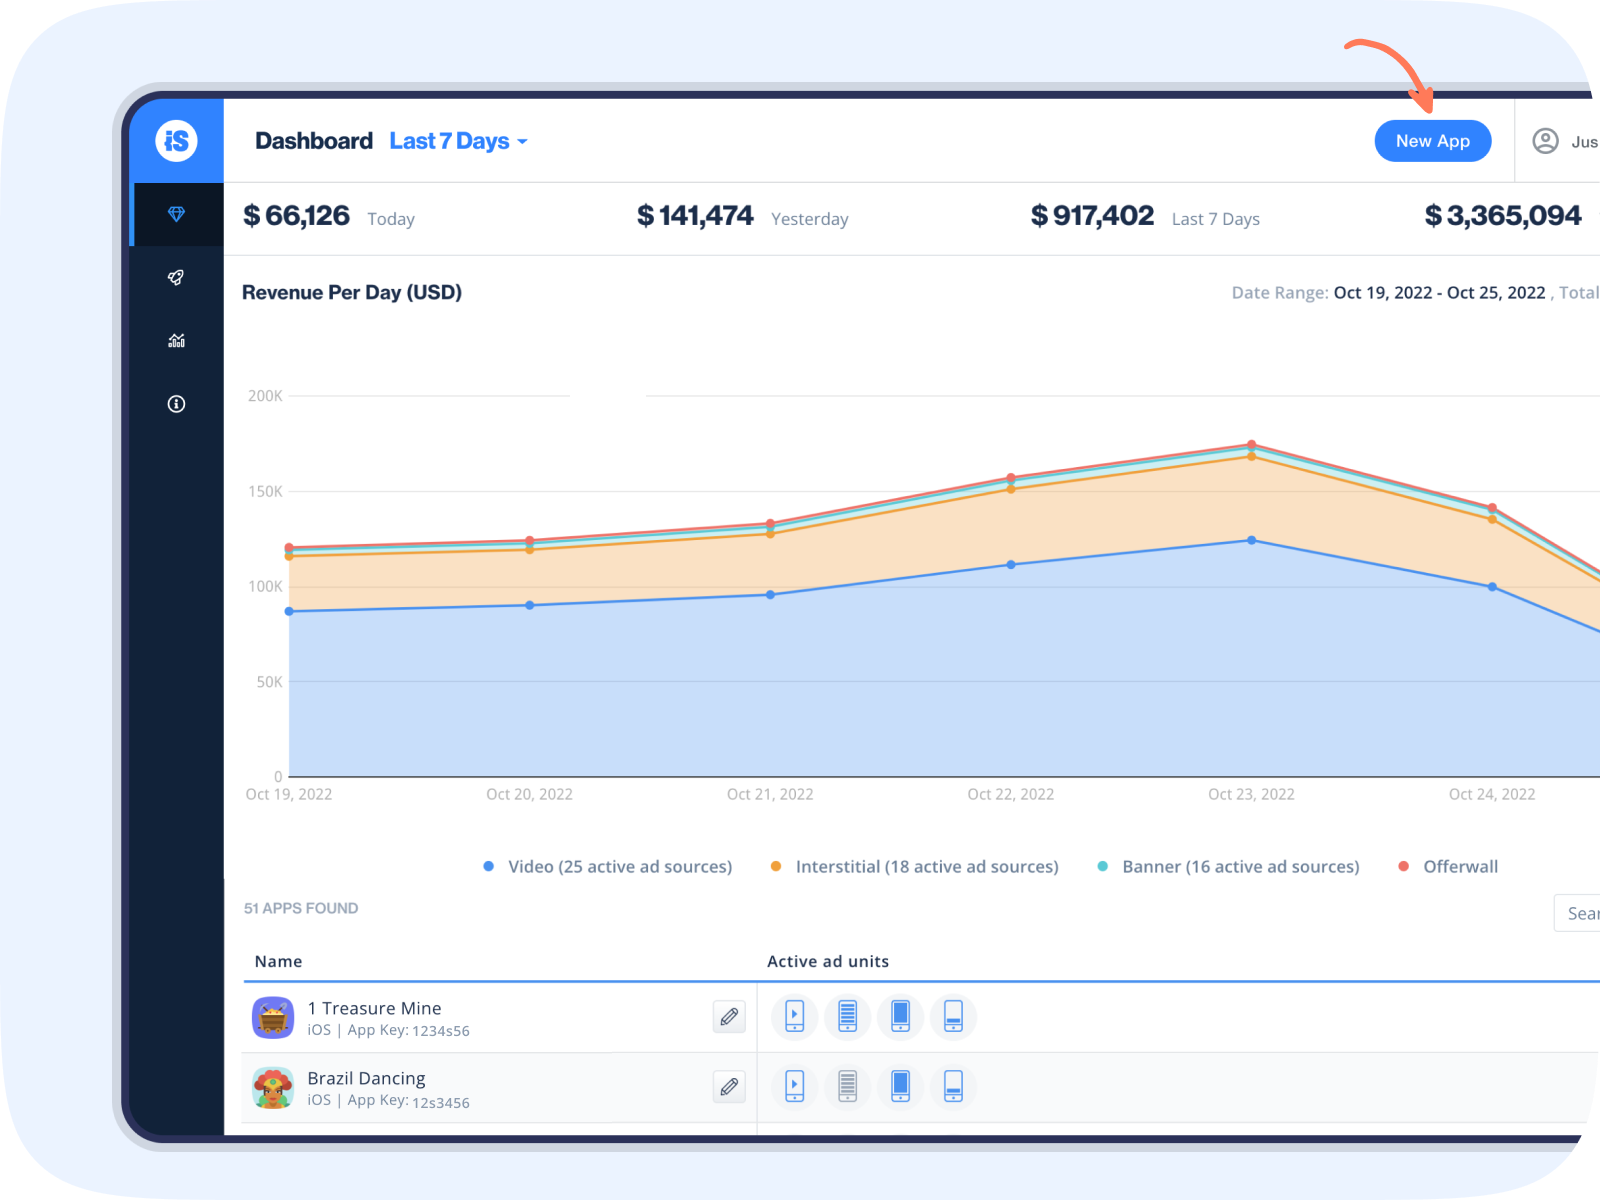
Log in to your ironSource account. In the top right corner, click New App and enter the details of the apps you want to move over from Unity Mediation one by one. Learn how to add an app to your ironSource account.
Step 4: Configure network account settings
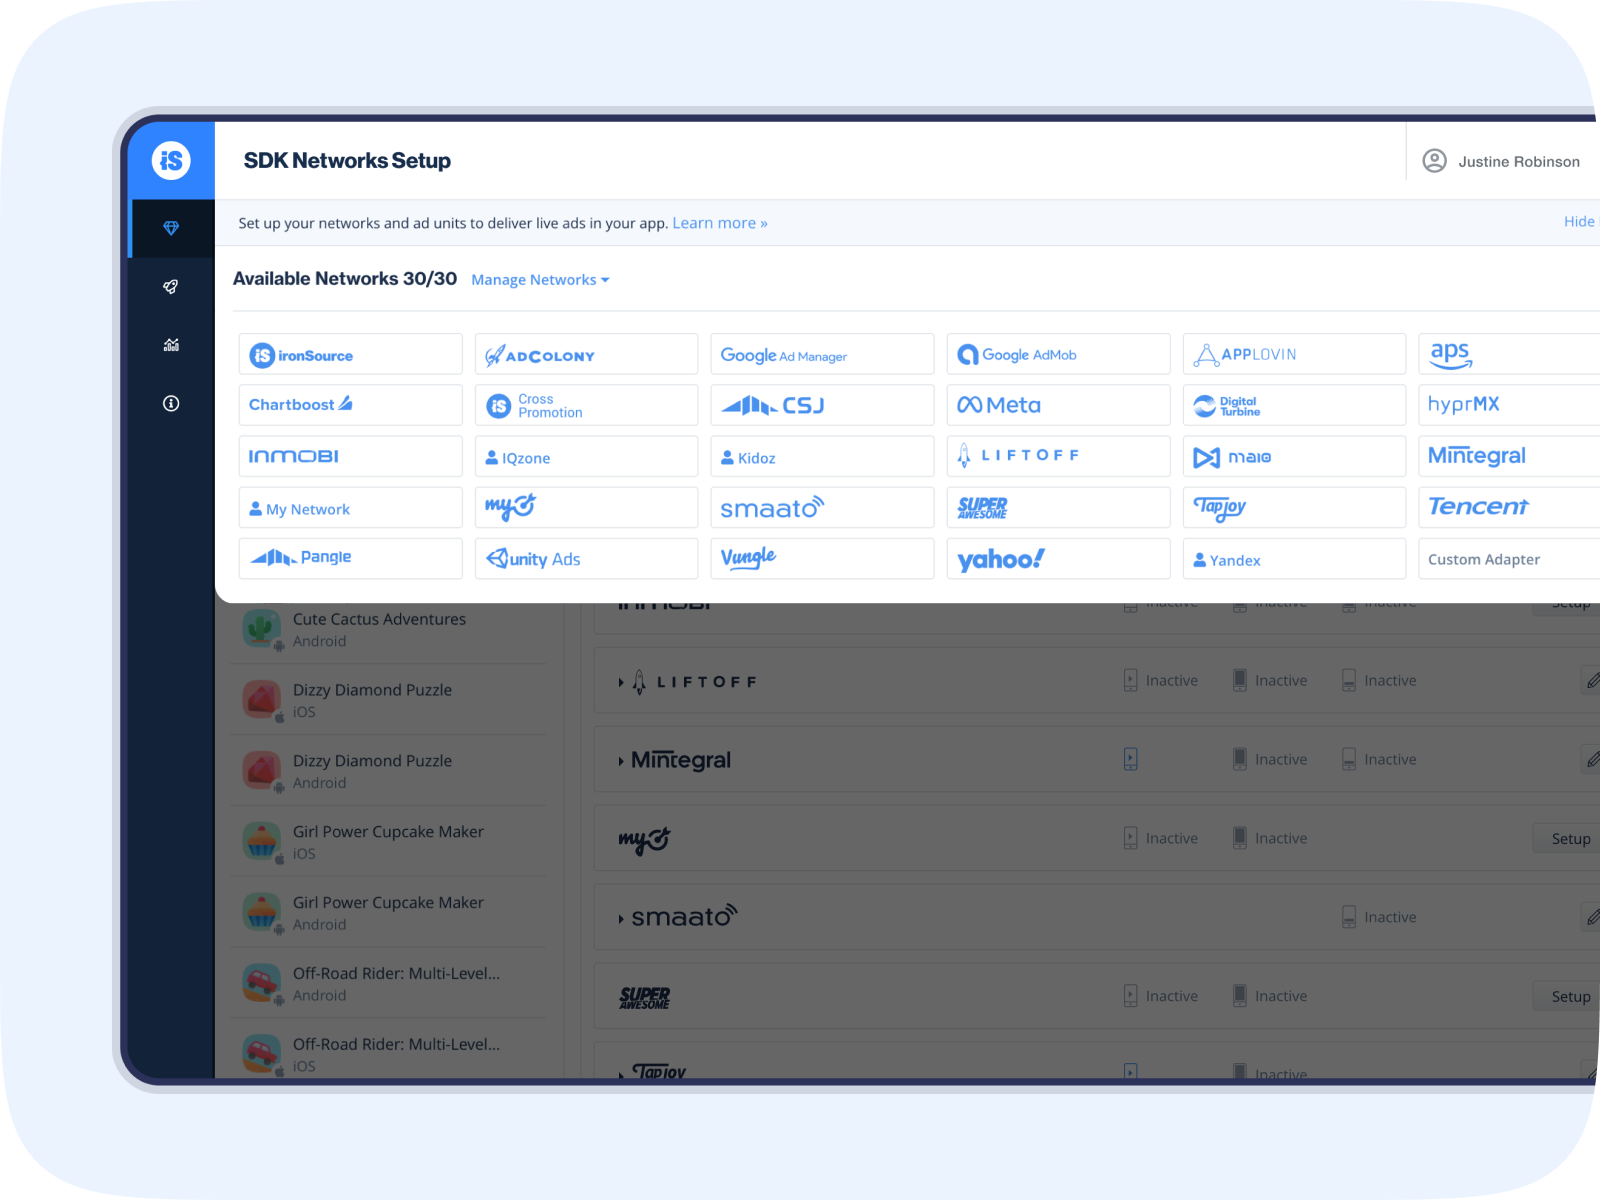
On the ironSource platform, go to SDK Networks and click Manage Networks. Click on the ad networks you’ve been using on Unity Mediation and enter your credentials.
Learn more about how to activate networks.
Step 5: Configure your app identifier and instances
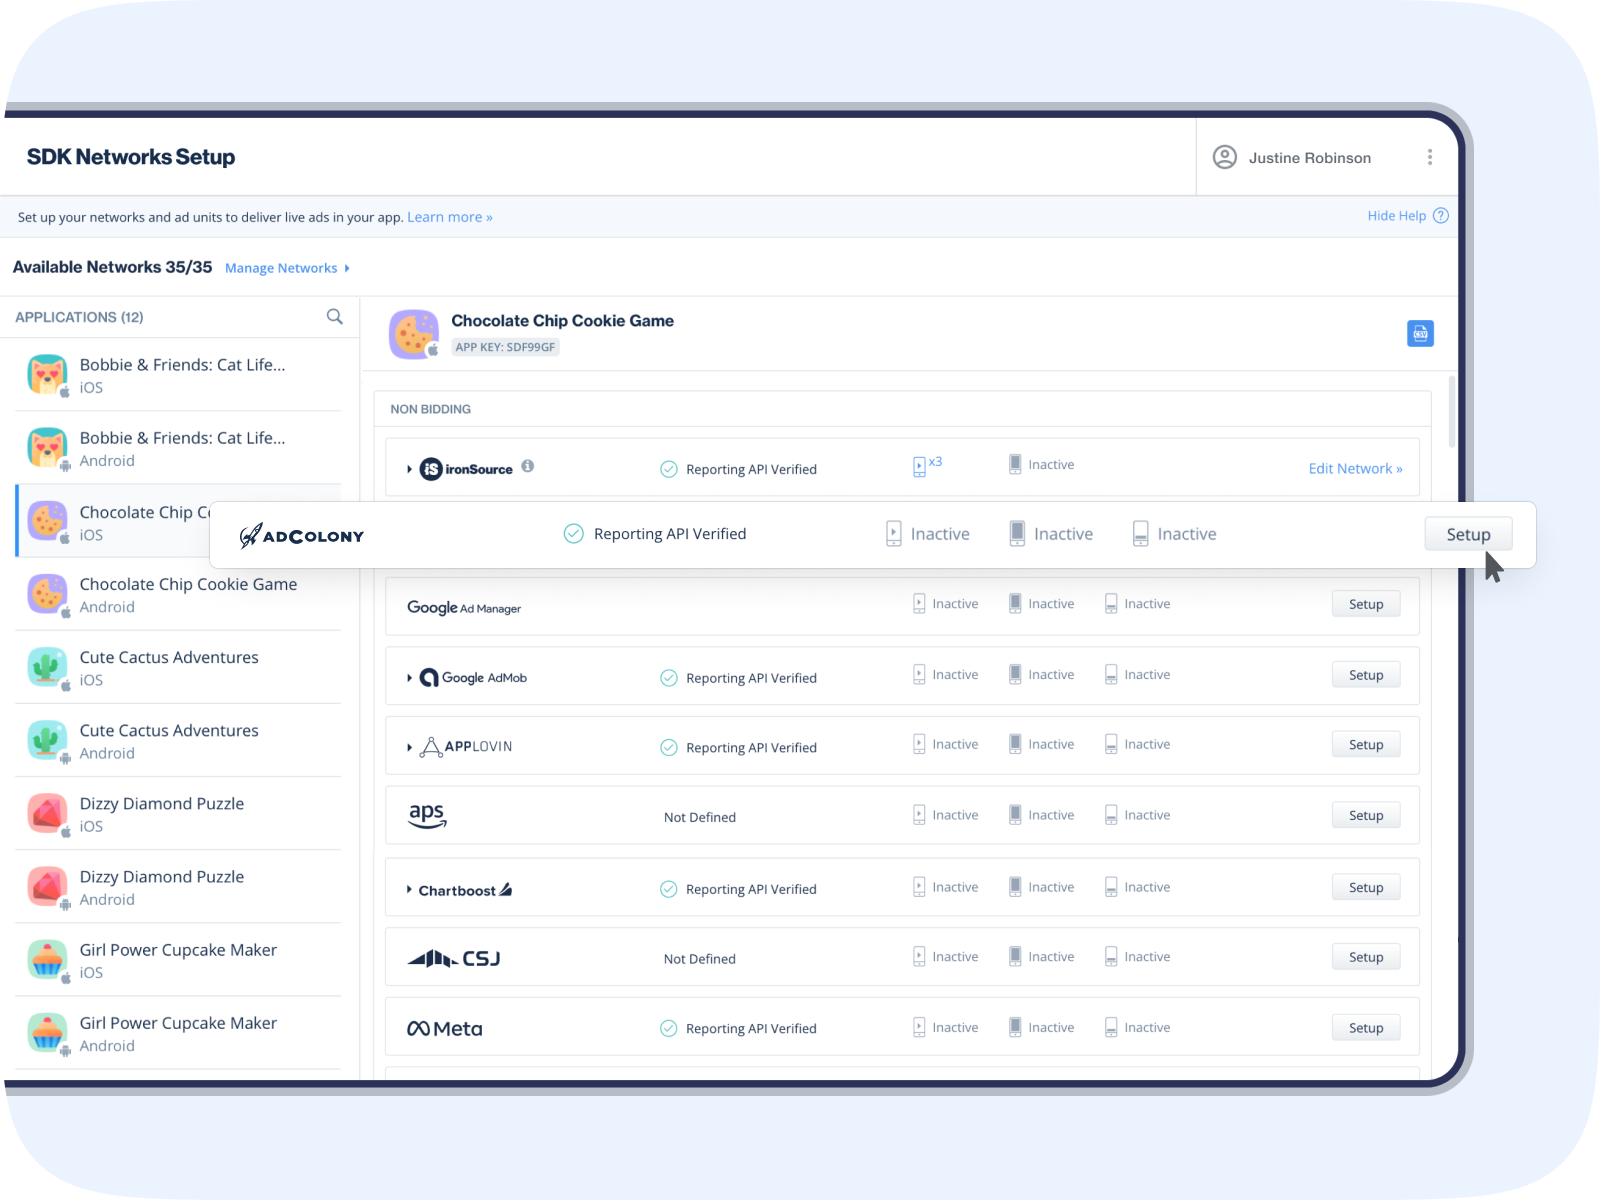
Once you’ve set up the networks, you’ll be directed to the Manage Networks page showing the app you added to your account:
- Select the app you added, and you’ll see the networks that you activated. Click Setup next to a network
2. On your Unity dashboard, locate the unique identifiers by going to Monetization, Current Project, then Waterfalls
3. Select the relevant waterfall
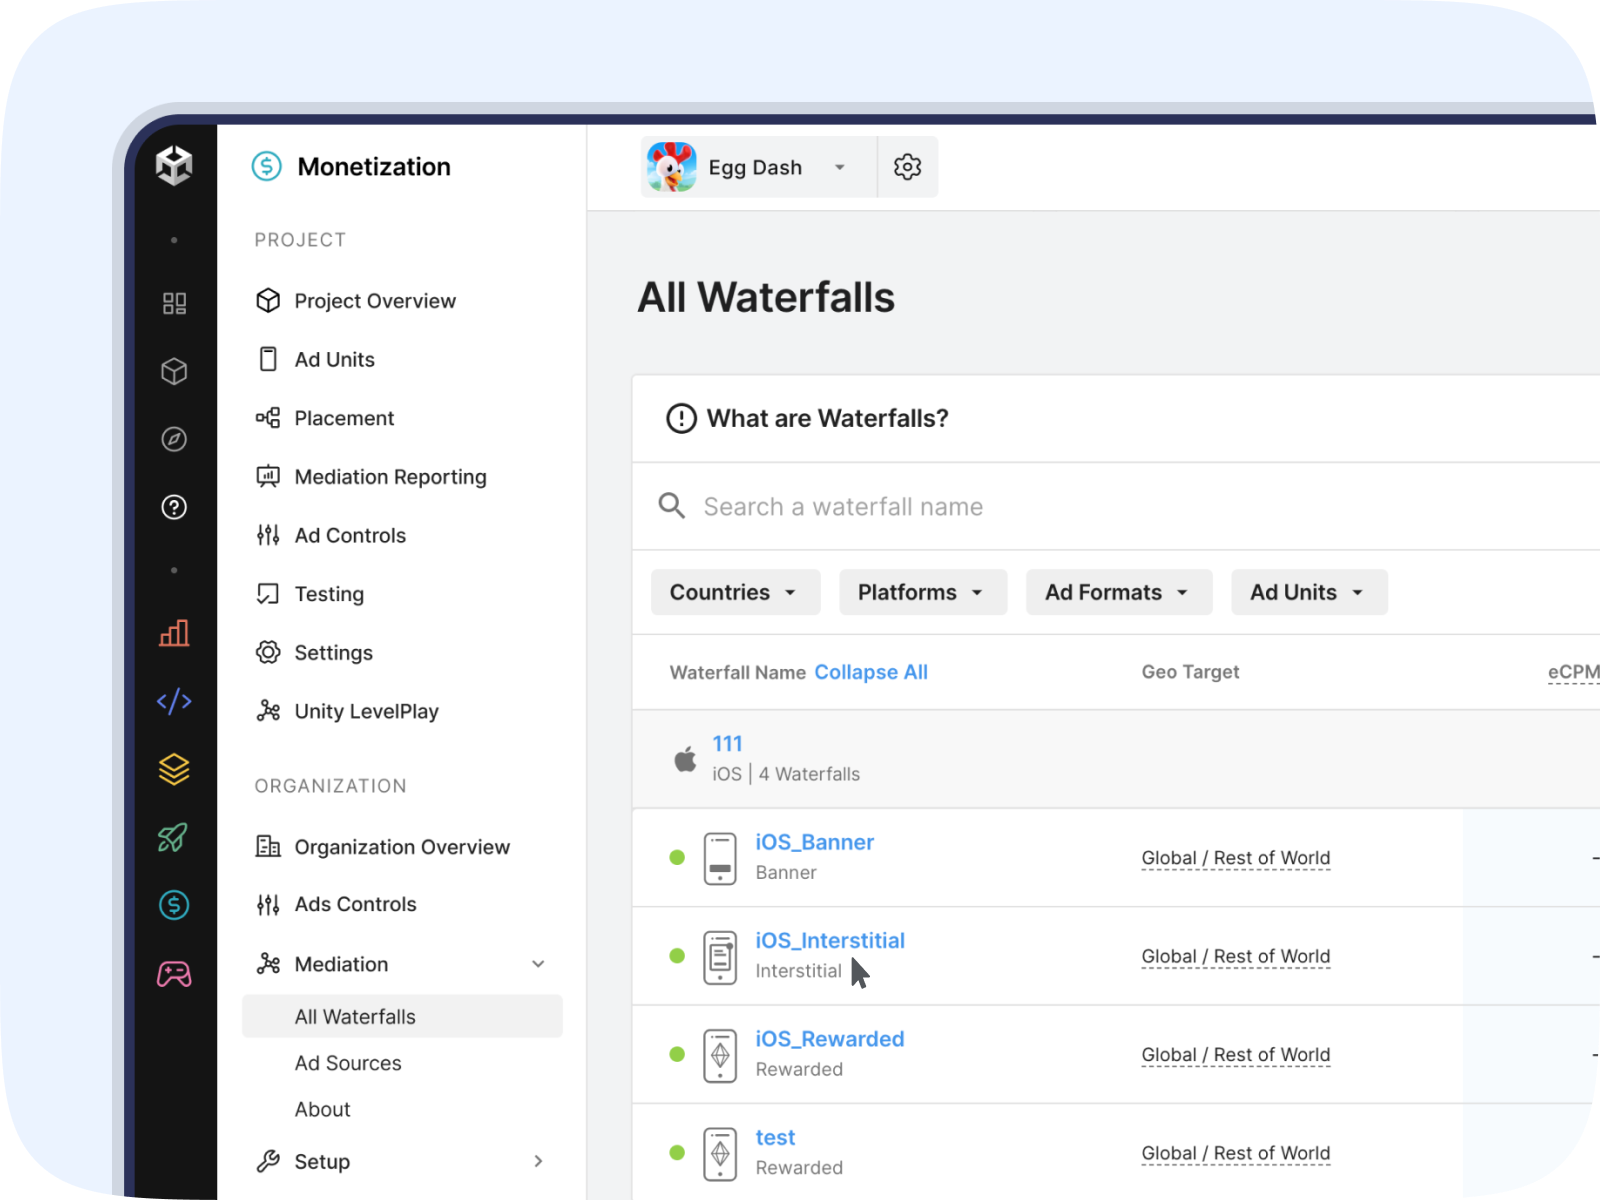
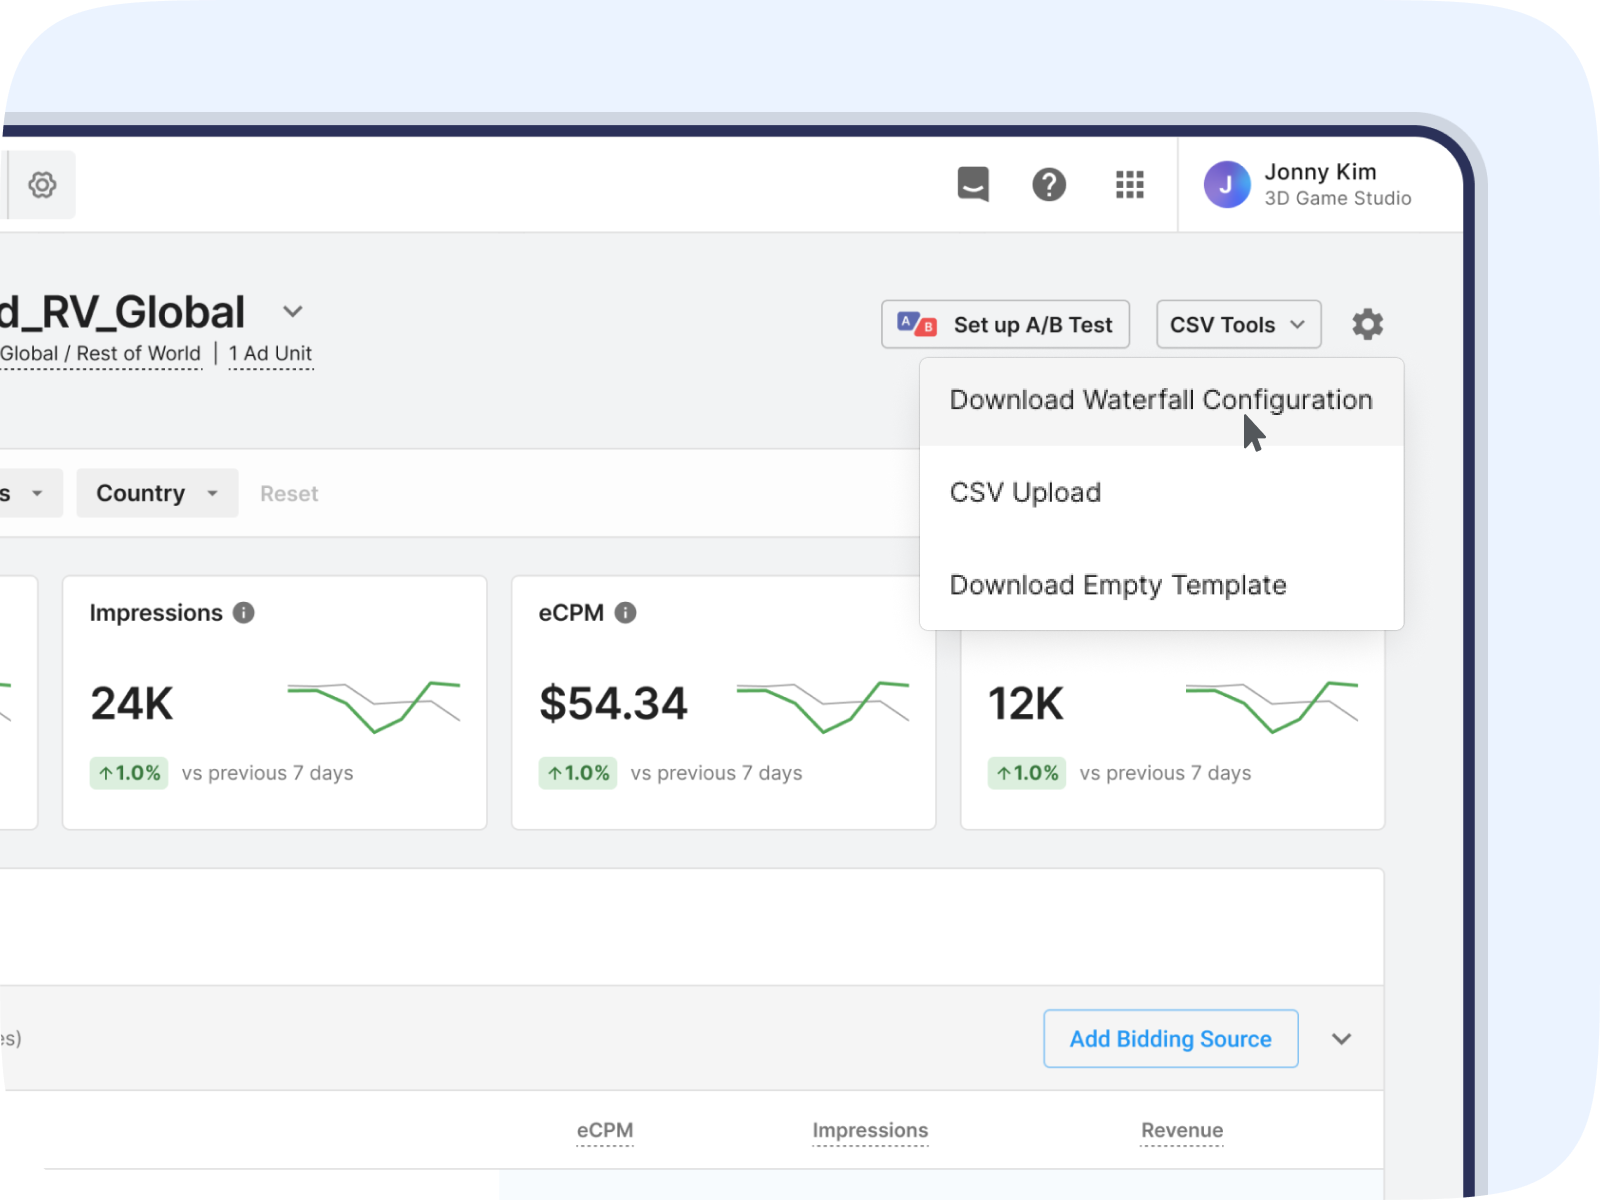
4. Click CSV tools in the top right corner and select Download Waterfall Configuration. The downloaded CSV file will contain the following information:
- Line Item Type (bidding, ecpm, backfill)
- Network Name
- Line Item Name
- CPM (When Applicable)
- Instance ID
5. Use the CSV to copy and paste the app level unique identifiers and each line item, into the setup screen that opened on LevelPlay in step 1. Learn more about managing instances
Note: Line items are called instances in LevelPlay and eCPM Target is called rate. 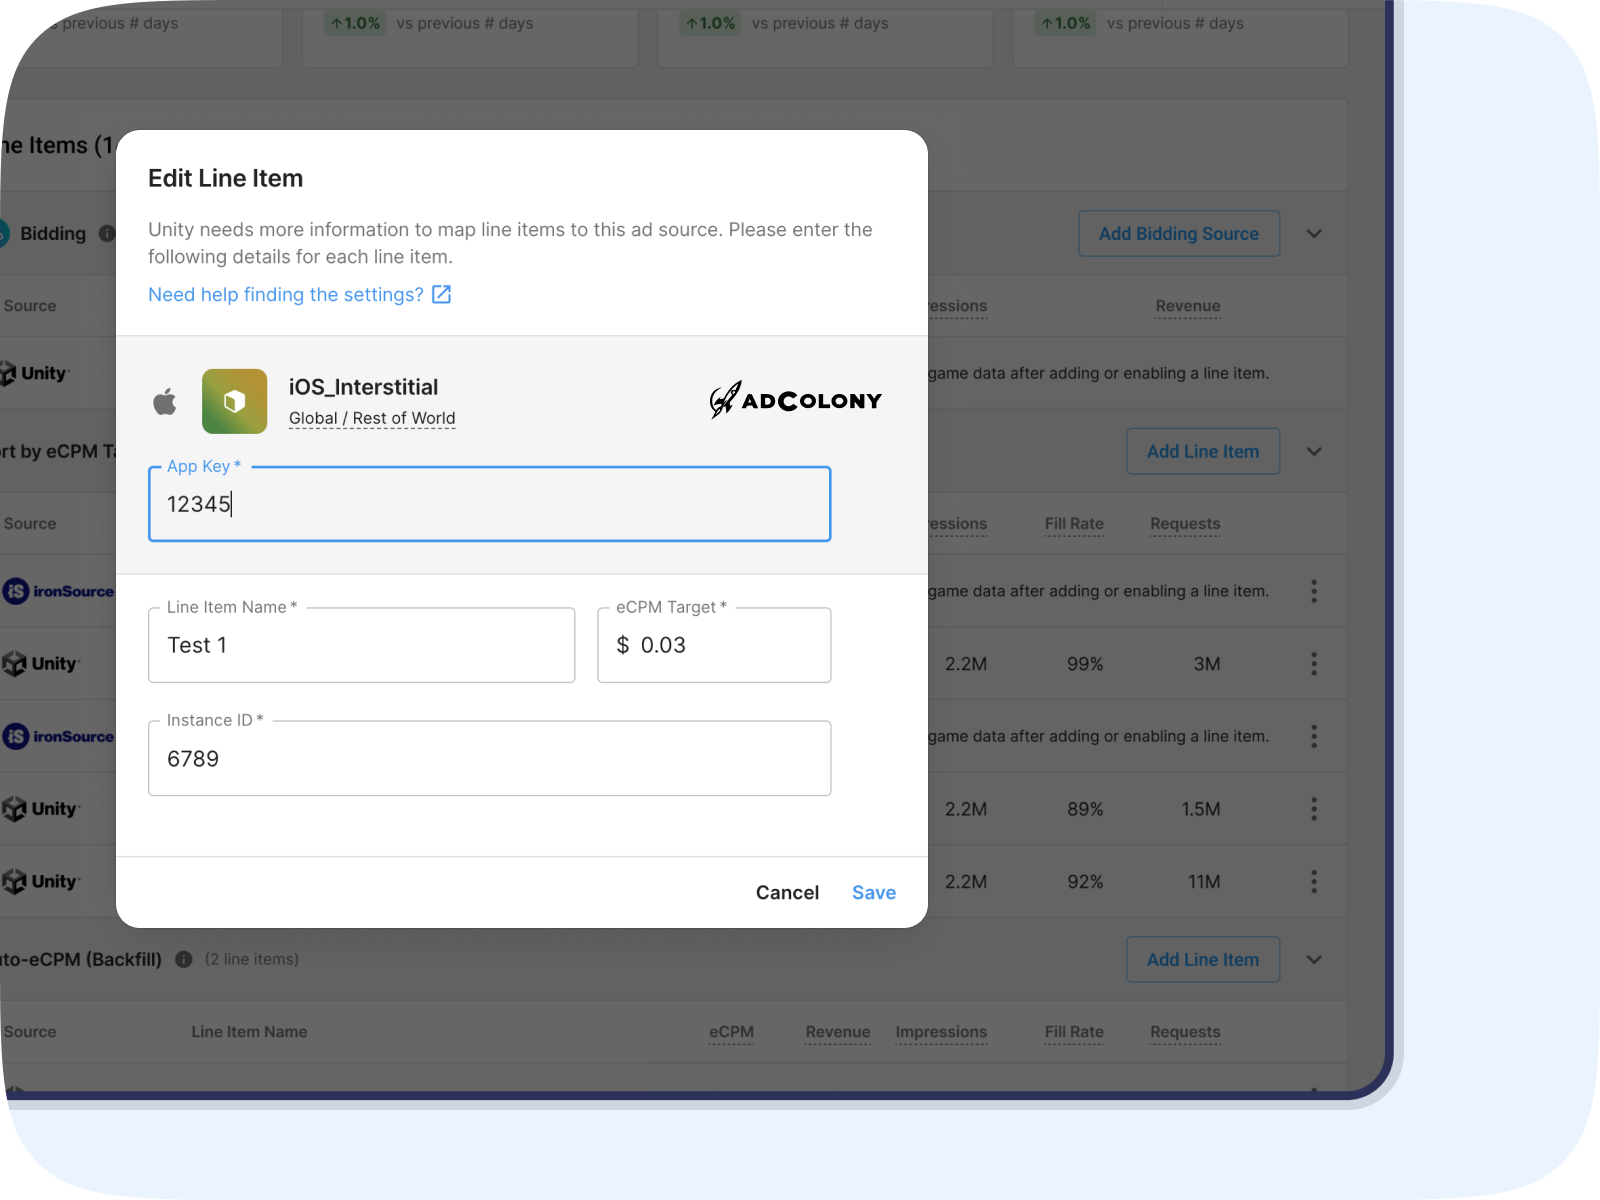

Repeat this process for each app you’ve added to your account.
Step 6: Update the project’s ads provider
In your Unity dashboard:
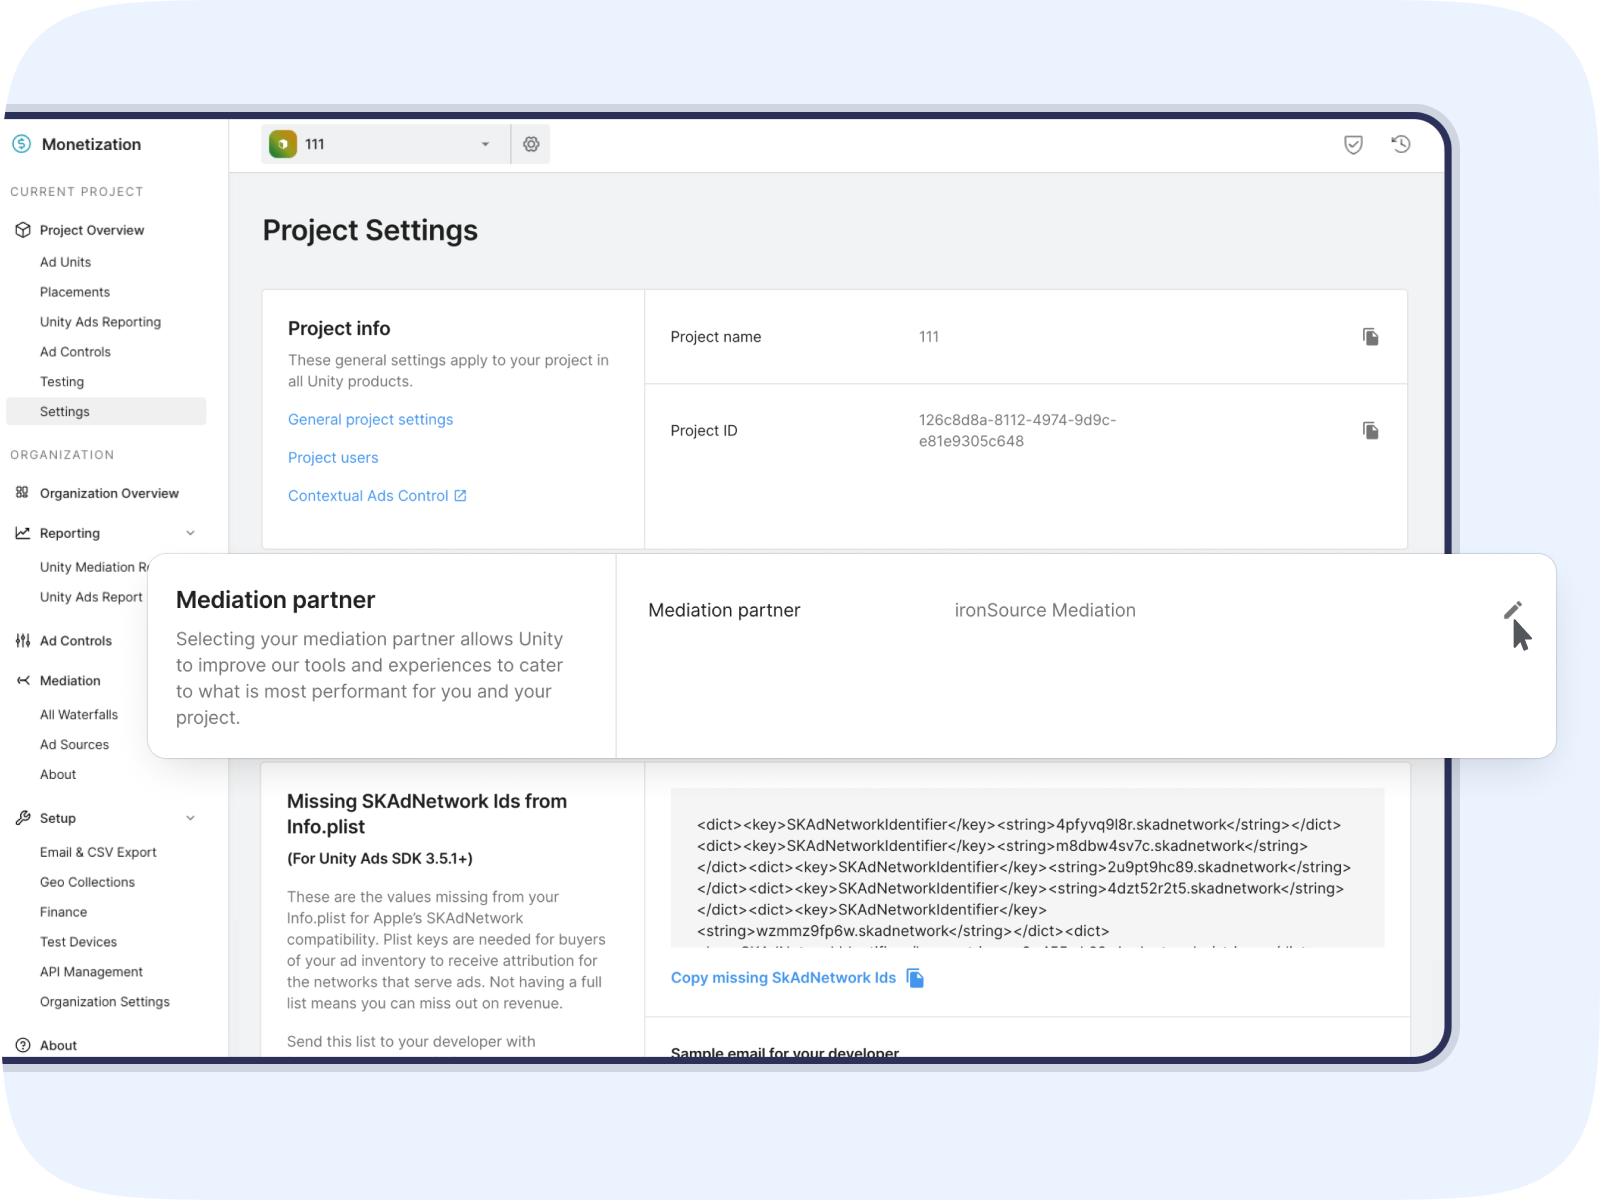
- Go to monetization, then Settings, and click the edit button next to Mediation partner
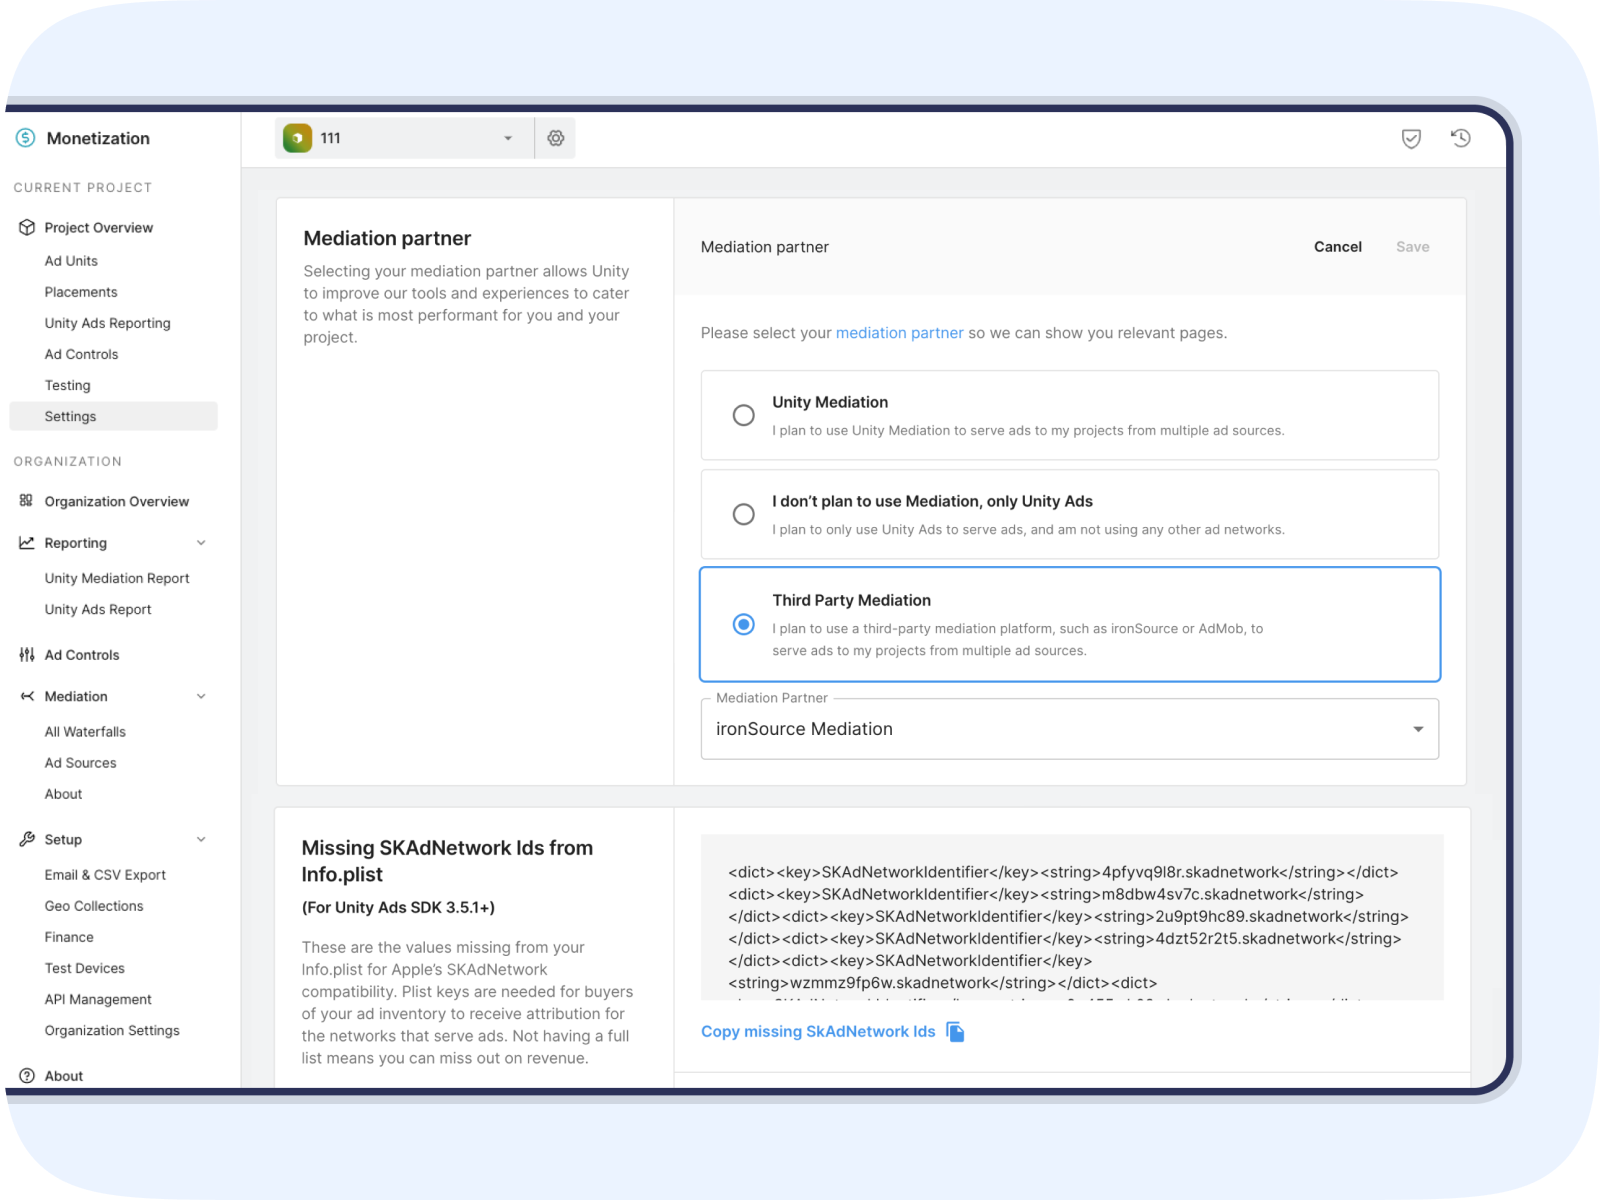
2. Select Third Party Mediation, and from the dropdown Mediation Partner menu, select ironSource Mediation. Click Save.
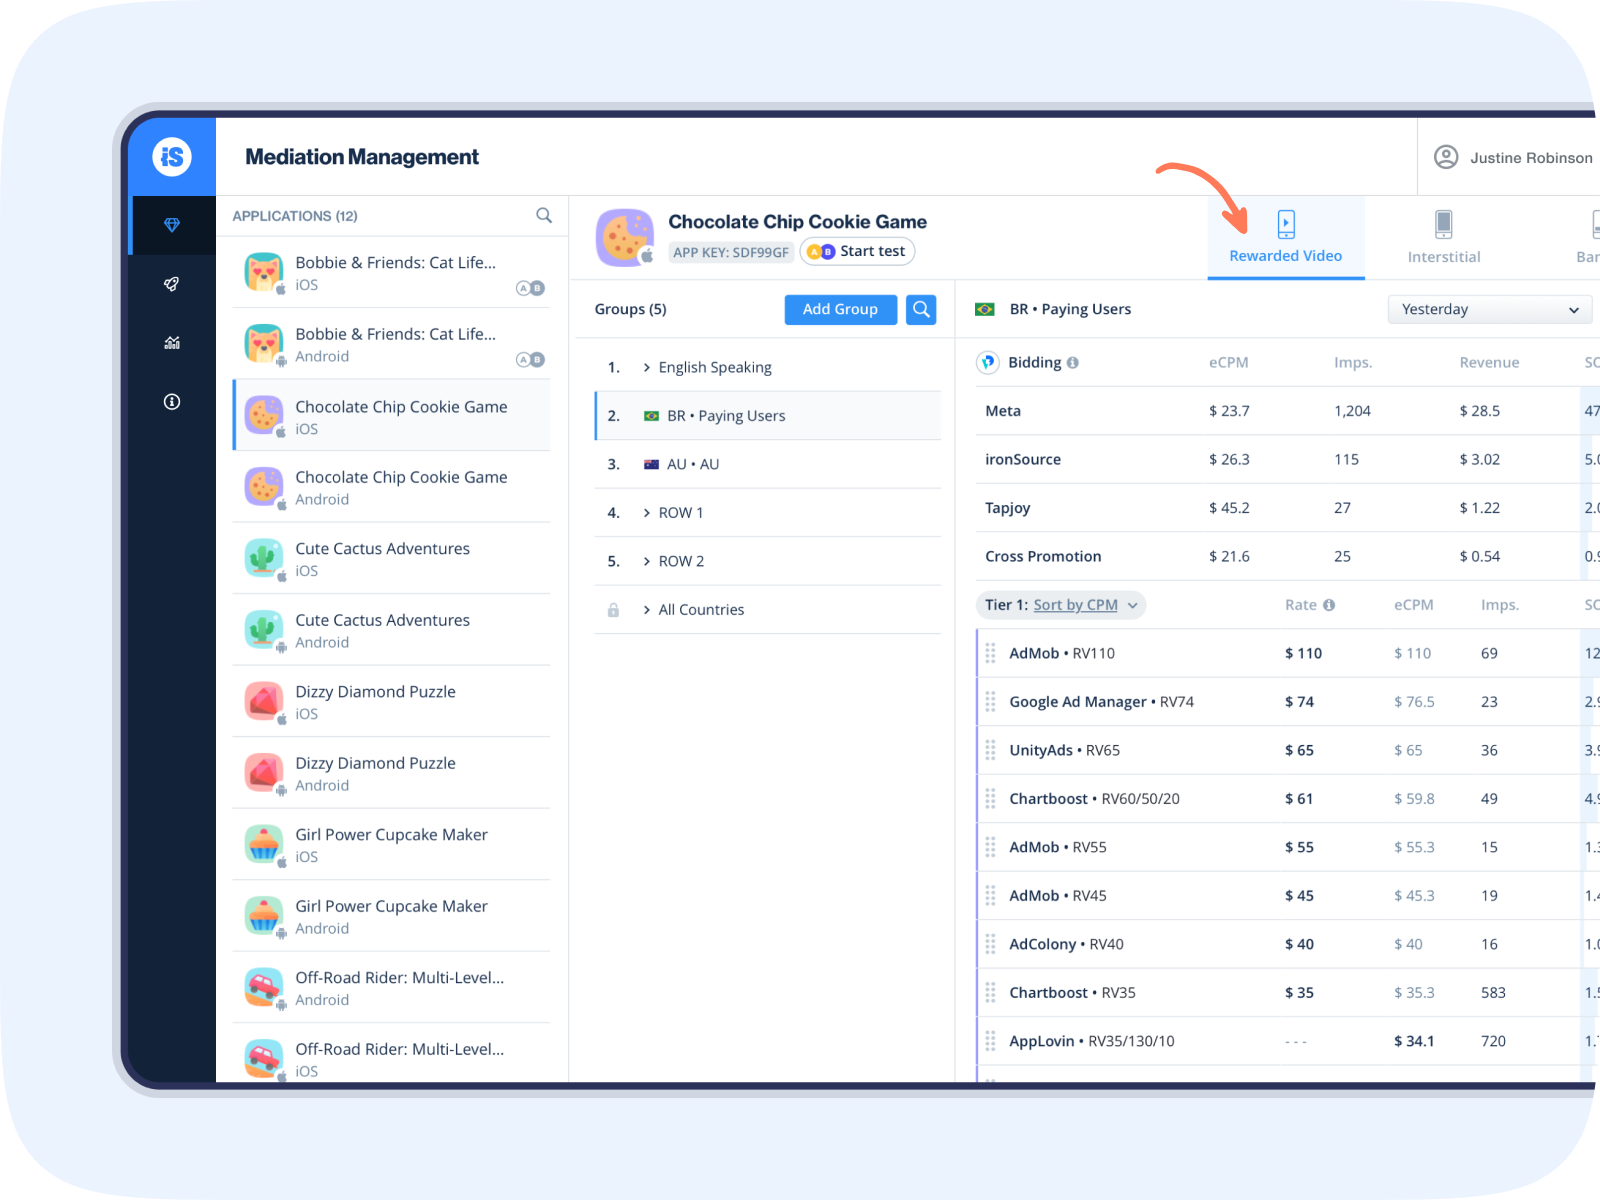
Step 7: Manage your waterfall
Once you set up the ad networks on your LevelPlay dashboard, you can serve mediated ads on your app based on eCPM prediction and country.
Click on Mediation under Management and select the app you want to manage. Then, select the ad unit and configure its settings. Learn more about additional LevelPlay capabilities here.
Step 8: Test your setup
Once you’ve completed the integration, you can test the mediated networks ad delivery on specific devices. Learn how
Learn more about all the industry-leading features available to you on Unity LevelPlay.