
ironSource instances setup
The Instances page enables you to add multiple ironSource Ads instances to your waterfall on 3rd party mediations so you can increase your revenue opportunities.
Setup
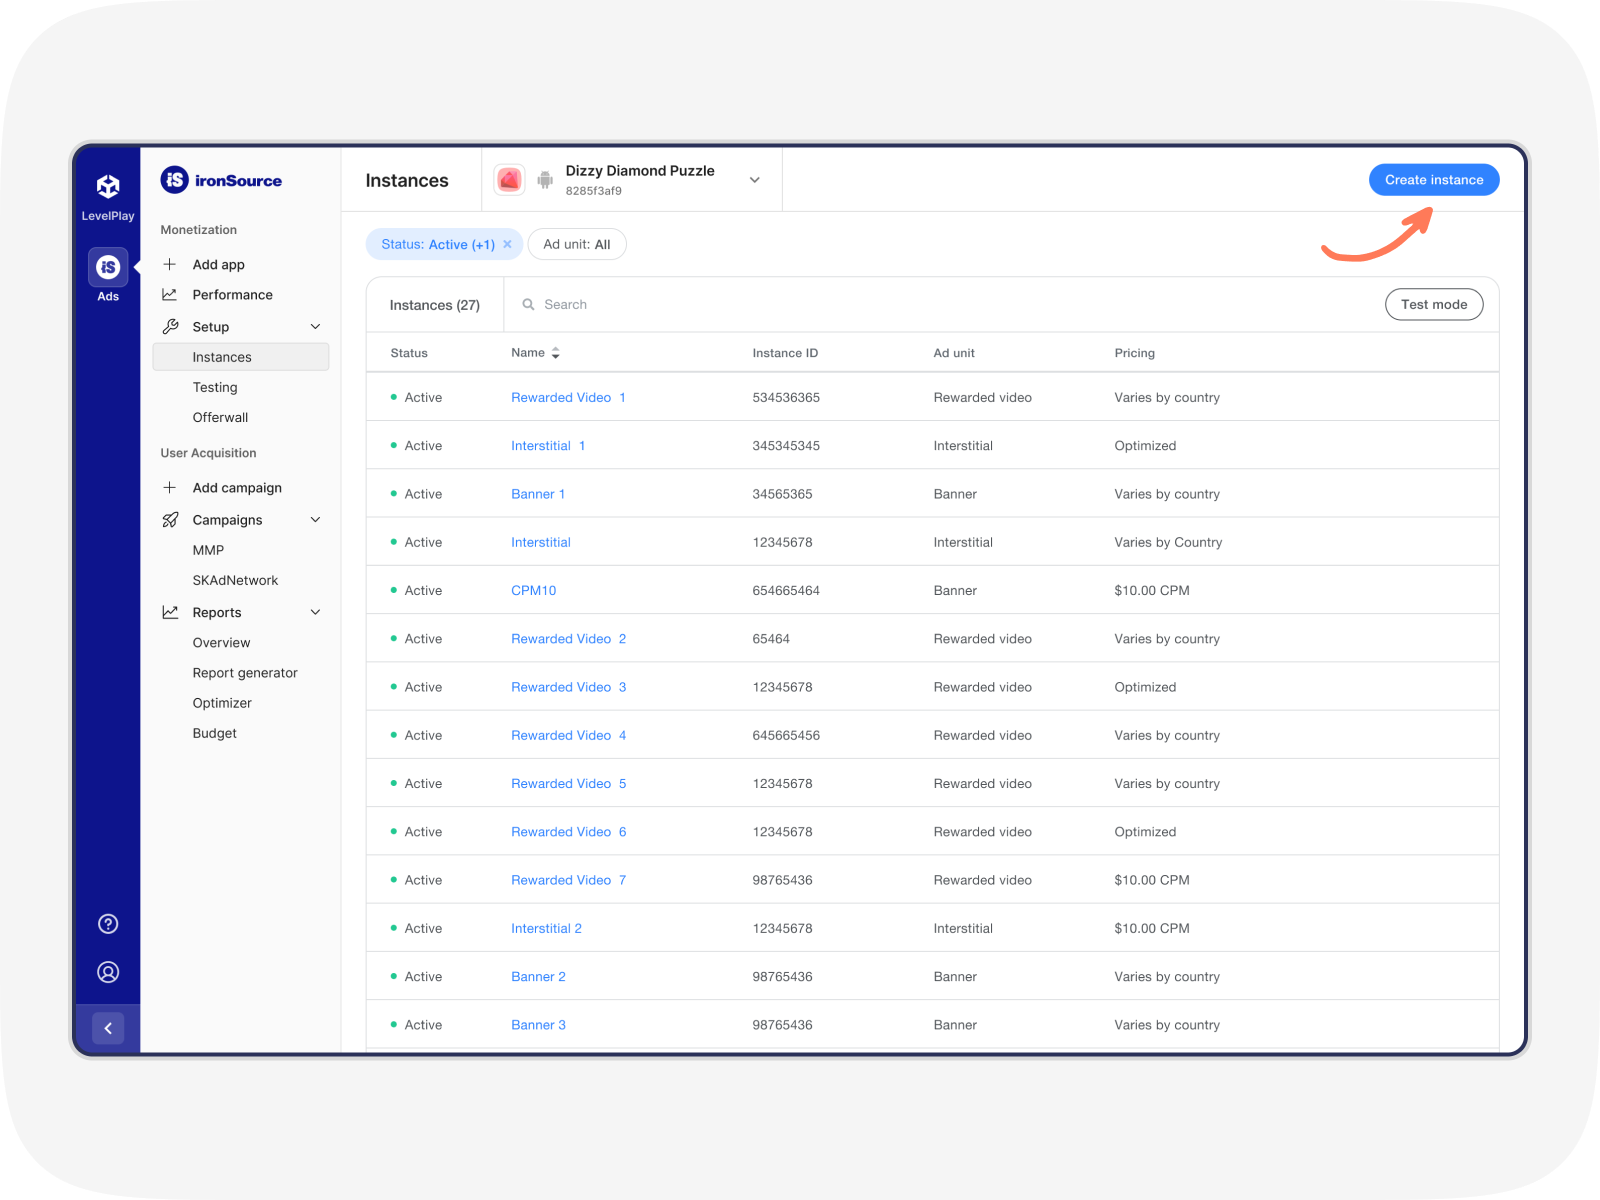
- Click ironSource on the left side nav bar and under Setup, select Instances
- Select the app you want to add additional instances to at the top of the Instances page
- Click the Create instance button in the top right corner to add a new instance. This will take you to the Create new instance page
- On the Create new instance page, enter a name for the instance and select an ad unit
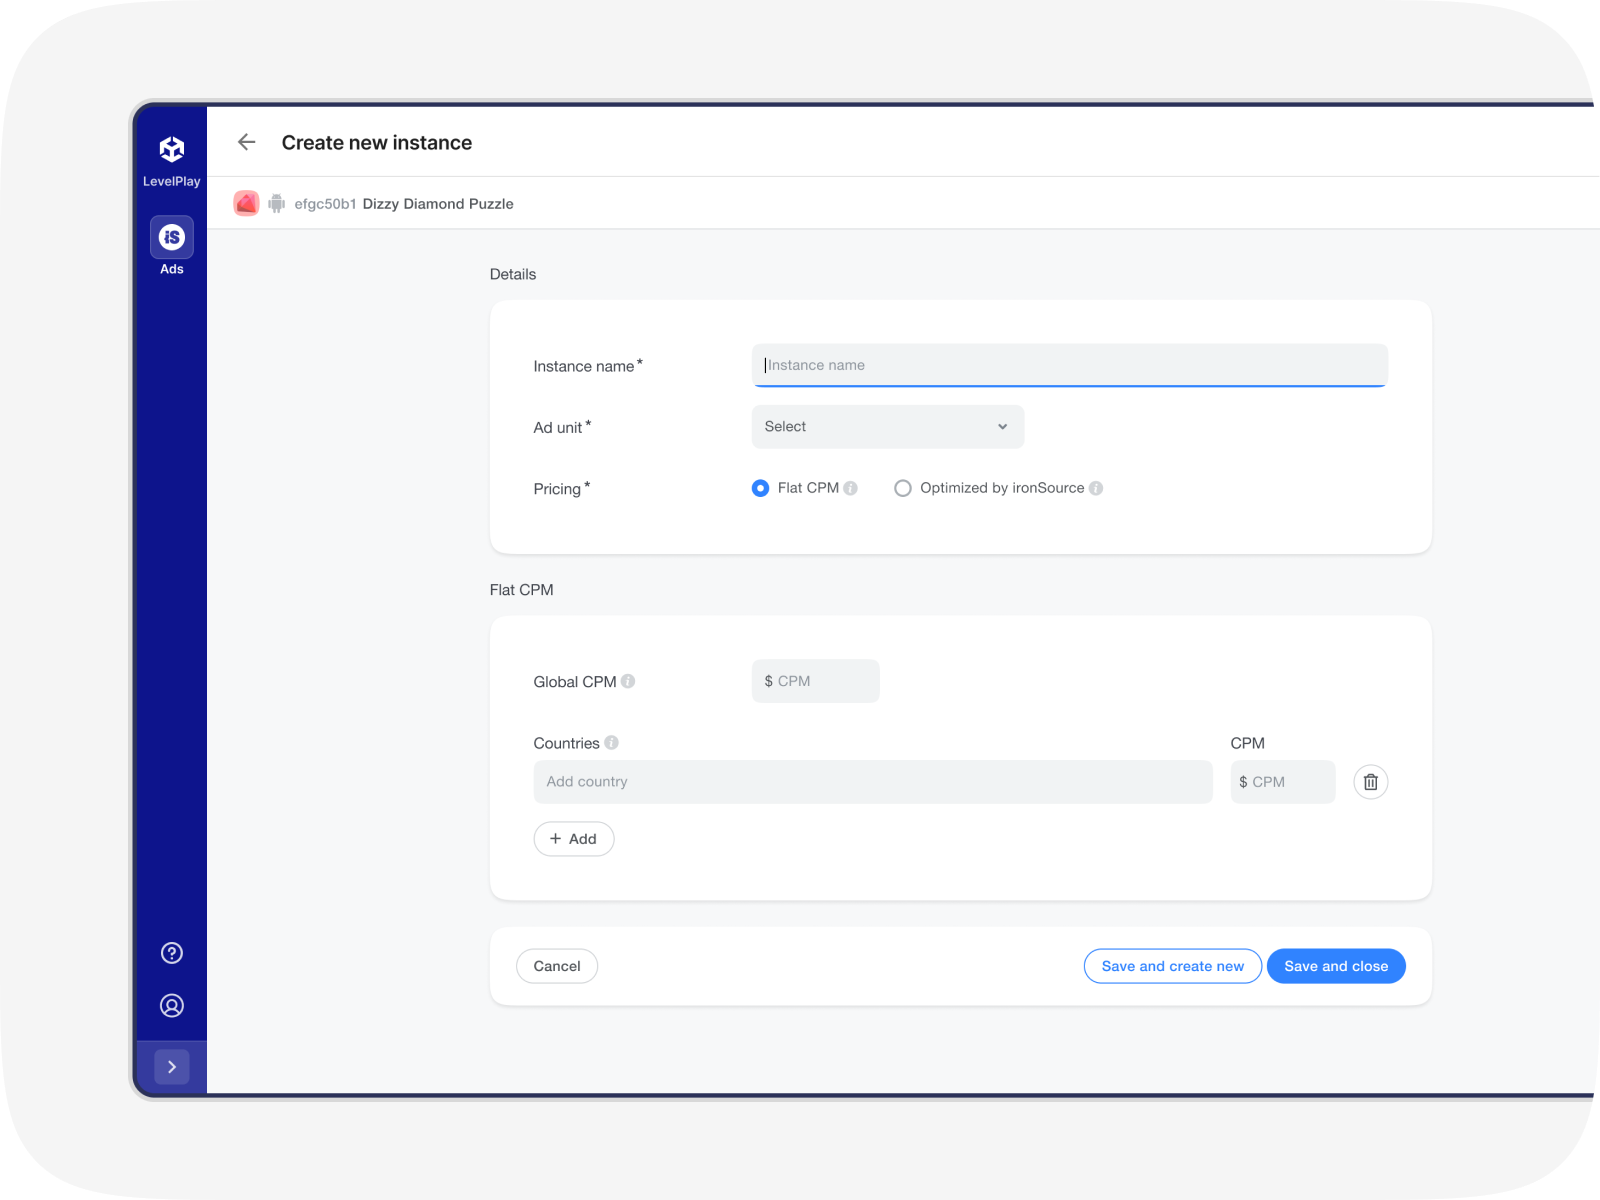
- Next, select if you want to set a flat CPM or use ironSource CPM optimization to dynamically set your CPM
- If you select a flat CPM, continue to the Flat CPM section on the page
- Enter a CPM next to Global CPM to have the same CPM for all countries. To set a different CPM for a specific country or a group of countries, simply start typing the country name in the Add country text field and select the country. Then, add your desired CPM for that country or group
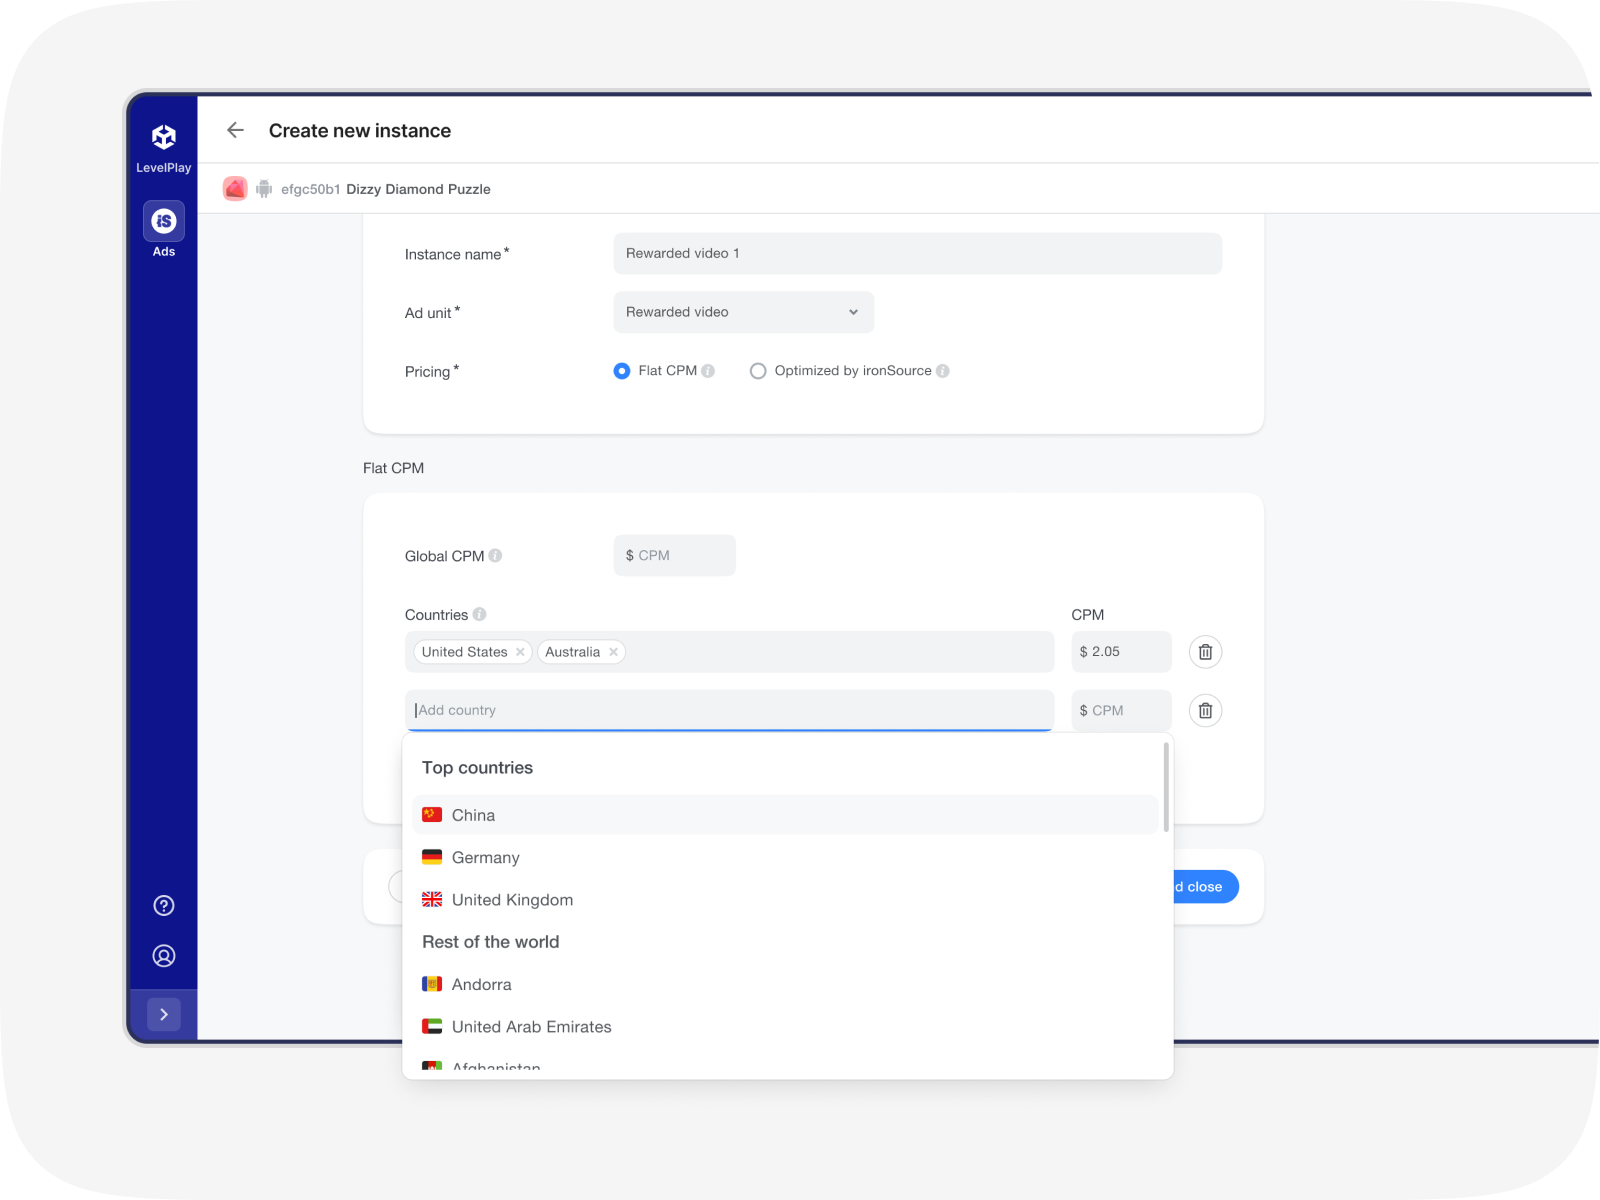
- Click save, and your instance will be active and visible on the Instances page.
Guidelines for setting CPM Targets
For every waterfall you are creating, on both the country and ad unit level, it’s recommended that you creat 3 unique ironSource Ads instances:
- A high-priced instance that should be placed at the top of the waterfall
- A mid-priced instance that should be placed in the middle of your waterfall
- A low instance that should be placed towards the bottom of your waterfall or in the auto-optimization section. It’s best to allow ironSource to automatically optimize eCPM for this instance to ensure the highest fill.
Done! You’ve successfully added additional ironSource instances!
What’s Next?
Head to our best practices guide for tips on how to best manage your waterfall with multiple instances.