User management
User management is a tool that supports team collaboration on your ironSource account. You can create a unique user login and profile for anyone who needs access to your ironSource account. For each user, you can assign corresponding privileges that allow different levels of access and control of the account.
Step 1. Navigate to the User Management Module
Owners on the ironSource platform can invite users to their corporate account.
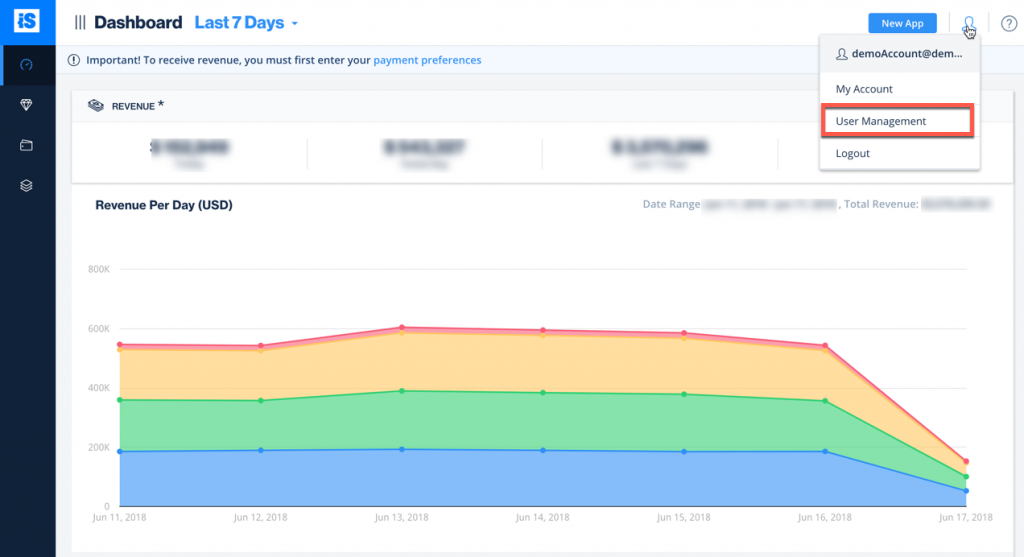
To do this, log in to your ironSource account and go to your profile dropdown on the top right of the screen. Select User Management.

Step 2. Set Up New User Profiles
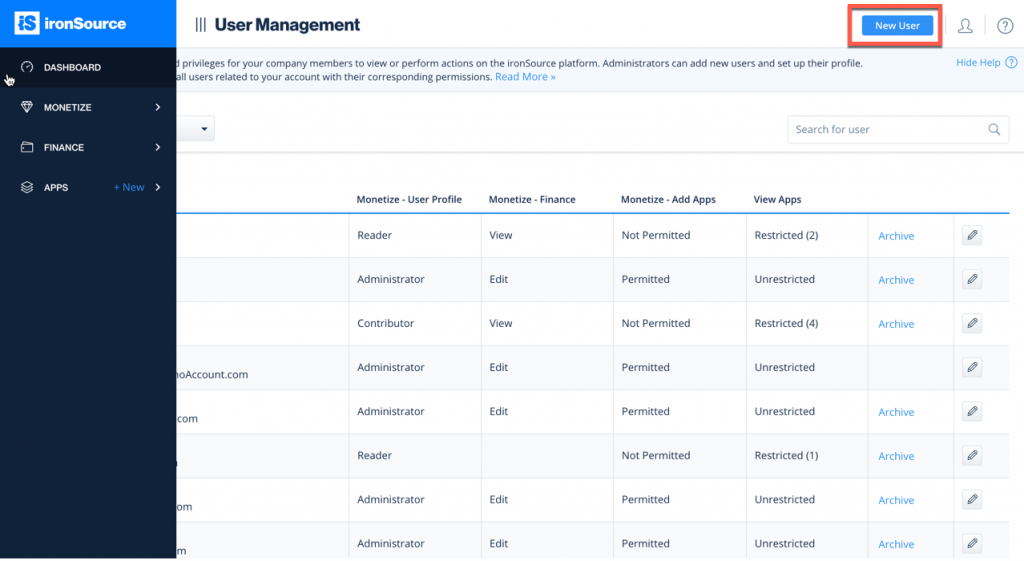
On the top right corner, select ‘New User‘:

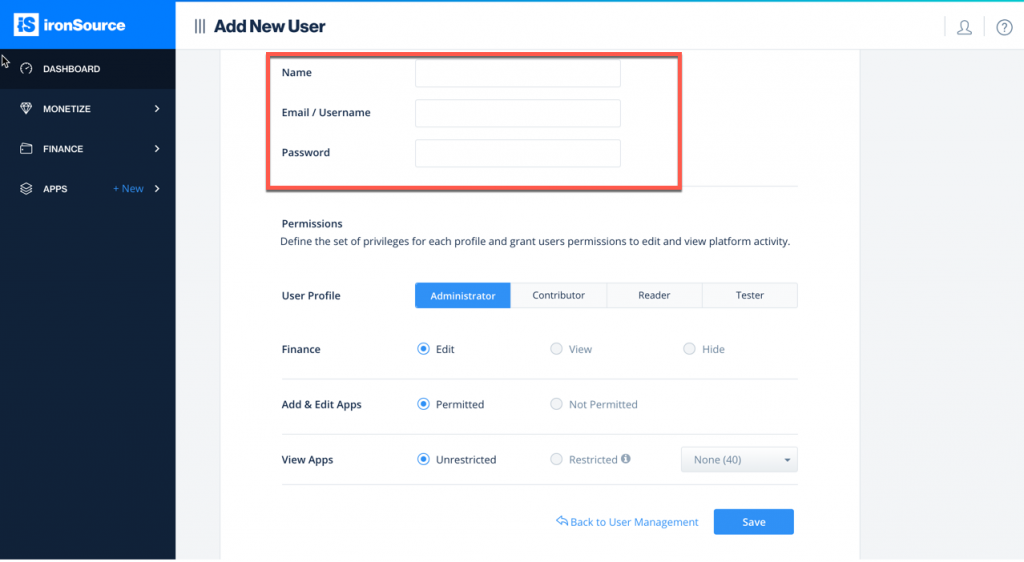
Enter the name, email/user name and password for the user you want to provide access to the ironSource dashboard.

Then, define their role based on the level of access you’d like to provide them:
- Owner: Can perform all actions and view all settings on the ironSource platform as well as assign user profiles and define user privileges. There must be at least one active owner user for an account at all times
- Manager: Can perform all actions and view all activity on the ironSource platform, unless defined otherwise by the owner.
- User: Can view all pages but cannot perform any actions. This user cannot assign or manage user privileges
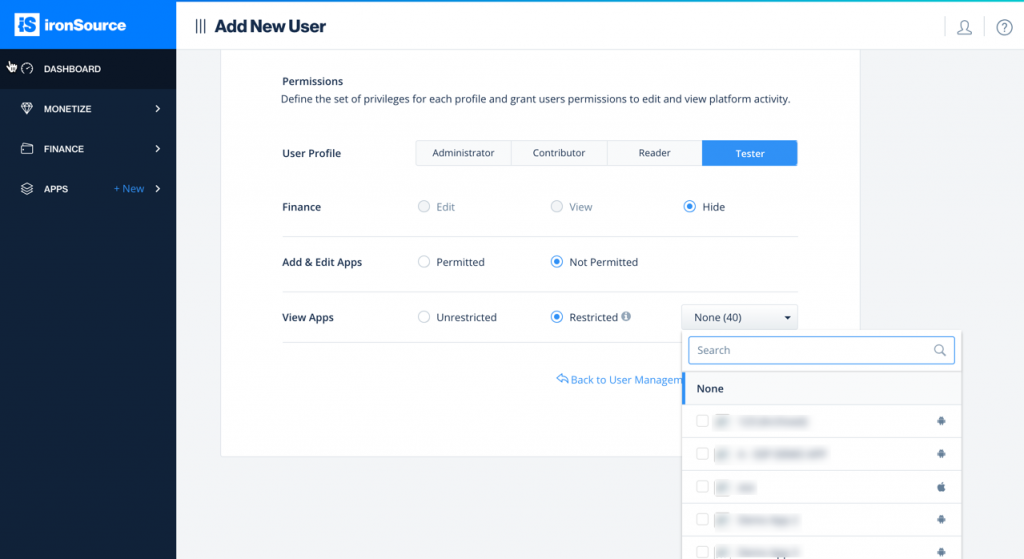
- Guest: A guest cannot view Reports and Finance data. This user can read only Setup section while able to setup test devices
Define the apps Manager, User and Guest users can access:

Then click ‘Save‘. You’ll see the user with a summary of set privileges on the main User Management page. If the account is no longer in use, you can archive it to disable login and reactivate it in the future.

