
Verve Integration Guide
This guide will instruct you step-by-step on how to set Verve as an Ad Network on Unity LevelPlay.
Step 1. Create a Verve account
To enable Verve ad inventory through Unity LevelPlay Mediation, you must have an approved Verve account. If you do not have an account, contact Verve at ironsourcebidding@verve.com to learn how to obtain one.
Step 2. Activate your Verve account
After successfully completing the registration process, Verve will send you an email to activate your account. Upon activation, you will receive another email containing essential integration information, including:
- App Token
- Zone Reference
- App-ads.txt List
- SKAdNetwork ID (for iOS apps)
Step 3. Activate Verve on the LevelPlay platform
-
- Log into your LevelPlay account and go to the LevelPlay side nav bar ➣ Setup ➣ SDK Networks
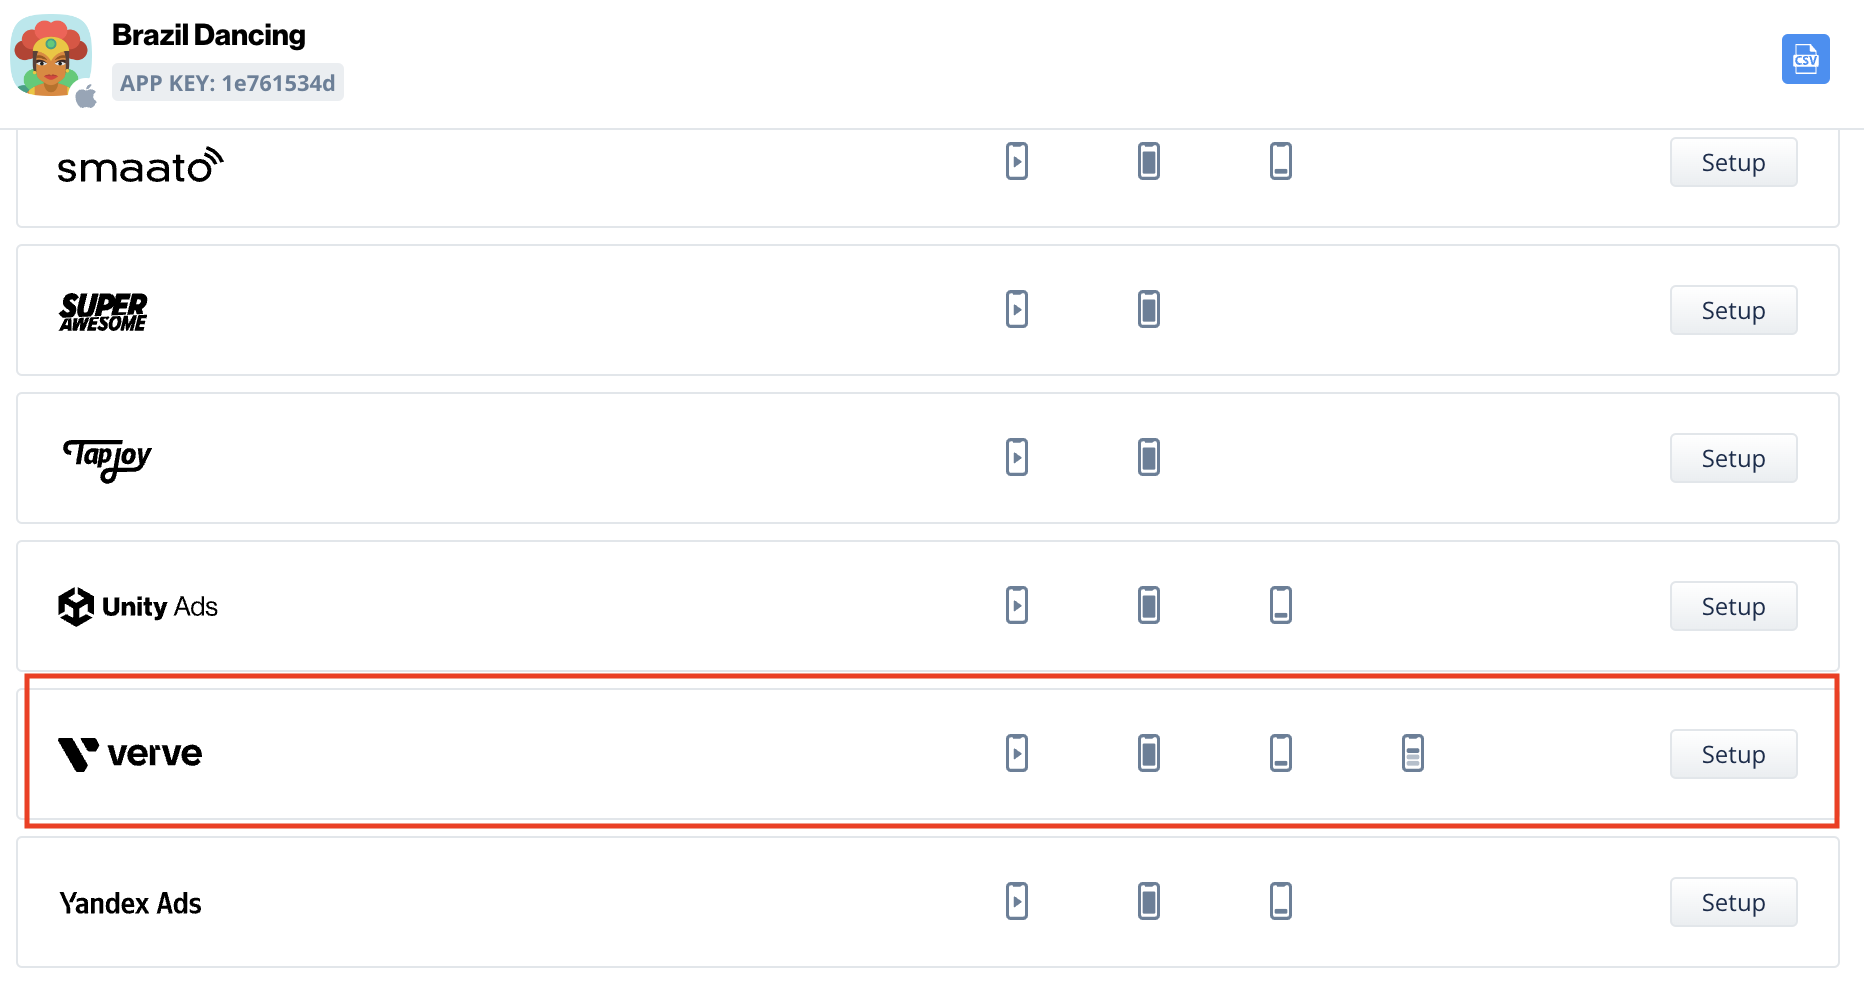
- Click on Manage Networks and select Verve from the list of available ad networks
- Next, select the app on which you’d like to run Unity LevelPlay’s Mediation with Verve bidding.
- Select Verev from the setup list of Ad Networks and click on the tool Setup button.
- Then, insert the App Token and Zone ID (step 2) under Interstitial, Rewarded Video, Banner, and Native settings. Then click Save.
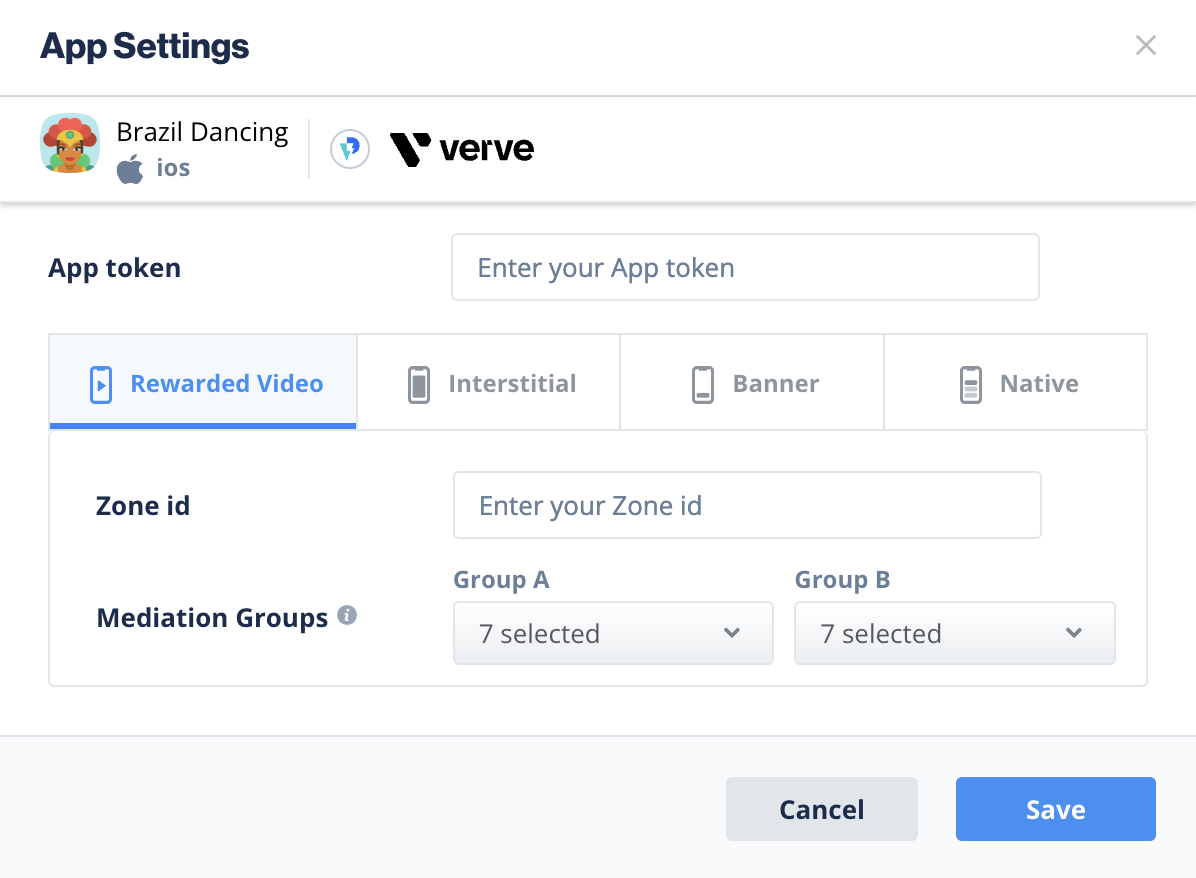
- The Verve network will be active for your app.
Step 4. Add the Verve Adapter to Your Build
LevelPlay SDK supports both Cocoapods and Manual download mechanisms.
Download the Verve Adapter with Cocoapods
To integrate the Verve SDK with Cocoapods, enter the following line in your podfile and you’re good to go!
pod 'IronSourceVerveAdapter','5.2.0.0'
Done!
You are now all set to deliver Verve within your application!