
How to manage your ad units
Once you’ve added your app to your account, you can manage all your ad units settings from the Ad Units page. This article will take you through how to manage each ad unit’s settings so you can start monetizing with them.
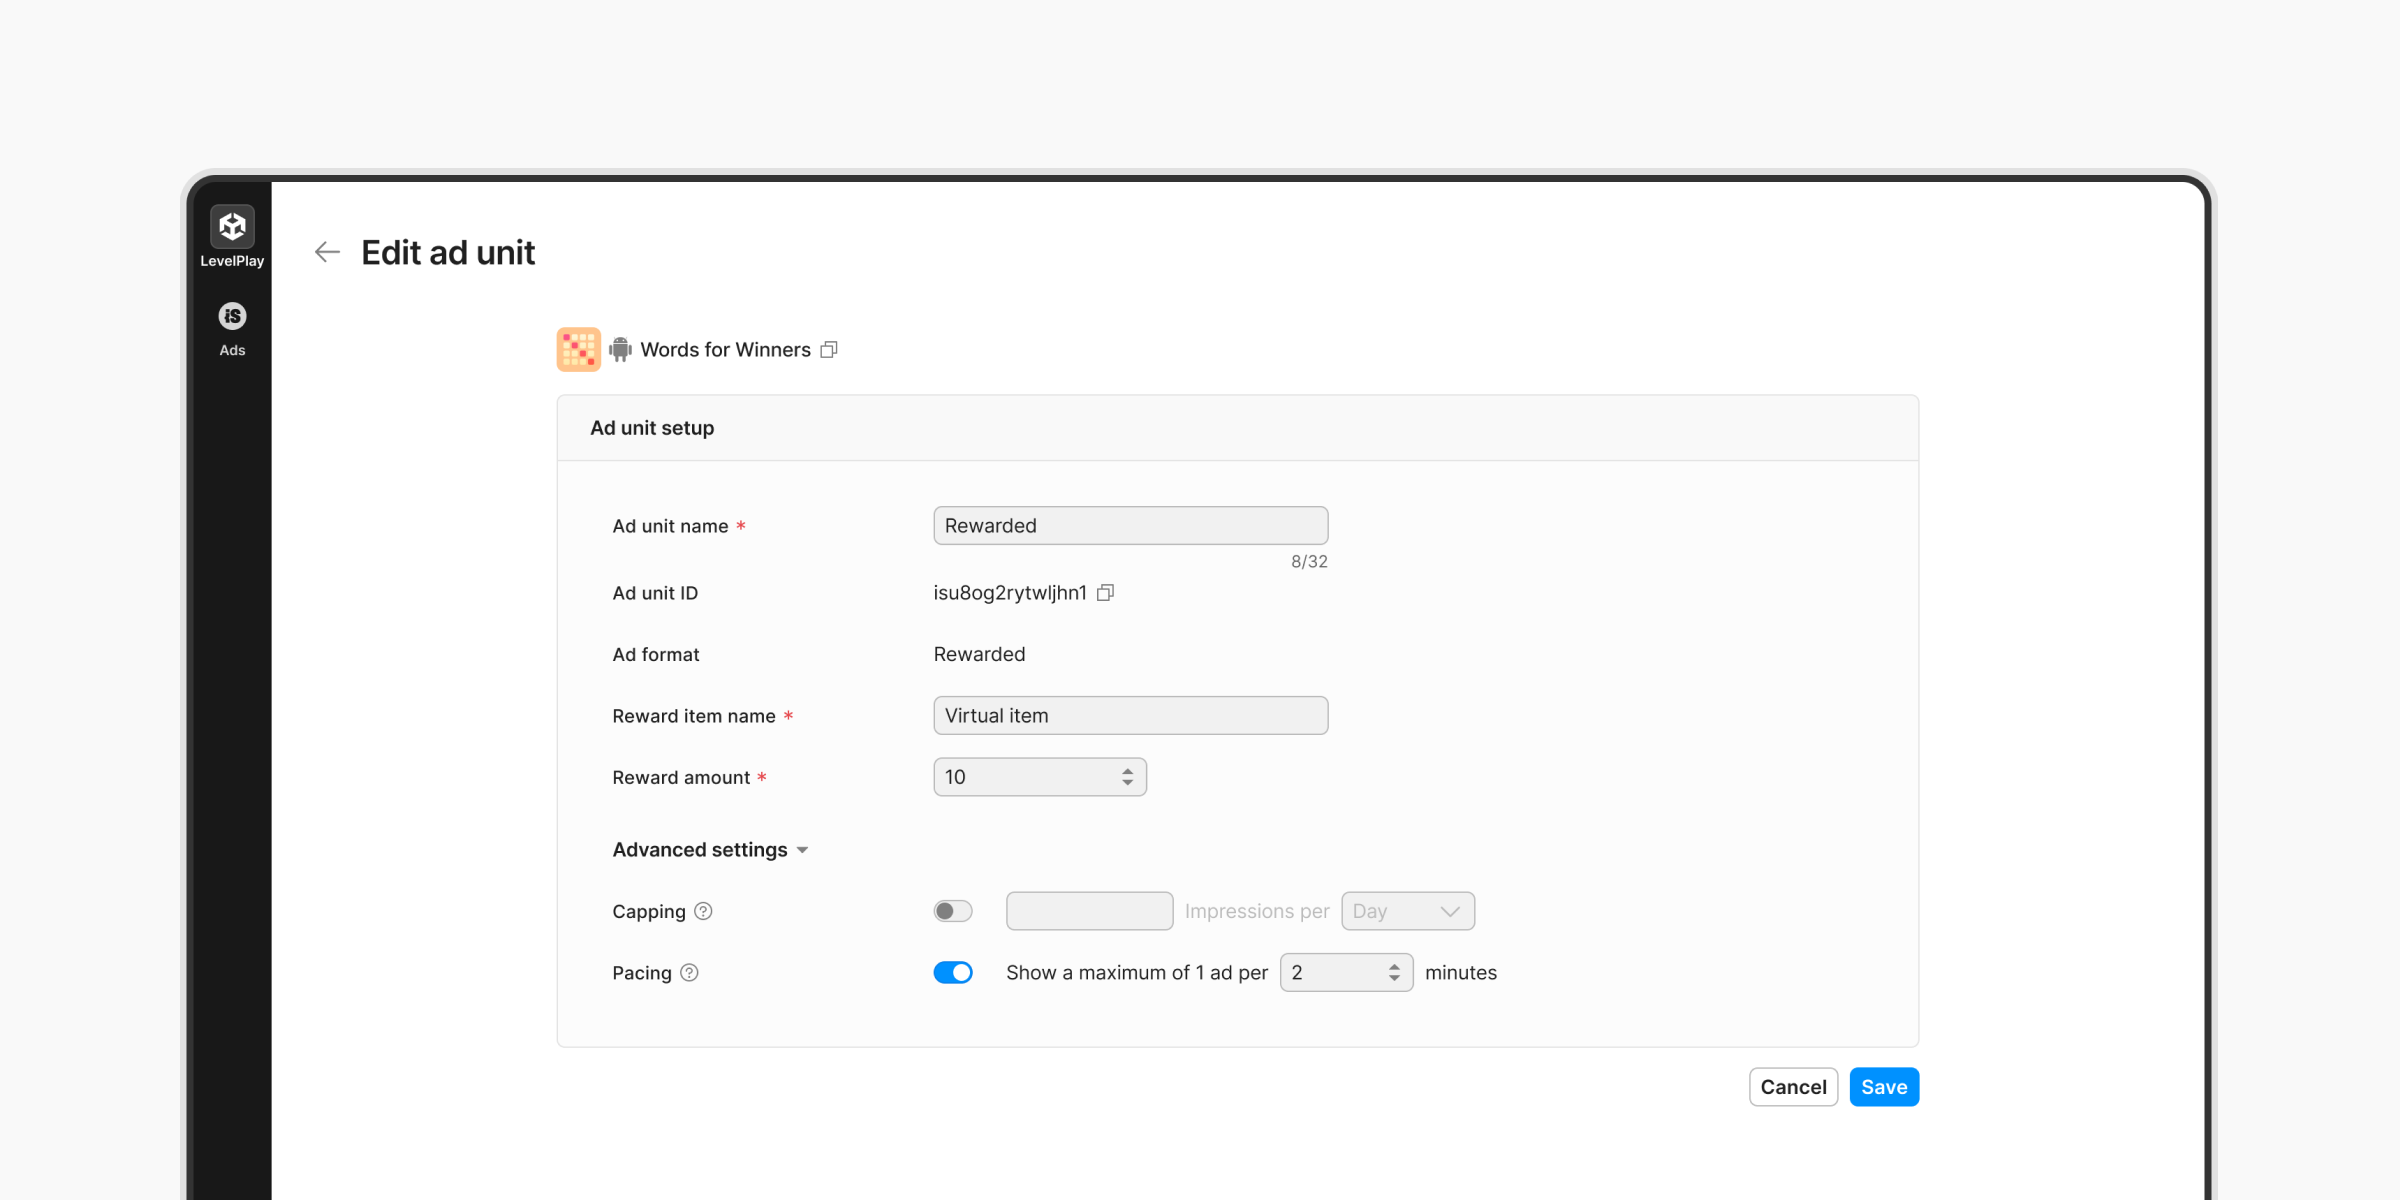
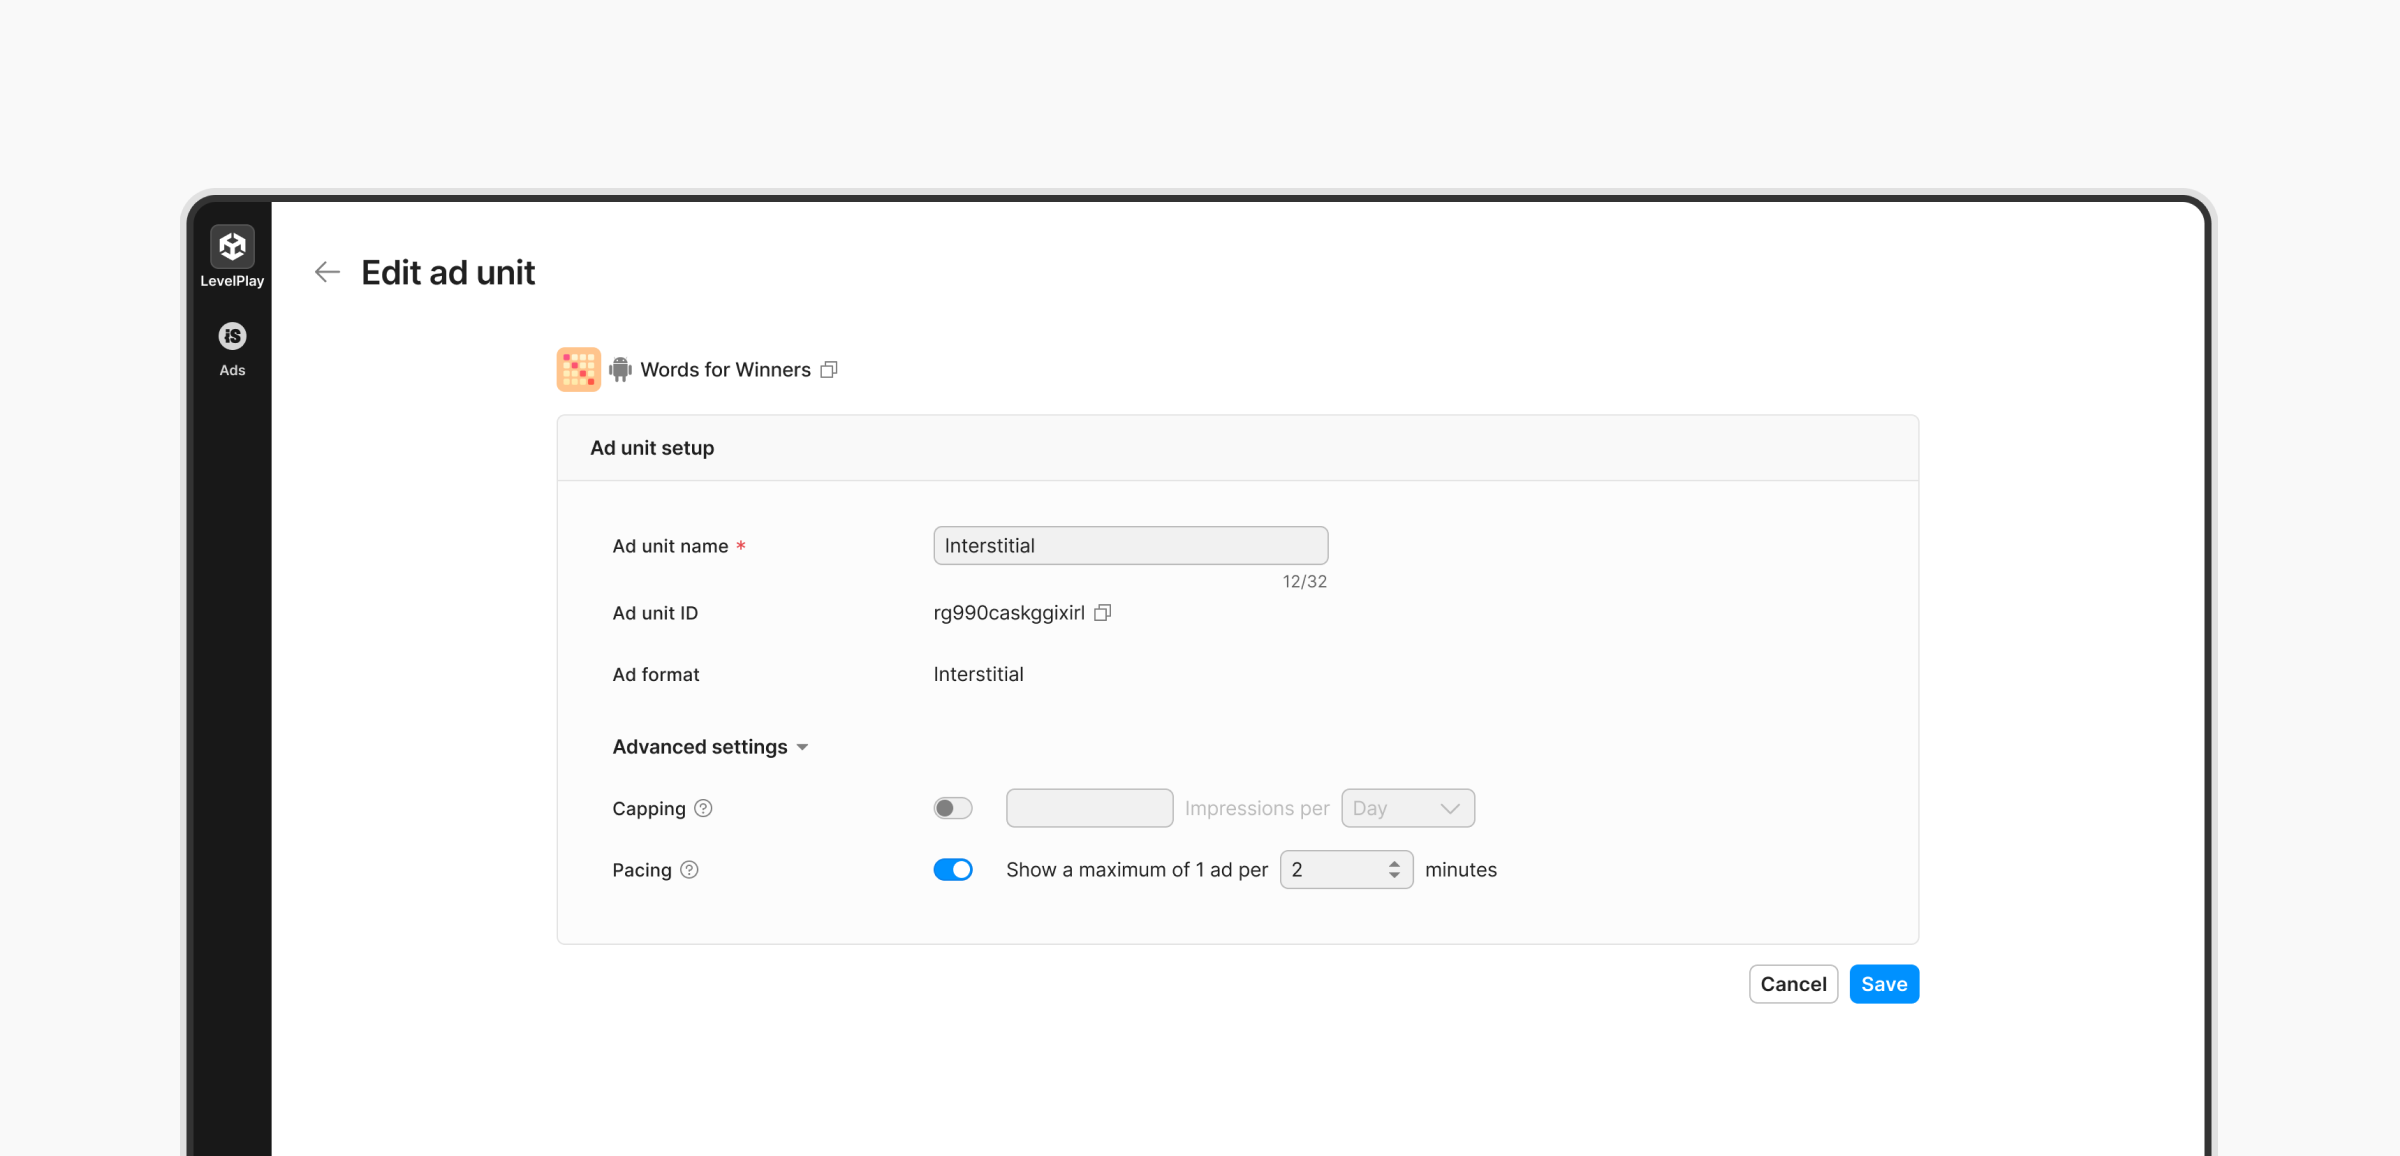
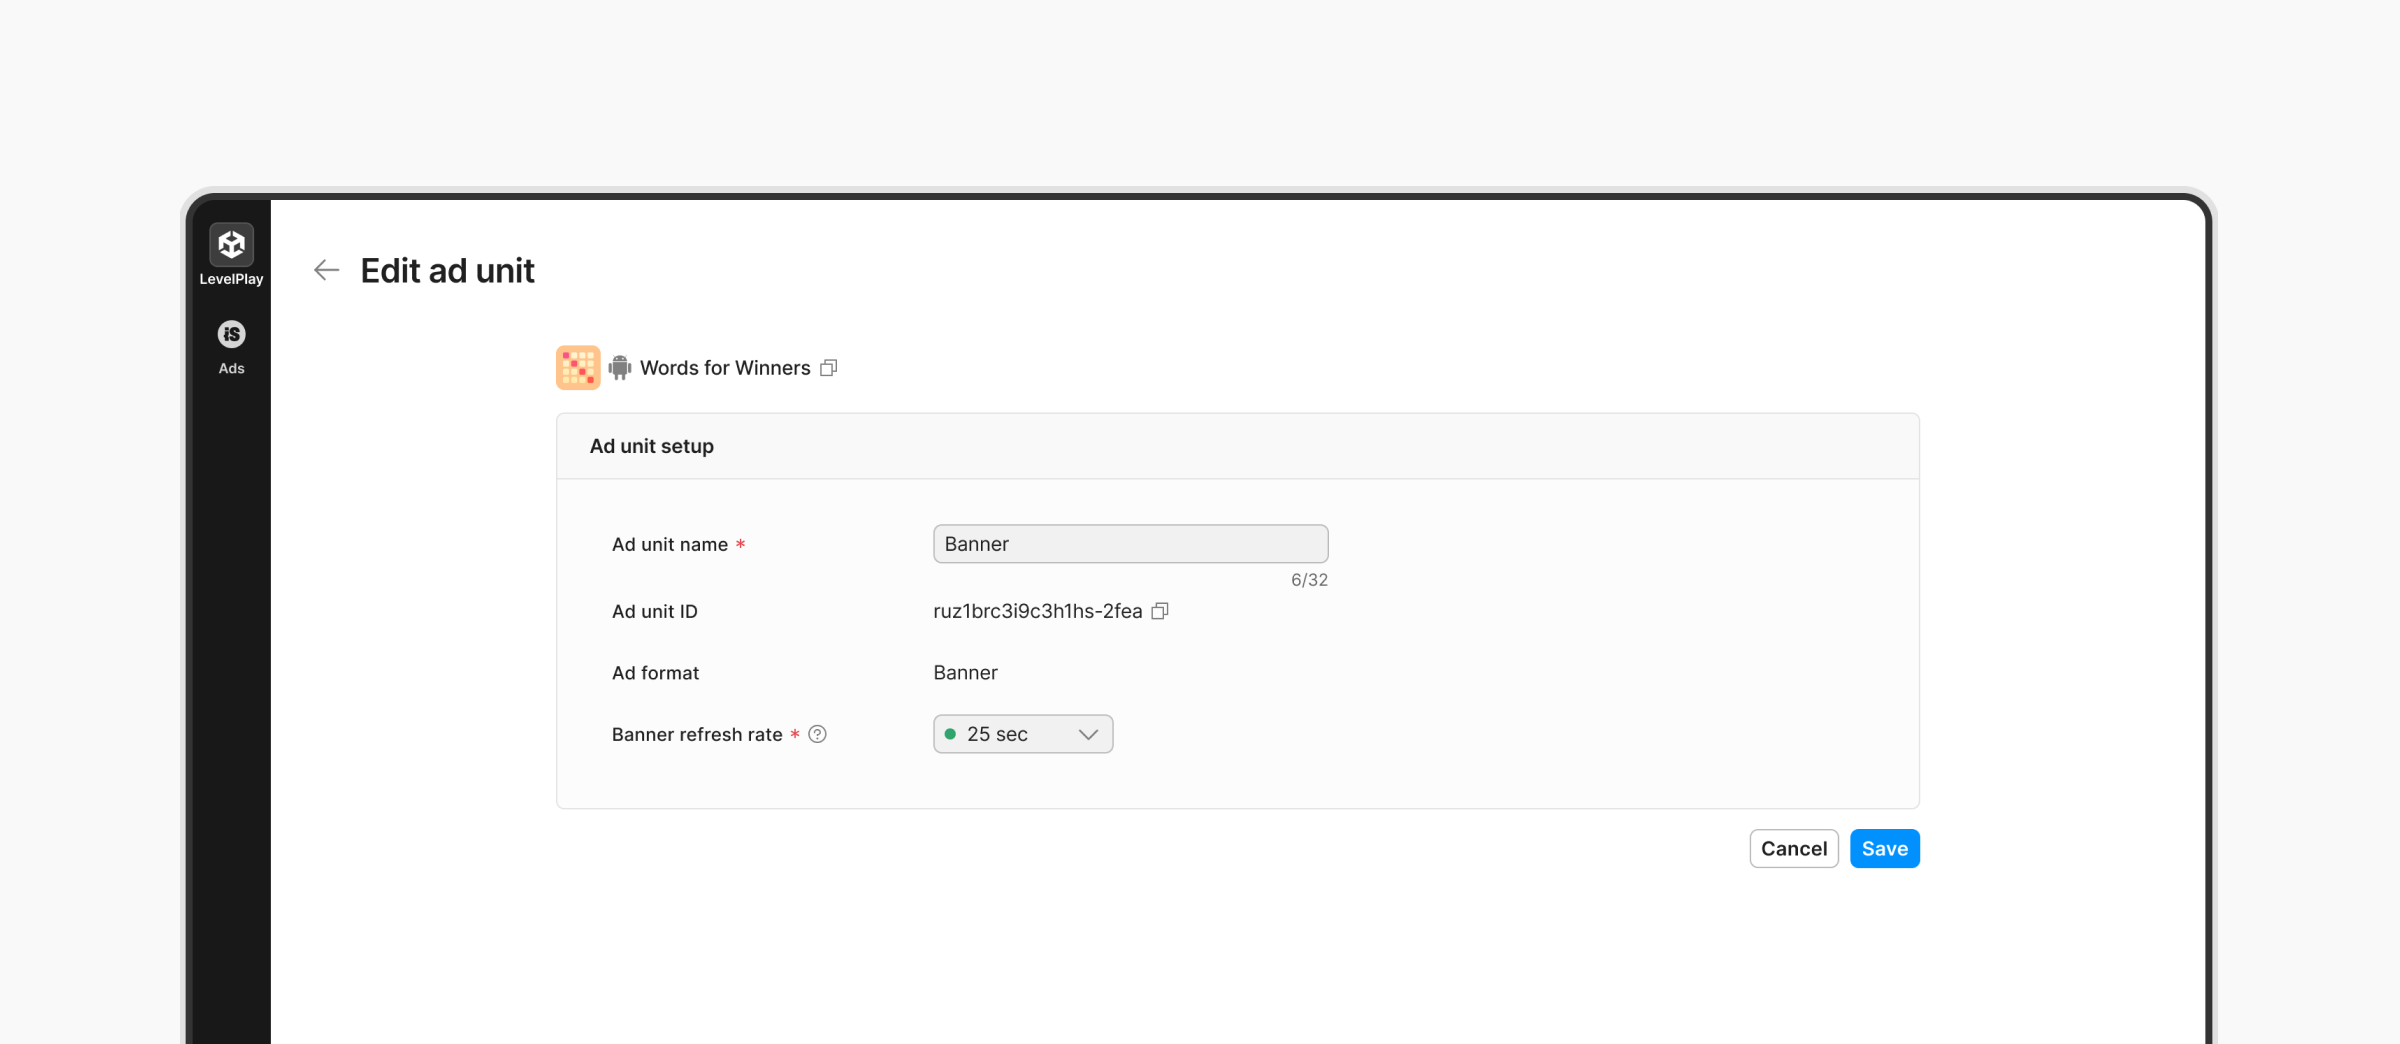
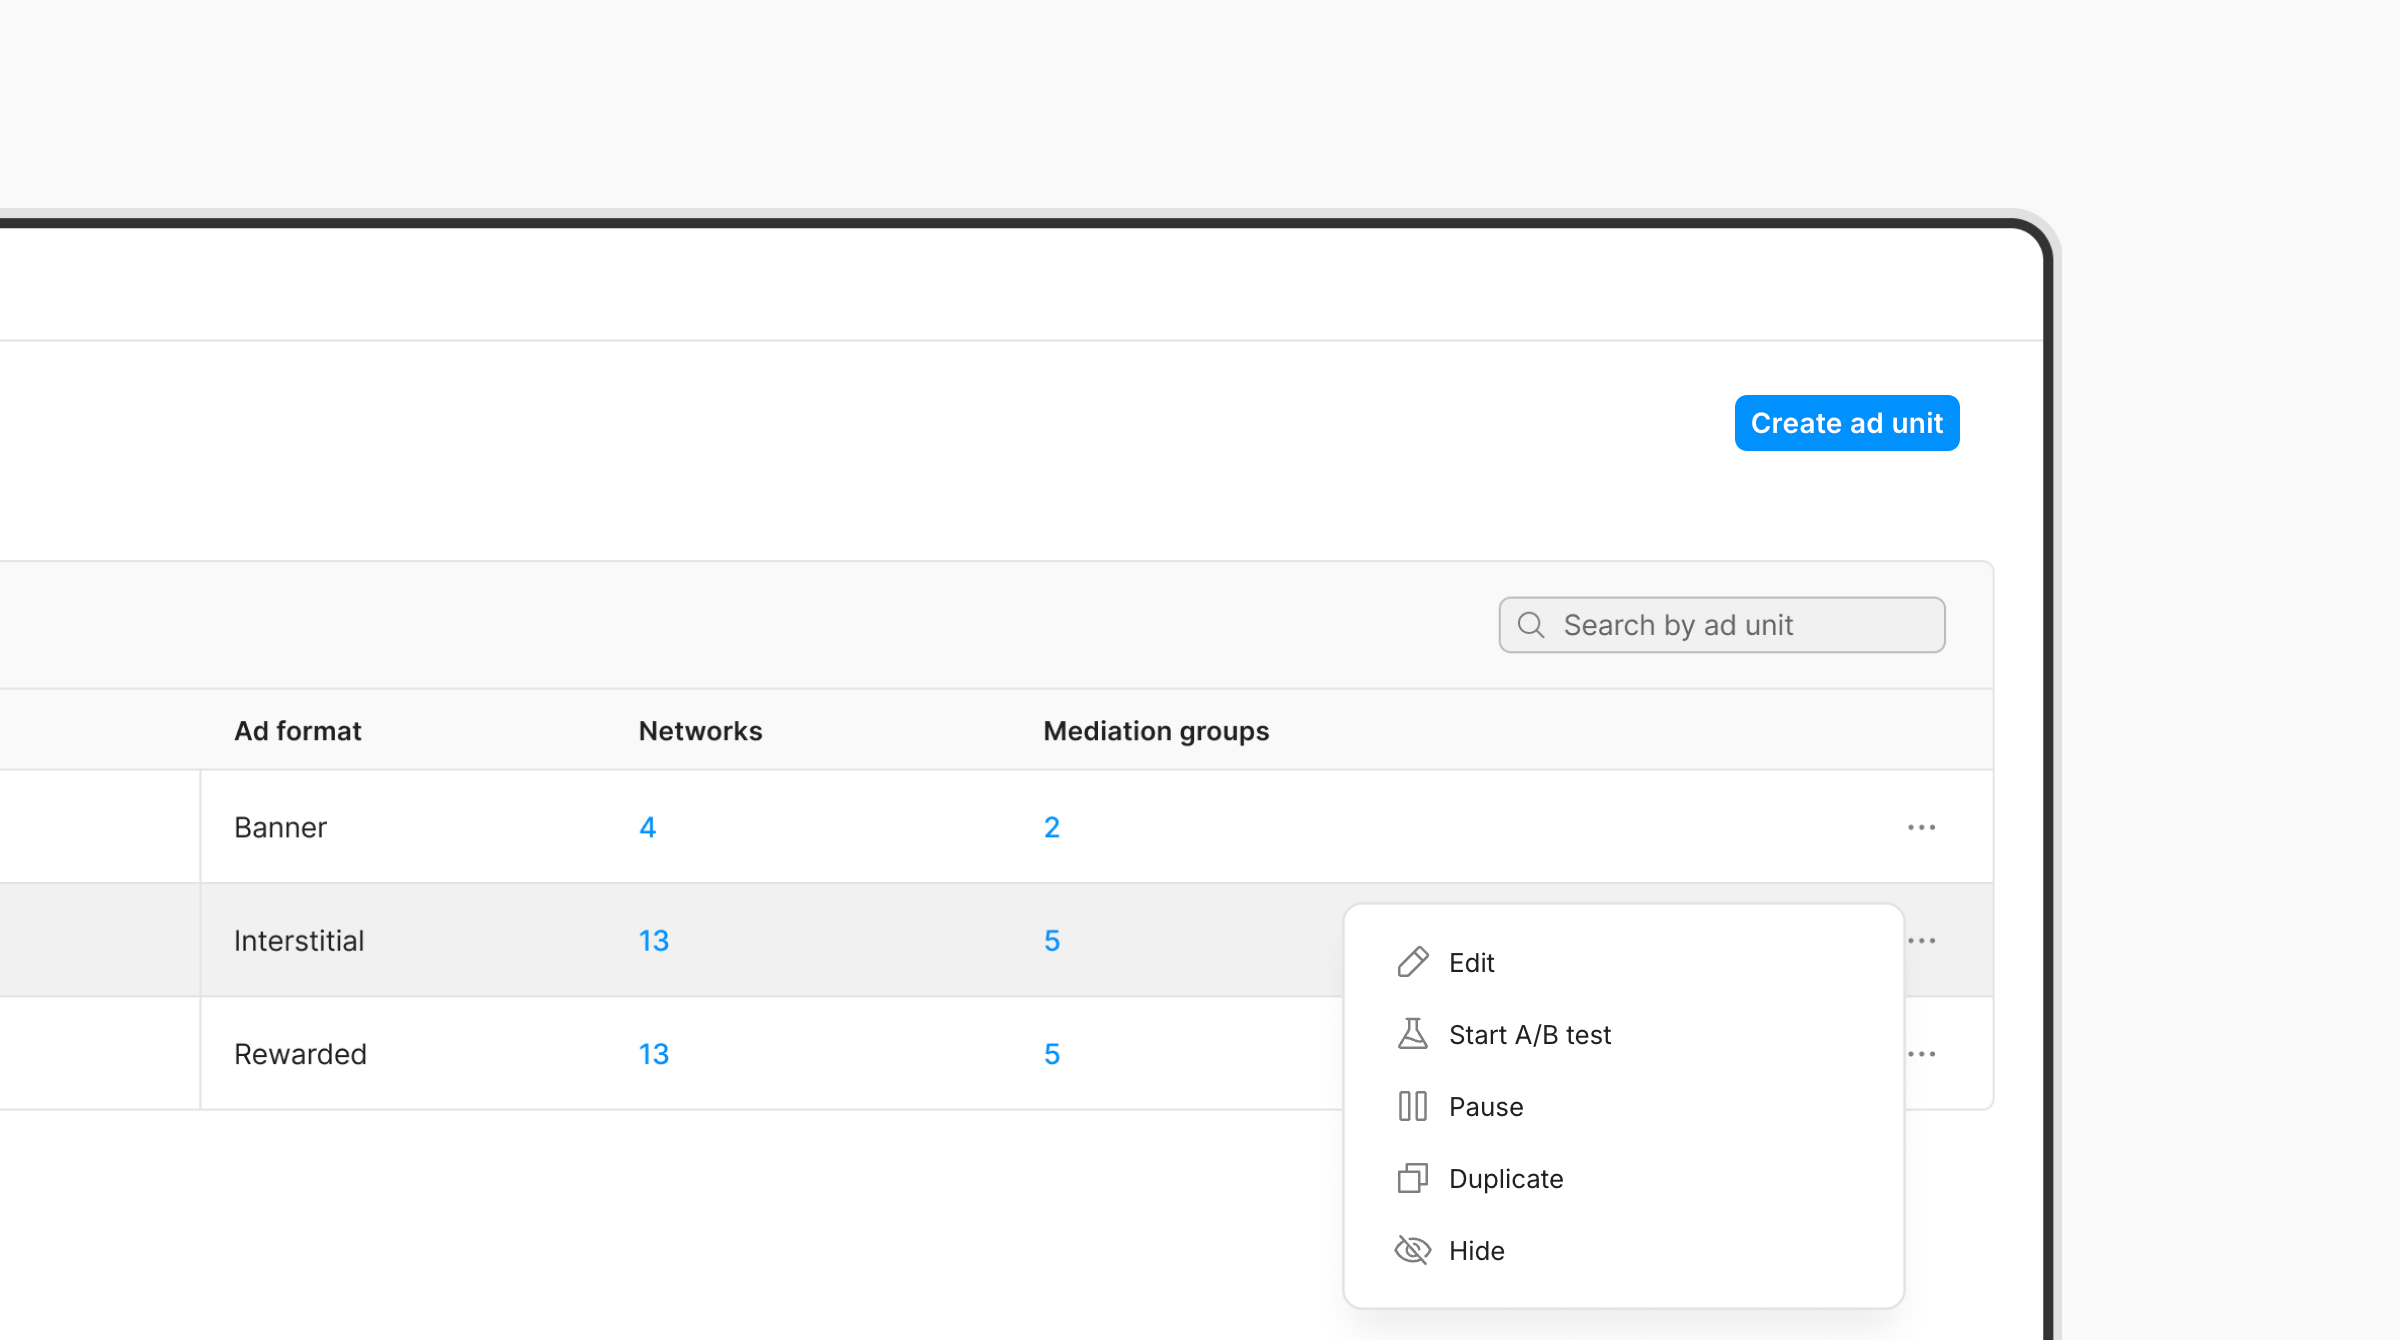
To start monetizing with your selected ad units, you’ll need to integrate the ad unit into your code: Click on the name of the ad unit in the table to edit its settings: Once you’ve clicked on Edit for rewarded video, you can see the current setup for the ad unit, including: Customize the ad unit name, virtual item name, reward amount, and advance settings by clicking on the relevant field and updating the settings to your preference. Once you’ve clicked on Edit for the interstitial ad unit, you can see the current setup for the ad unit, including: Customize the ad unit name and advance settings by clicking on the relevant field and updating the settings to your preference. Once you’ve clicked on Edit for the banner ad unit, you can see the current setup for the ad unit, including: Customize the ad unit name and banner refresh rate by clicking on the relevant field and updating the settings to your preference. To create additional ad units: Loading ads with specific ad units requires using the new APIs that require an ad unit ID as a parameter. Follow the integration guides to start using multiple ad units in your app: Minimum requirements: ironSource SDK 8.4.0 Click on the action button at the end of an ad unit’s row to: LevelPlay reward-based ad units support server-side events to notify you of rewards that must be granted to your users after successful ad completion events. Learn more about how to set your server-to server callbacks here.Select your app
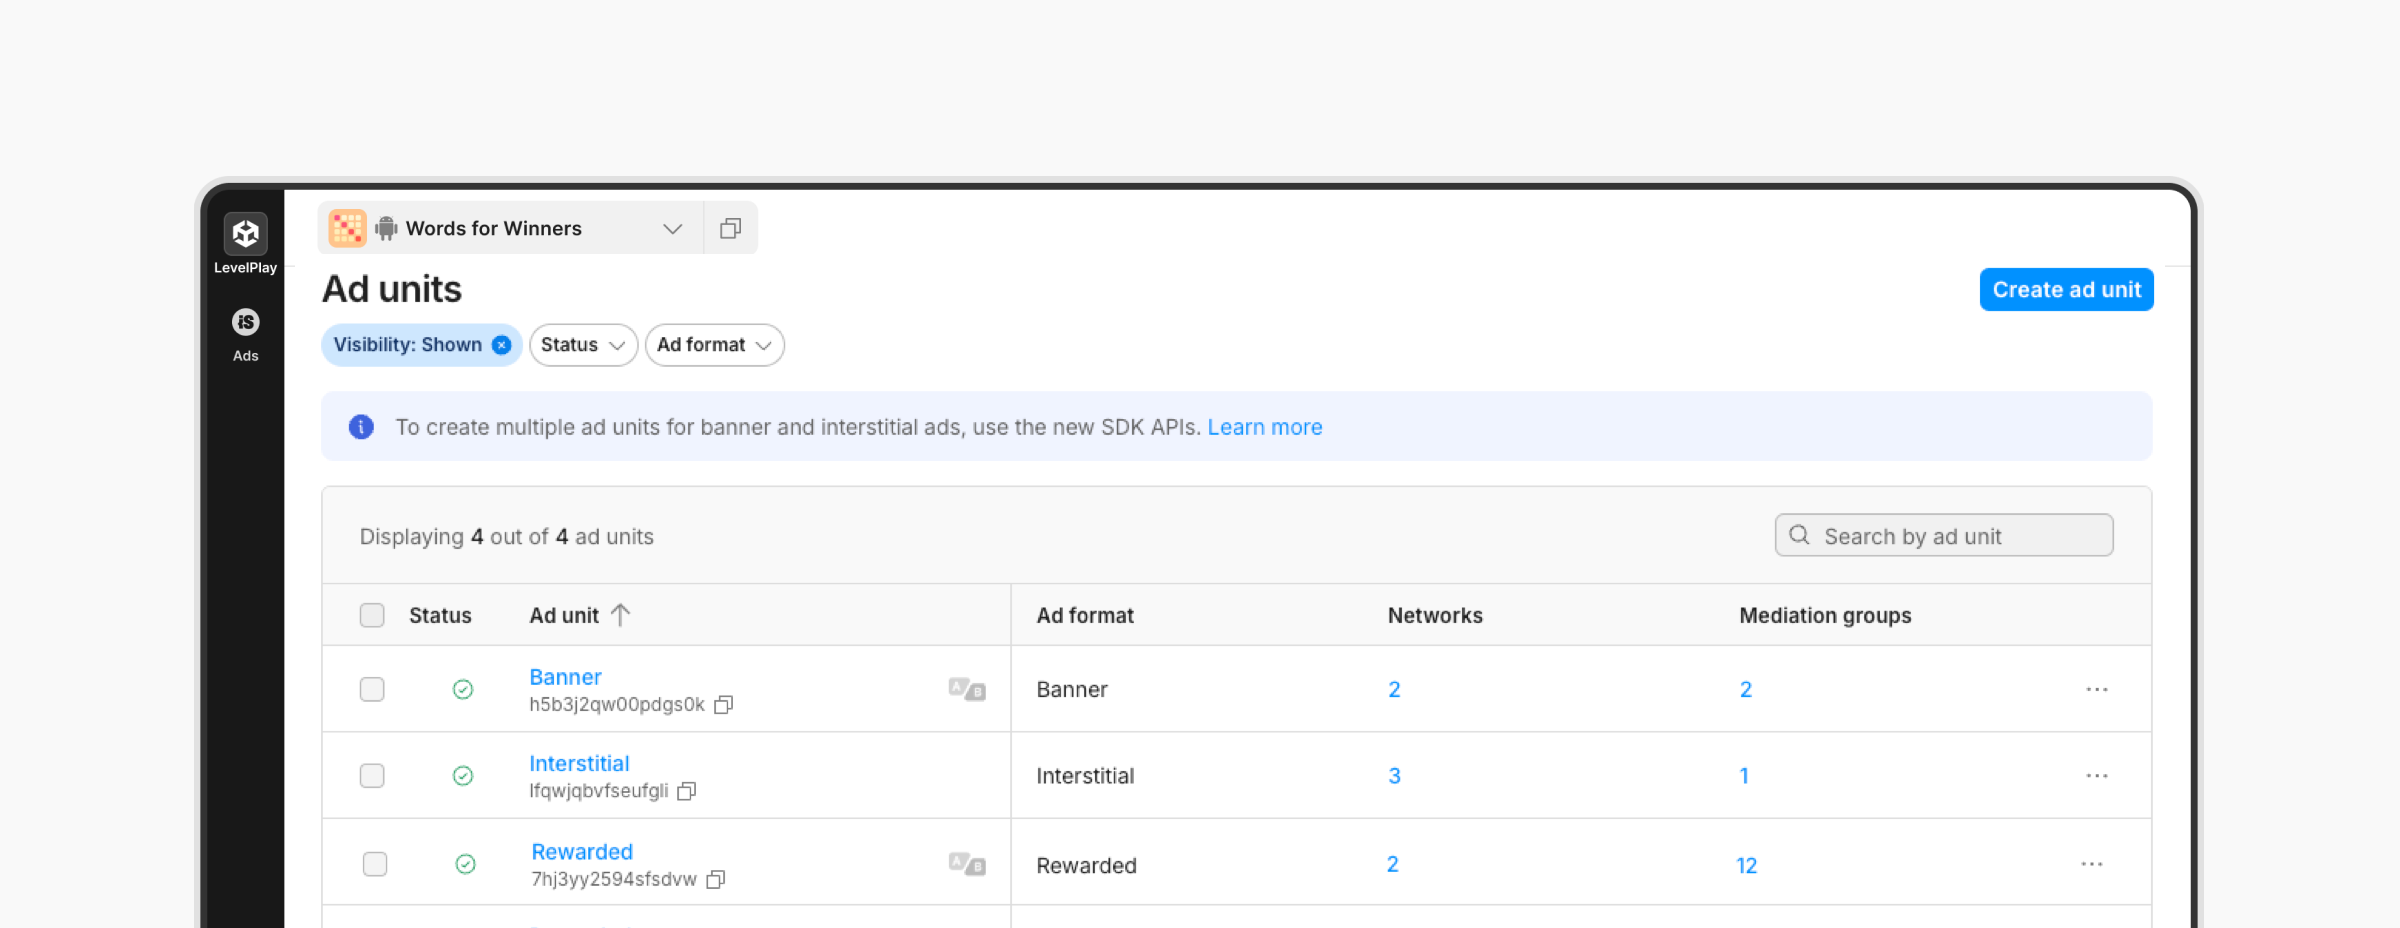
Manage your app’s ad units
Rewarded
Interstitial
Banner
Create multiple ad units in LevelPlay
Pause and hide an ad unit
Configure Callbacks