
How to use capping and pacing
Capping and pacing settings give you more control over your user experience while finding the right balance between ads, retention, and revenue. Capping limits the number of ads you serve, and pacing limits the time interval between ads.
LevelPlay gives you the ability to set your app’s capping and pacing by ad unit, ad placement, or both. When you use both, the more restrictive settings will be applied.
By ad unit: This enables you to control the number of rewarded video and interstitial ads delivered over a user’s entire session. For example, you could test capping interstitials at 2 times per 24 hours to see if it helps your retention rate.
By placement: This helps you ensure you’re serving the optimal number of ads at each location in your app. For example, if you define a placement at app launch and apply capping settings, you can ensure that a user who opens your app several times won’t always see an ad at app launch, which creates a better user experience.
Setup
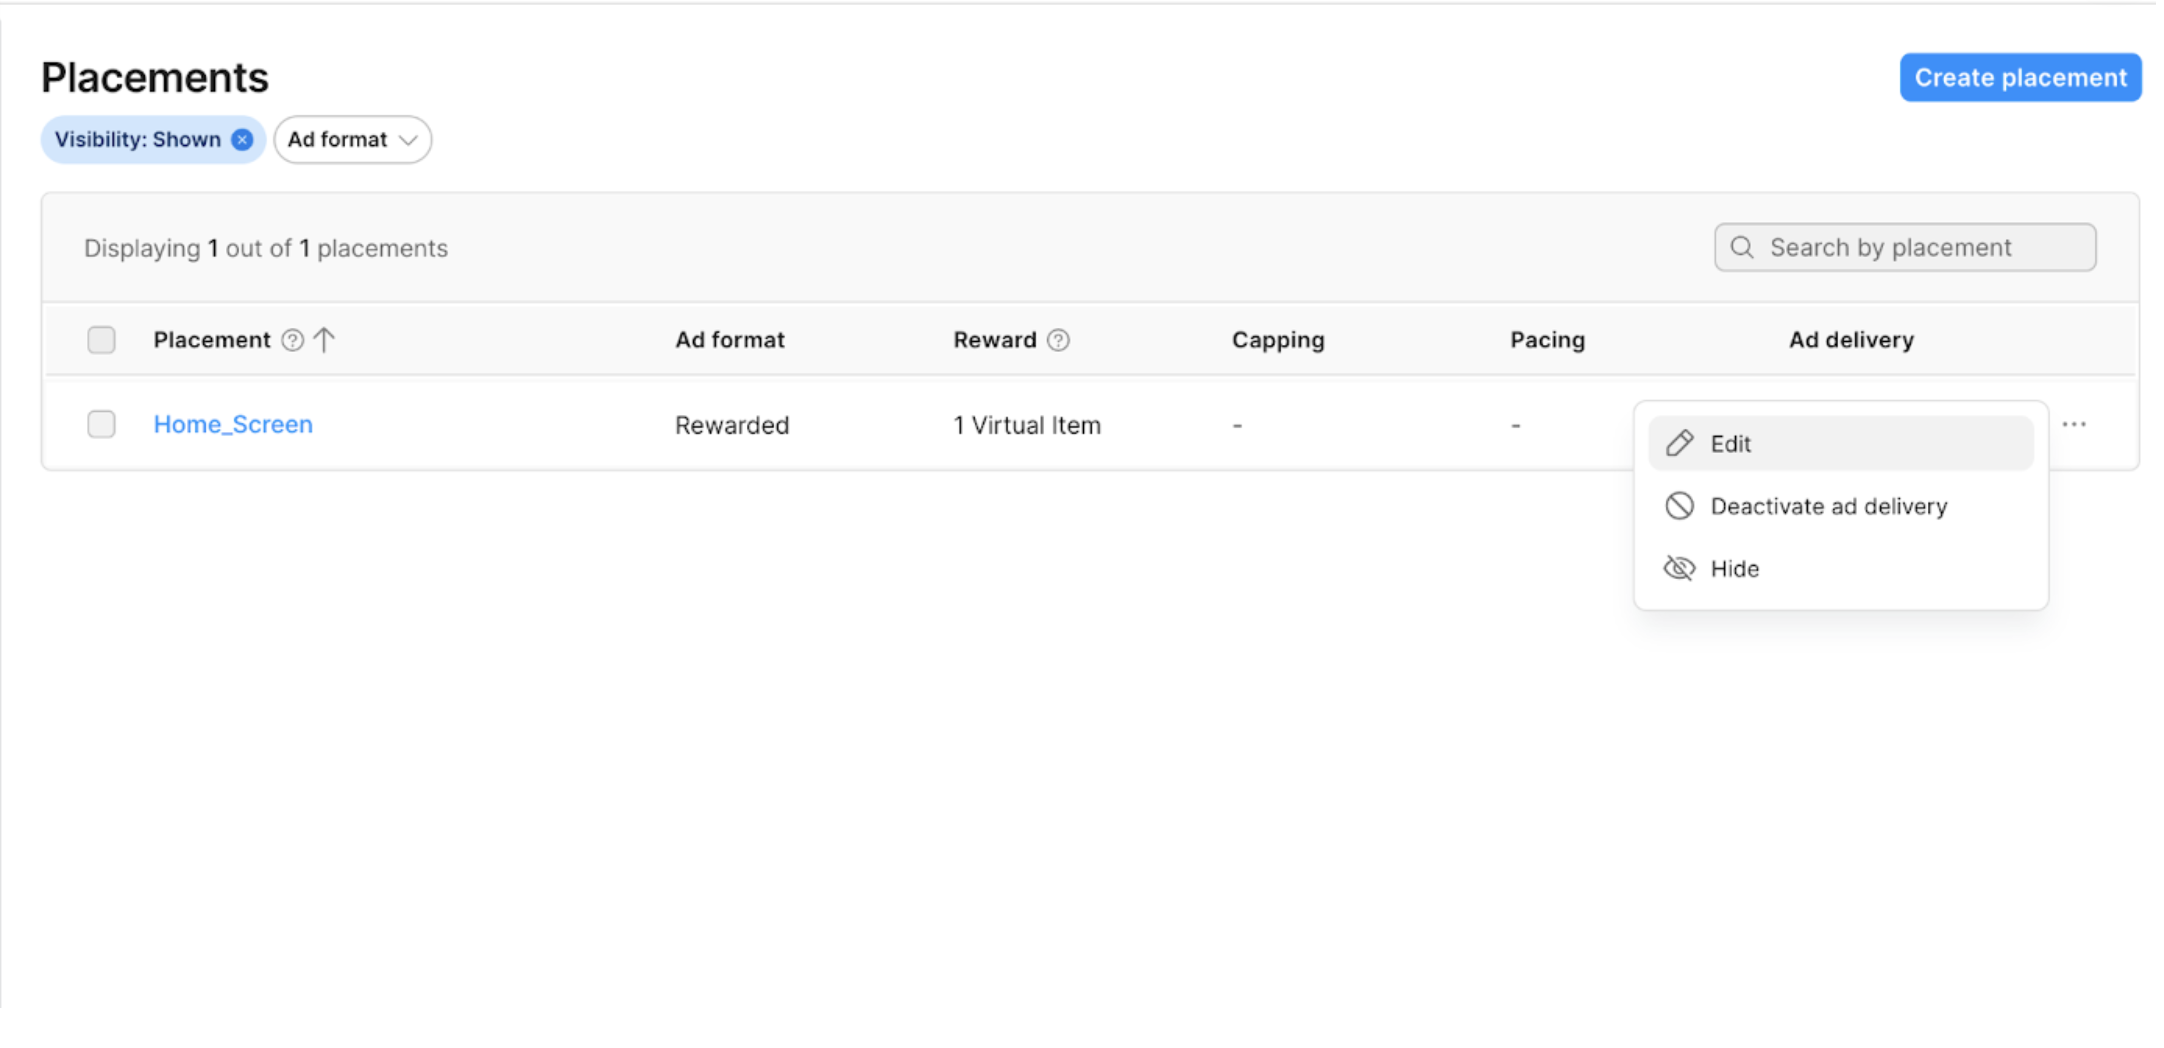
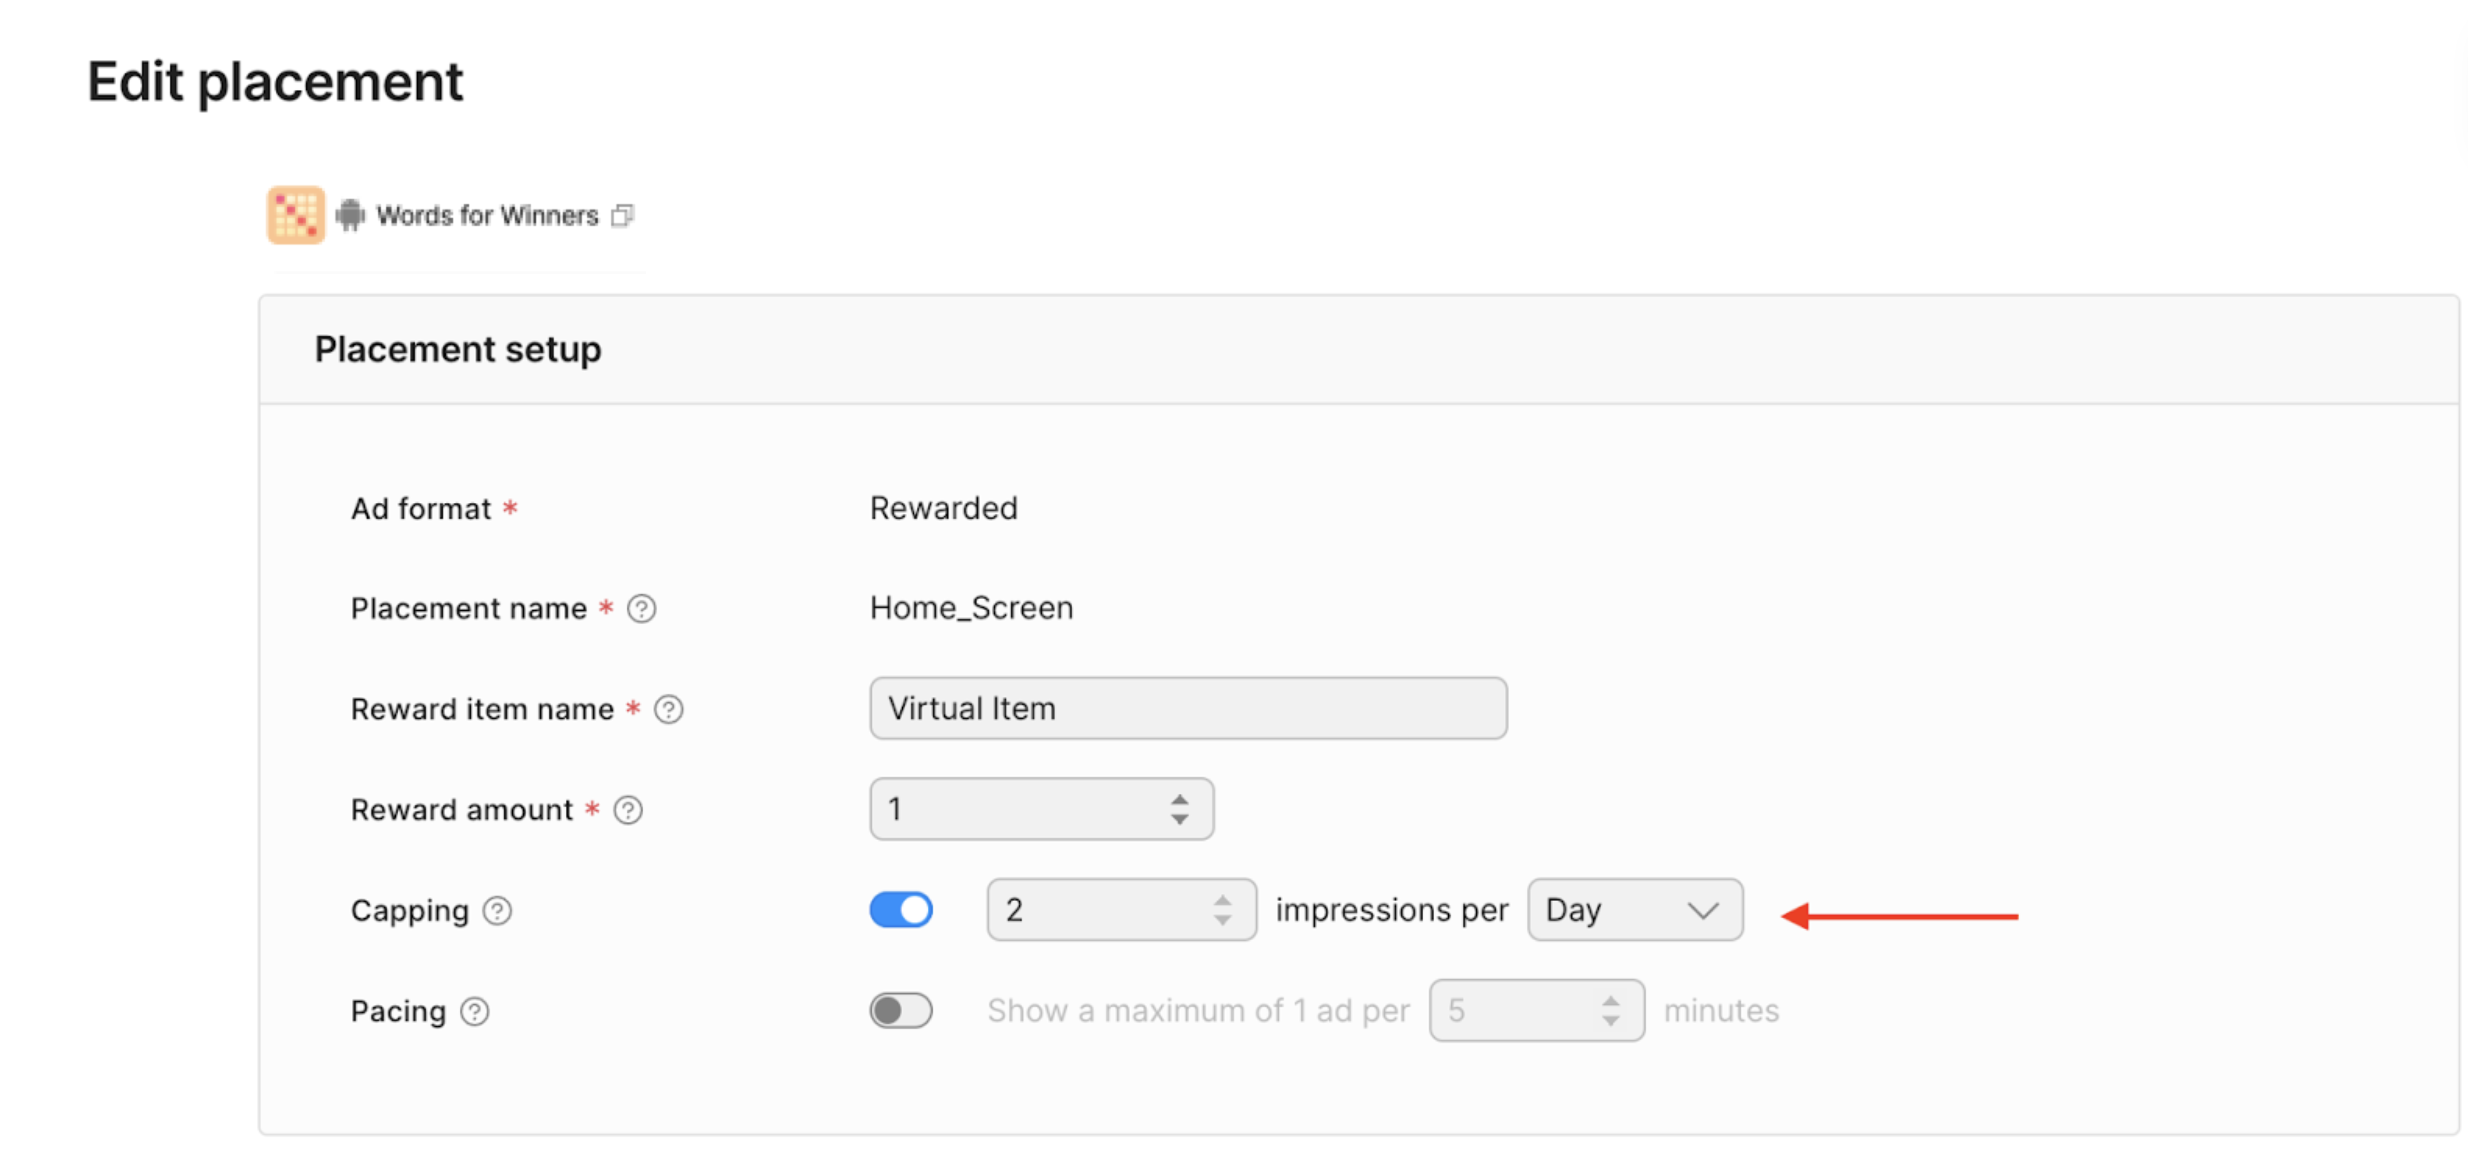
Placement
Once you’ve added one or more placements, you can set up placement-level capping and pacing.
- Log in to LevelPlay
- Go to the Placements page
- Select the app and ad unit you’d like to apply settings to
- Click the edit button
- Set the capping to your desired number of impressions per day or hour
- Set the pacing to your desired frequency
Ad unit
- Log in to LevelPlay
- Go to the Ad Units page
- Select the app and ad unit you’d like to apply settings to
- Click Edit
- Click on Advance settings and edit your capping and pacing by toggling on the relevant fields and entering your desired configuration.