
Direct deals
Unity LevelPlay allows you to run direct-sold campaigns that bid against networks for impressions in real time, so you can maximize revenue. You can also control the delivery of your direct campaigns with capping and pacing settings.
Direct deals support rewarded video, interstitial, and banner/MREC ads.
Before you get started, contact us or reach out to your account manager to enable direct deals in your account.
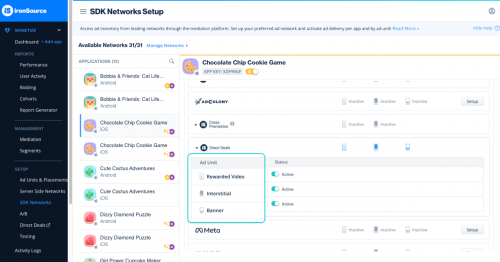
Step 1: Activate direct deals on the ironSource platform
Once you log in to your ironSource account, go to Monetize ➣ Setup ➣ SDK Networks:
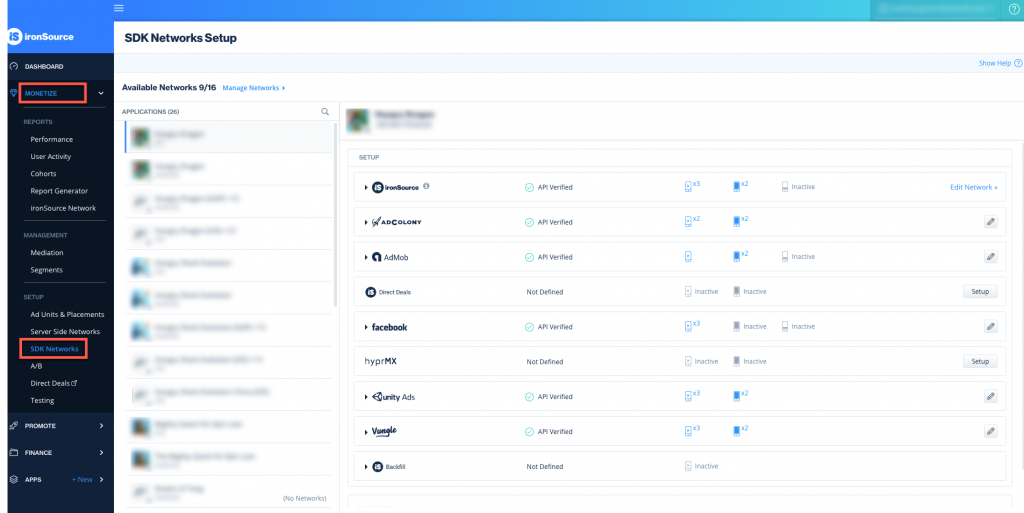
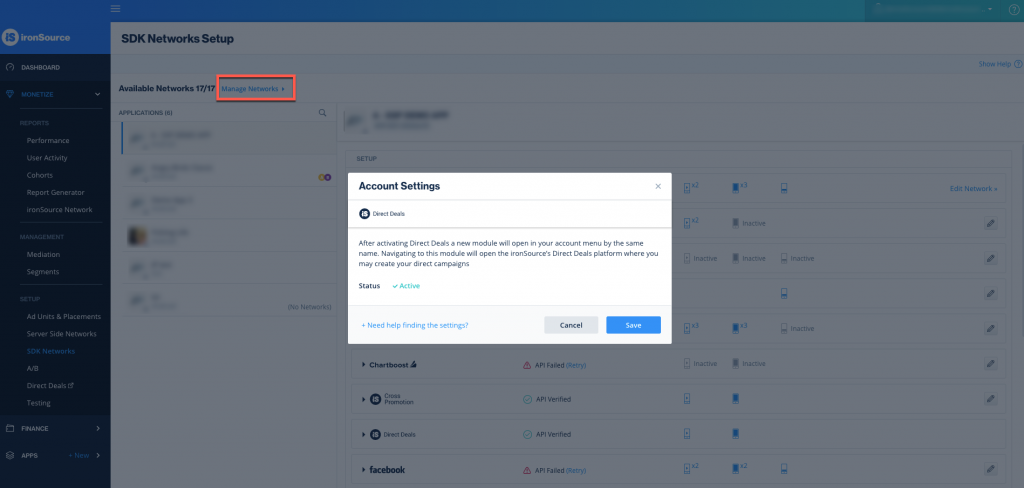
Then click Activate on Direct Deals within the Available Networks list:
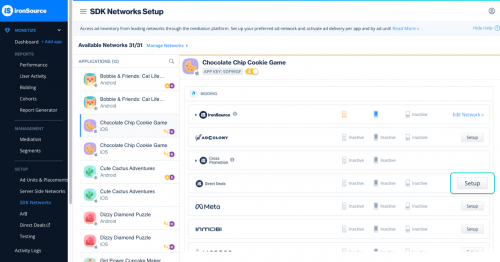
Then click Setup for the applications you would like your direct campaigns to deliver on:
Step 2: Set up your campaign
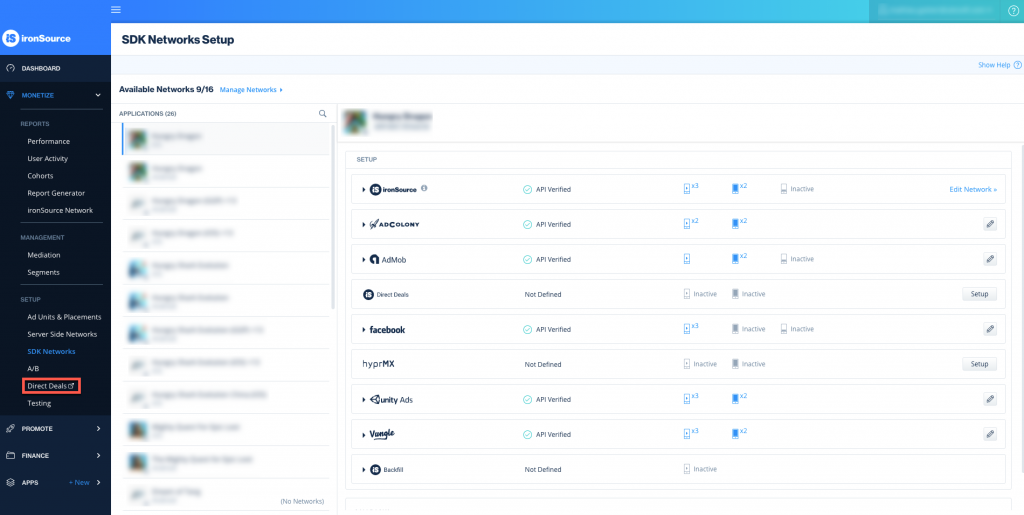
Go to ironSource’s direct deals dashboard by clicking Direct Deals within the left side bar:
You’ll be redirected the direct deals dashboard, which will open a new tab in your browser:
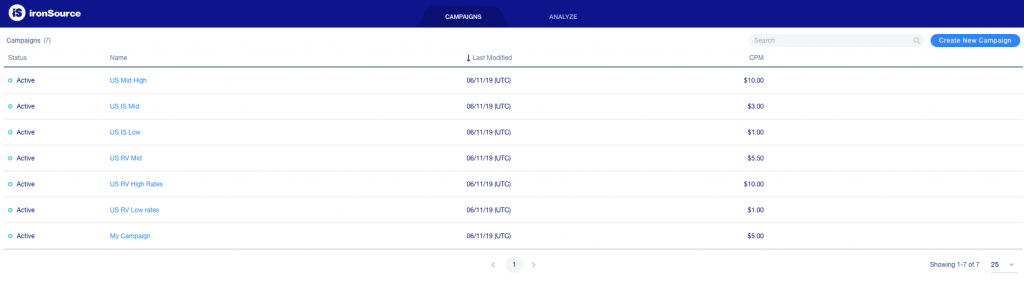
Navigate to the Campaigns tab, and click Create New Campaign:

Fill in the following details:
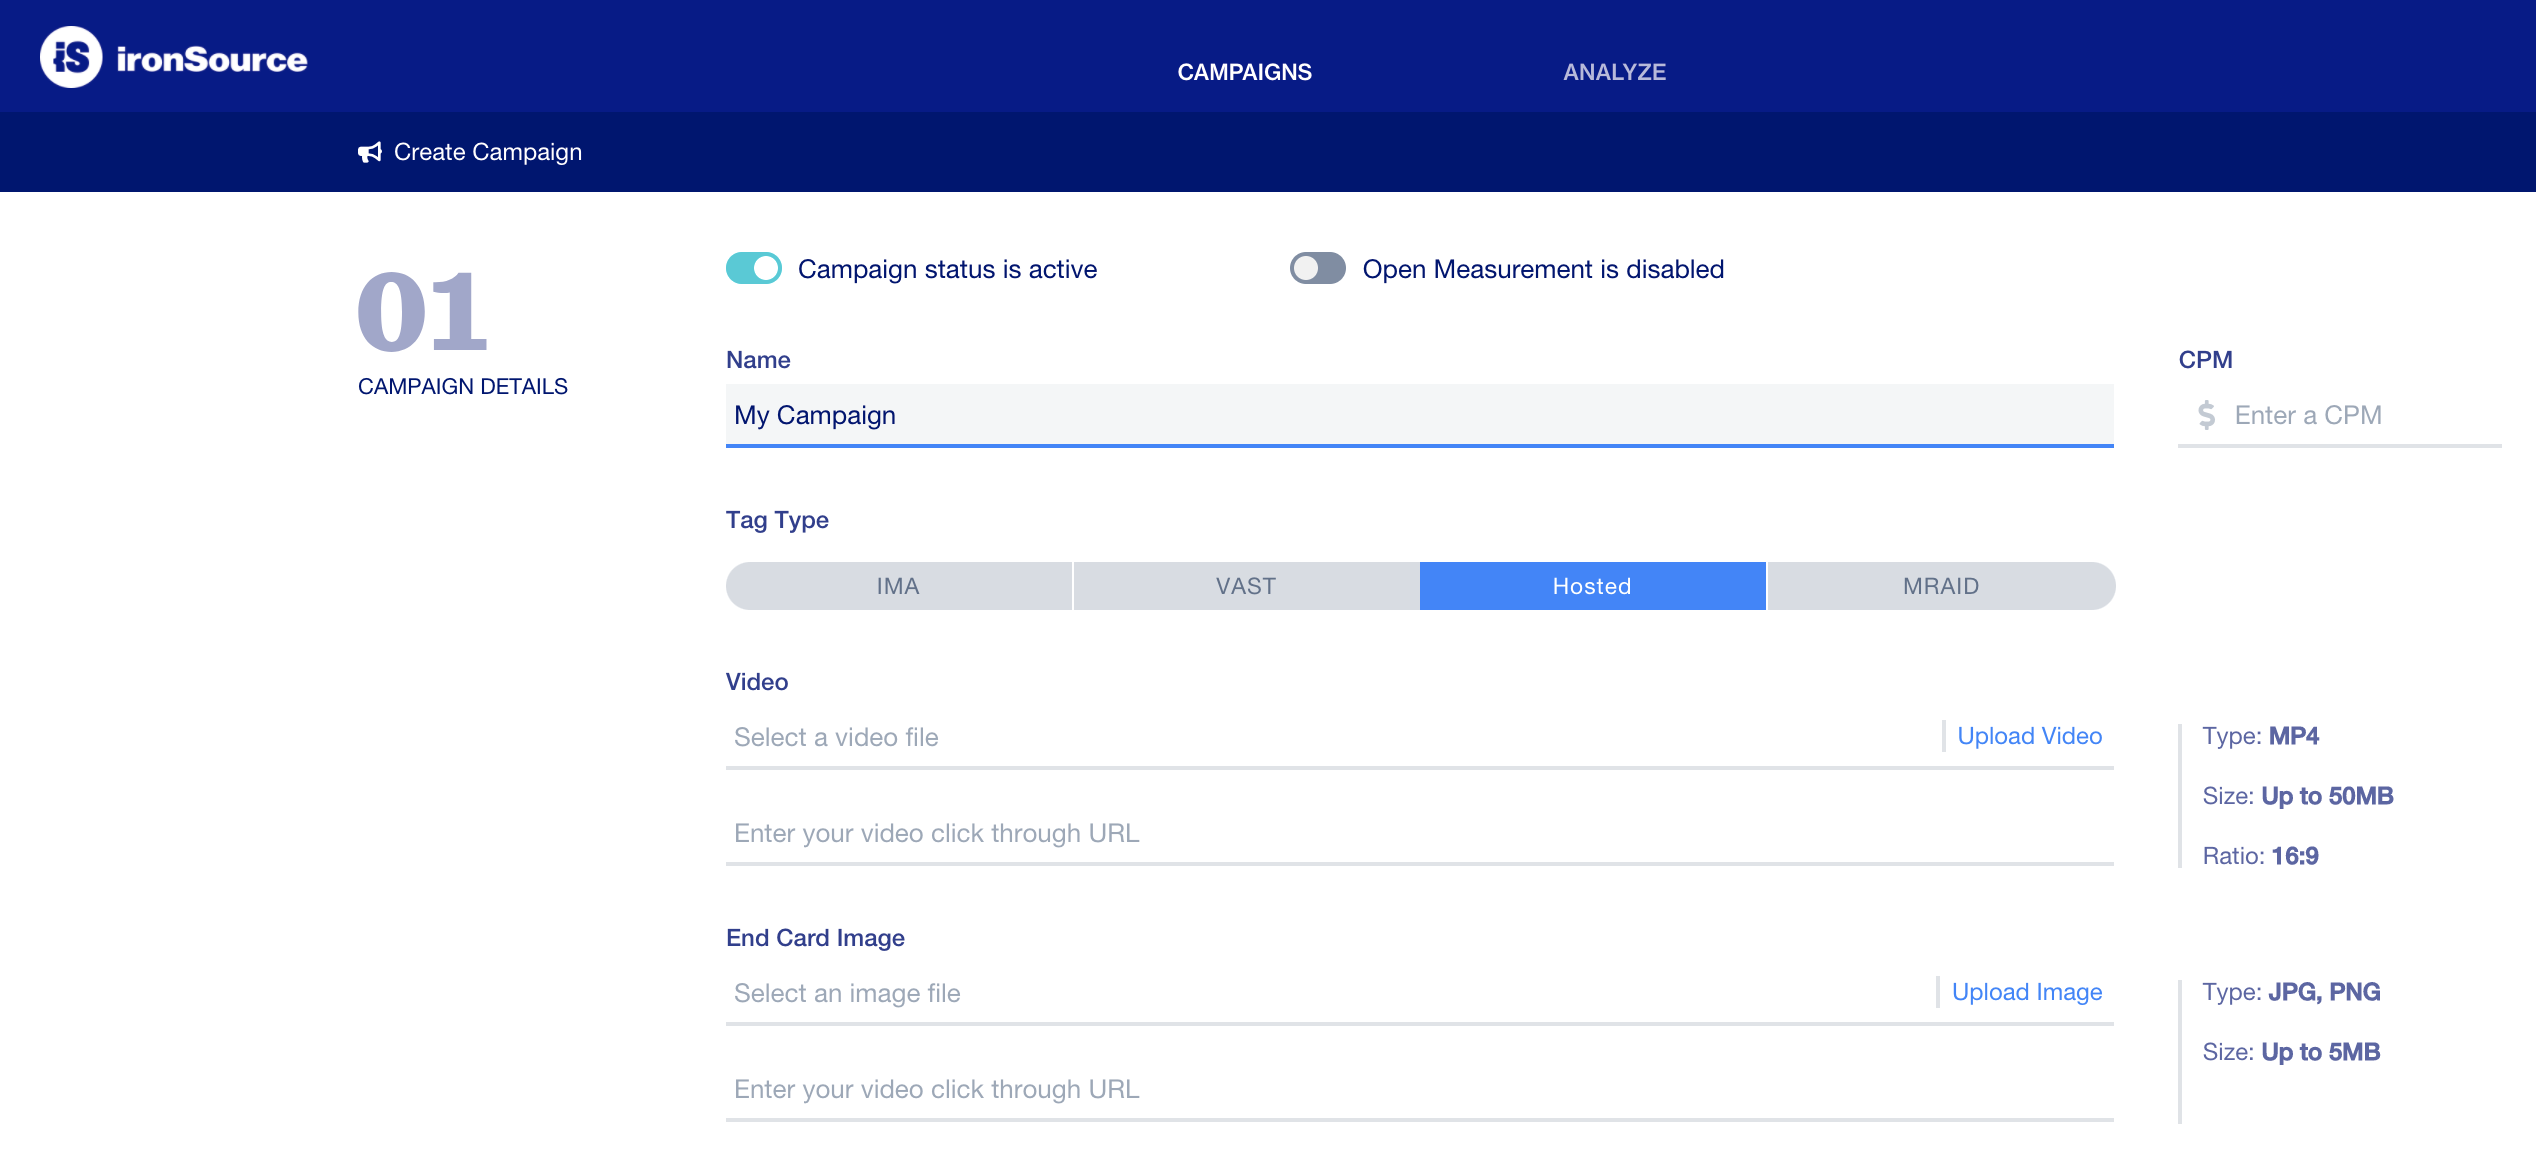
Campaign details
- Status: Mark as ‘active’ or ‘inactive’.
- Open Measurement: Enable if your advertiser requires Open Measurement scanning —no additional integration required.
- Name: Enter a name for your campaign.
- CPM: Enter the predefined eCPM for the campaign, as agreed upon with the advertiser. The higher the rate, the higher in priority the campaign will be in the waterfall.
- Tag Type: Choose between IMA, VAST, HOSTED and MRAID:
- Hosted
- Video:
- Video Type: MP4
- Maximum size: 30 MB
- Dimensions: 16:9
- Recommended length: up to 30 seconds
- End Card:
- Image Type: JPG, PNG
- Maximum size: 5 MB
- Note: If you don’t upload a background image for the end card, the last frame of the video will serve as an end card.
- Click Through URL: Enter a link to drive the user to install the app when clicking on the end card. We recommend inserting either:
- App Store URL: you can track impressions, completions, and clicks, to be sent directly to your server.
- Tracking URL: you can track impressions, completions, clicks and installs with a third party tracking solution, to be sent directly to your server
- Video:
- Hosted
-
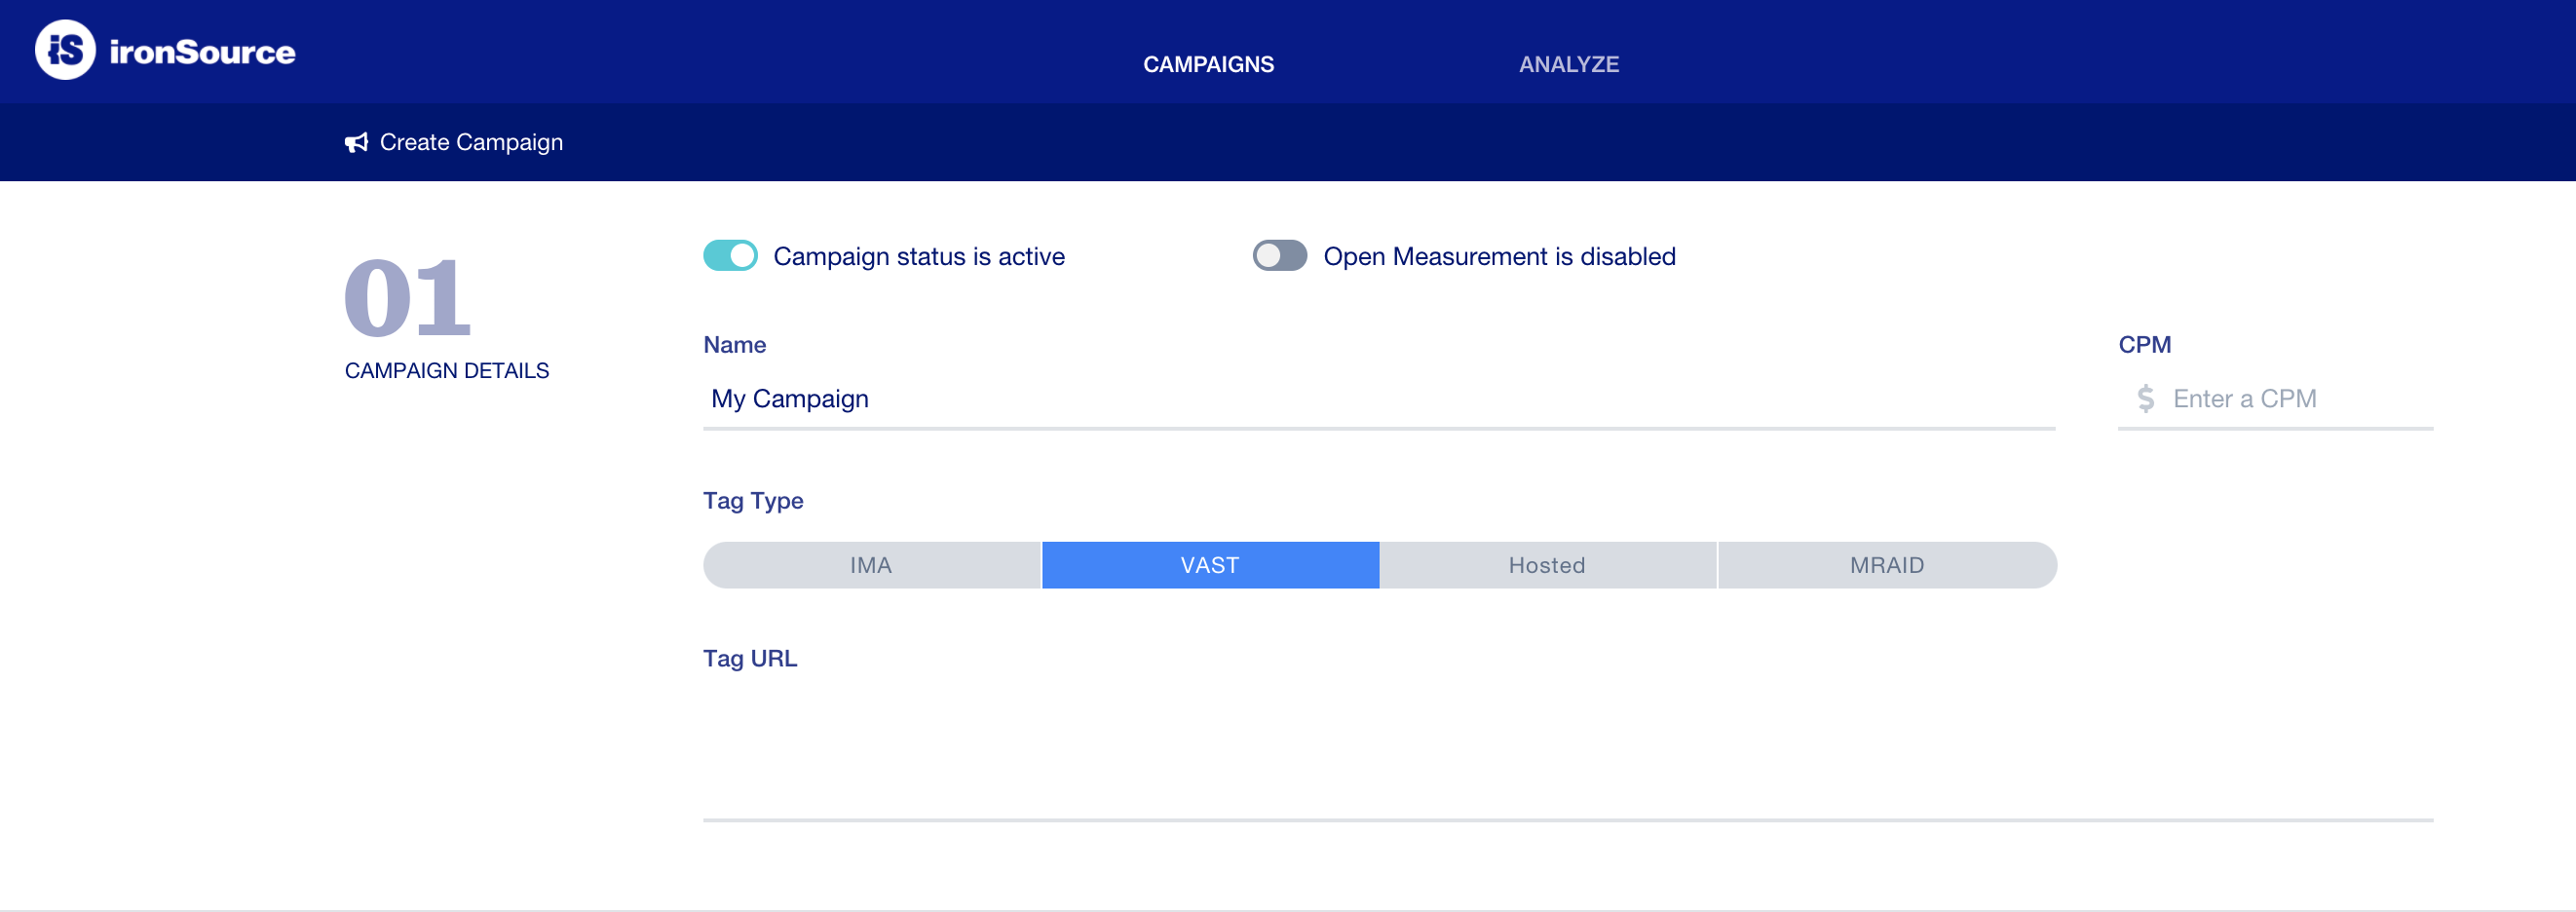
- IMA & VAST:
- Tag URL: Enter the VAST tag URL. See a list of supported macros on the bottom to the bottom of this article]. It should look somewhat like this:
https://vast.demo.com/ads?user_agent=[UA]&ip=[IP]&width=[WIDTH]&height=[HEIGHT]&aid=[IFA]×tamp=[CB] - Supported versions: VAST 2, VAST 3
- Tag URL: Enter the VAST tag URL. See a list of supported macros on the bottom to the bottom of this article]. It should look somewhat like this:
- IMA & VAST:
-
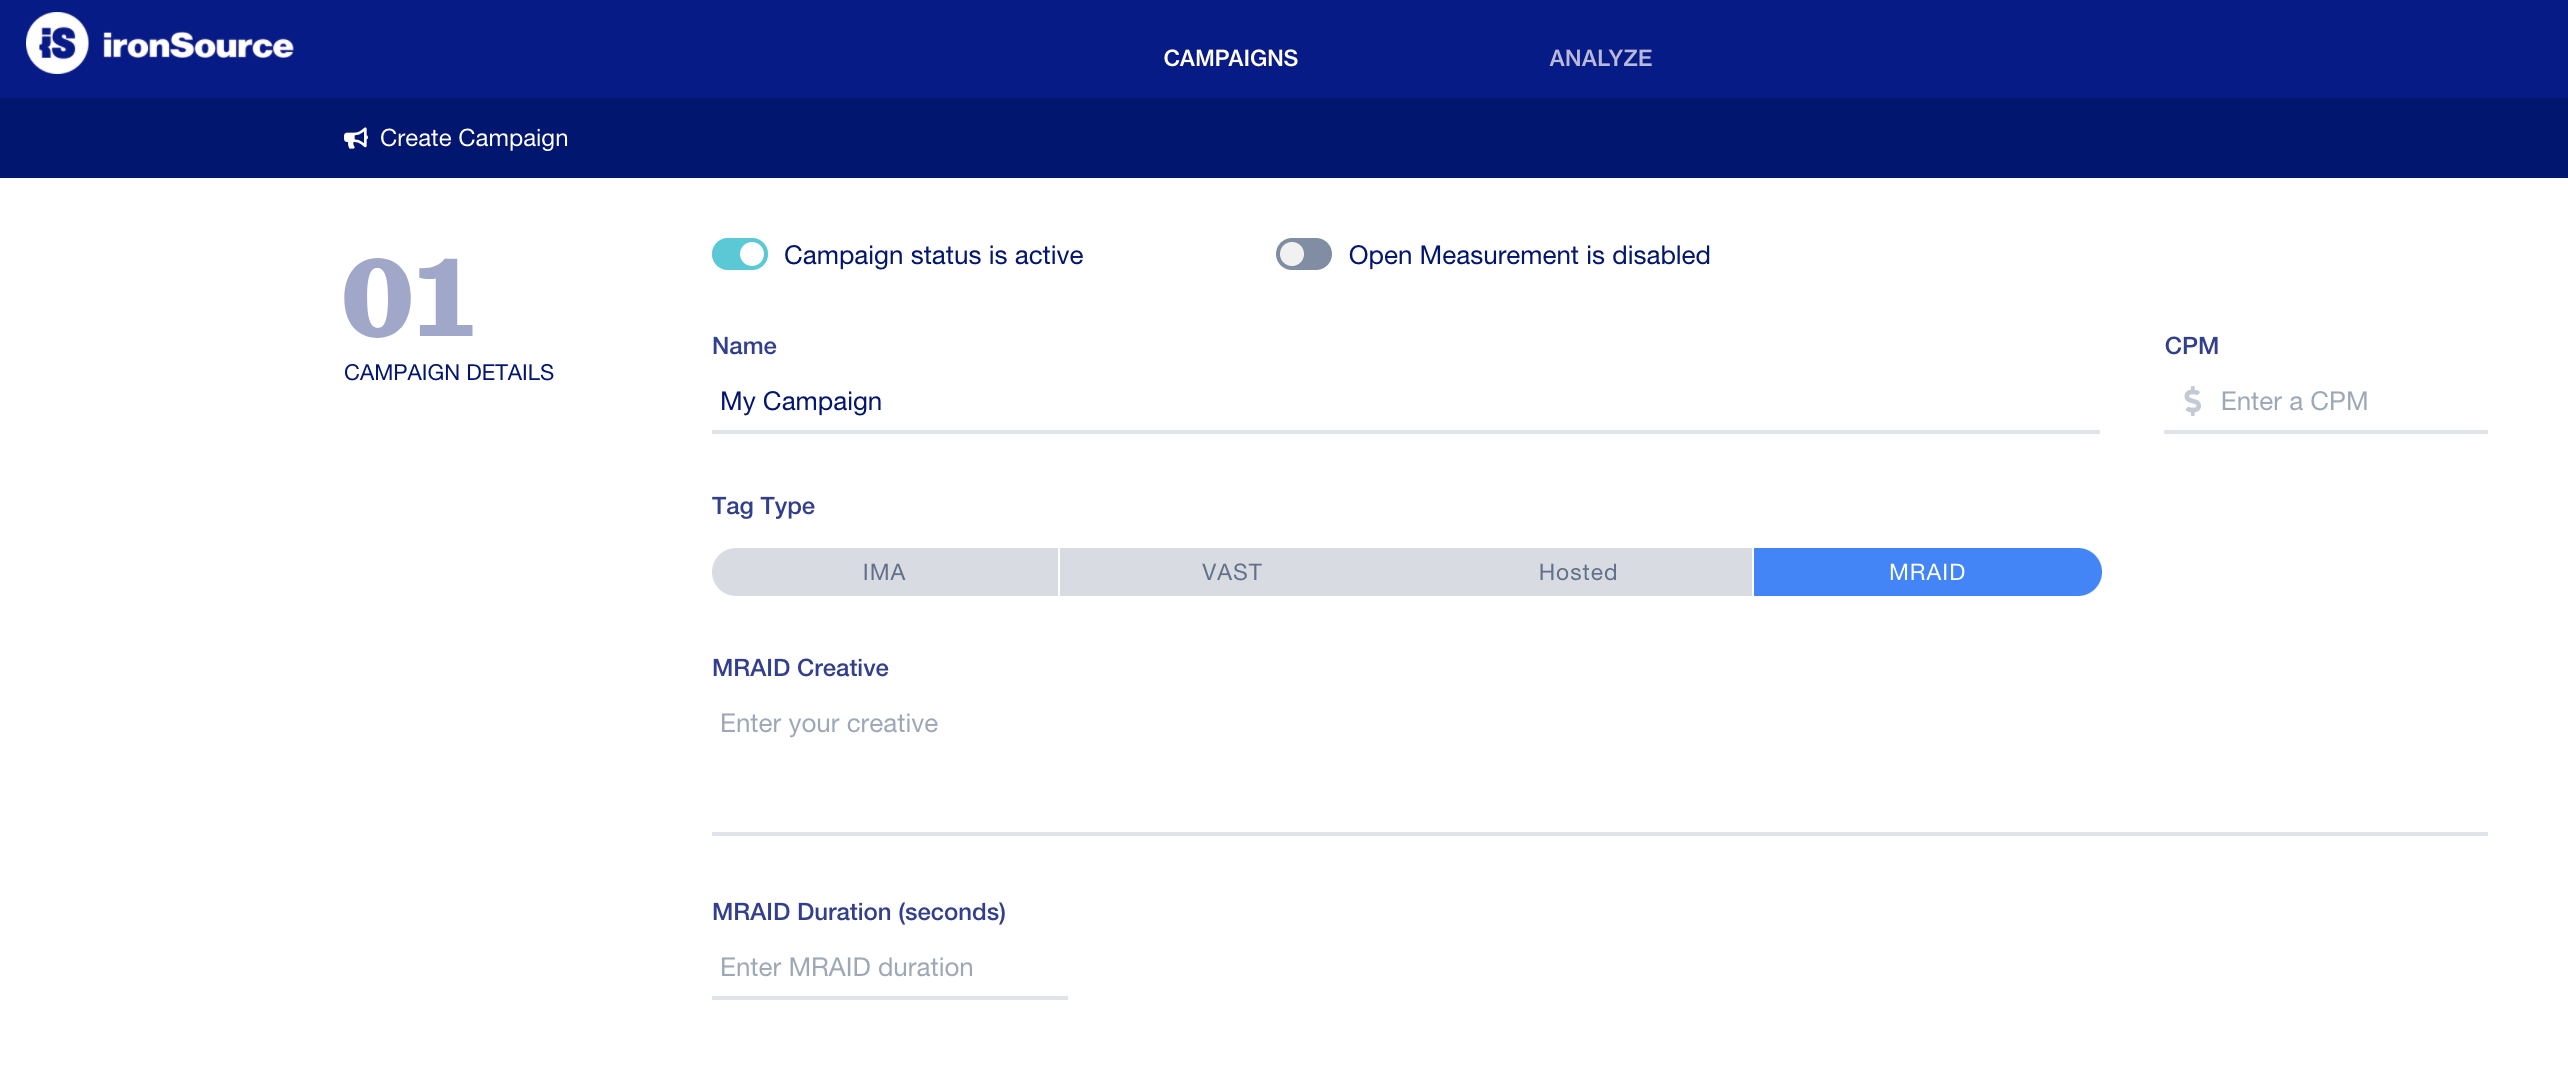
- MRAID
- Creative
- Duration (seconds): Recommended length up to 30 seconds
- Supported versions: MRAID 1.0, MRAID 2.0
- MRAID
Tracking events
You can track multiple events such as impressions and completions, to be sent directly to your server:

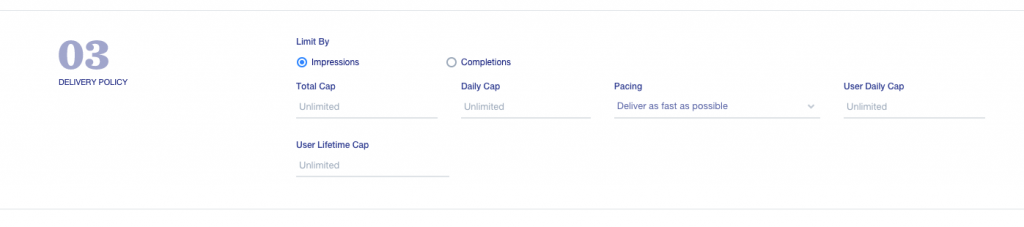
Delivery policy
You can limit or regulate a campaign’s delivery on the impressions or completion level.
- Total Cap: Set a lifetime limit for the number of impressions/completions of the campaign
- Daily Cap: Set a daily limit for the total number of impressions/completions of the campaign
- Pacing: Deliver as fast as possible / Deliver daily cap evenly / Deliver total cap evenly
- User Daily Cap: Set a daily limit for the total number of impressions/completions of the campaign, per user
- User Lifetime Cap: Set a lifetime limit for the number of impressions/completions of the campaign, per user
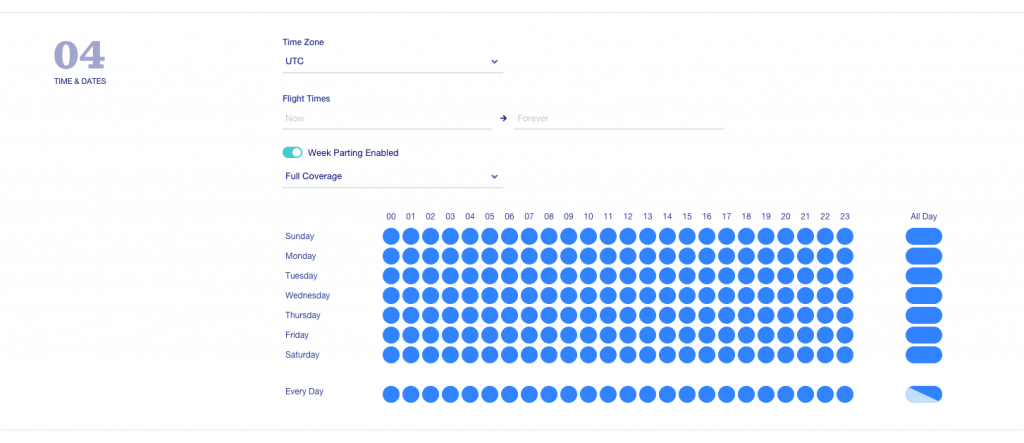
Date and time
- Duration: Determine the time zone and start/end dates of the campaign
- Week Parting Enabled (optional): If you’d like to set specific time slots for each day or week for the campaign to run, you can select these here (e.g. only evenings, only weekends, etc.) Green selection signifies the active time slots
Targeting
The available targeting criteria are:
- Ad Unit
- Application
- Bundle ID
- City
- Country
- State
- Region
- Device ID List
- IP List
- US zip code
- Segments (pre defined in the ‘Segments’ section)
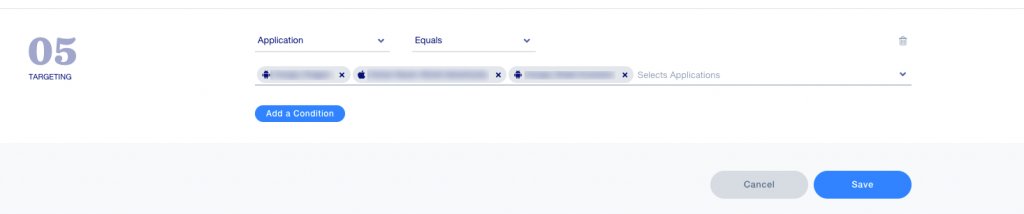
Note: If targeting is not set, the campaign will deliver across all targeting criteria.
Step 3: Verify activation
Make sure to activate your desired ad unit on the SDK Networks page for the applications you would like your direct campaigns to deliver on:
Step 4: Reporting
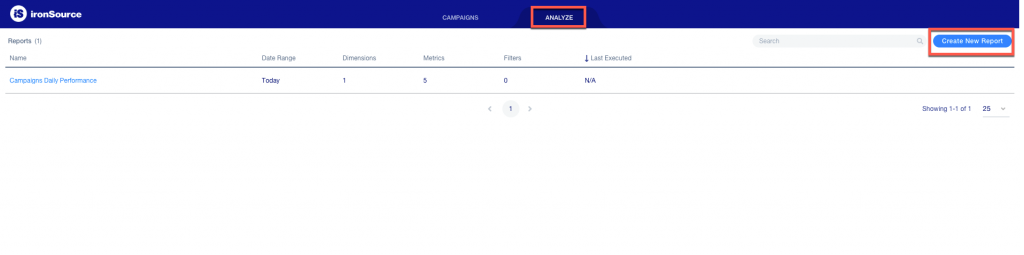
Once you log in to your ironSource’s Direct Deals dashboard, go to the ANALYZE tab and on the Create New Report:
Report details
- Name: Enter a name for your report.
- status: Predefine the report status.

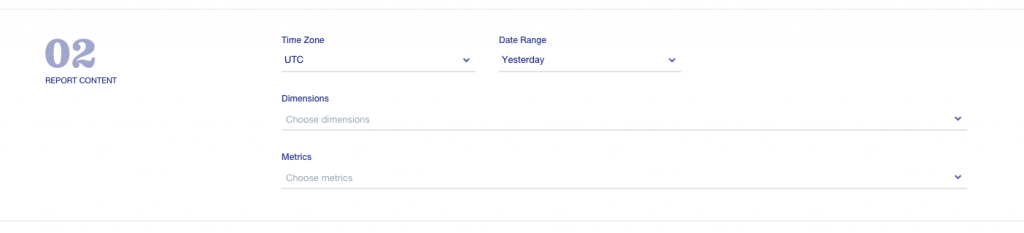
Report content
- Time Zone: Available option are UTC/ America LA/ America NY.
- Date Range: Define the date range you would like your report to cover.
- Dimensions: You can choose multiple report dimensions such as Ad Unit, Application, Campaign, etc.
- Metrics: You can choose multiple report metrics such as Clicks, Completions, eCPM, Revenue, etc.
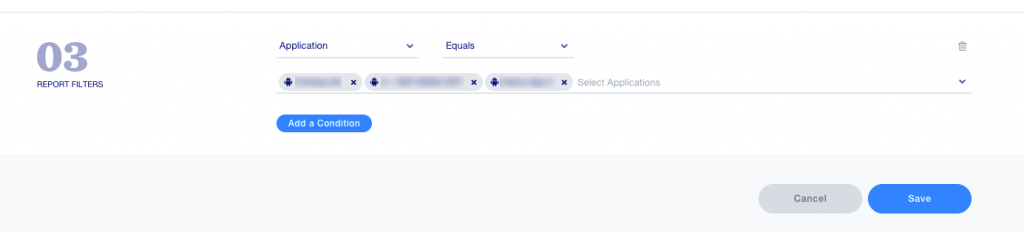
Report filters
You can filter by multiple criteria such as Ad Unit, Application, Campaign, Country, etc.
Note: Direct deals activity is fully supported by ironSource platform reporting modules and can be found under ad source name: ‘Direct Activity.’ Learn more about Unity LevelPlay monetization reports here.
Done! You’ve successfully activated a direct campaign.
List of Supported Macros
| Macro | Parameter |
| [CB] | cachebreaker |
| [WIDTH] | width |
| [HEIGHT] | height |
| [DO_NOT_TRACK] | dnt (1-True / 0- False) |
| [SUB_ID] | sub_id |
| [USER_LAT] | latitude |
| [USER_LON] | longitude |
| [PAGE_URL] | Pageurl/URL |
| [DOMAIN] [DDOMAIN] – The detected domain [DPAGE_URL] – The detected page URL |
domain |
| [UA] | useragent/ua |
| [IP] | ip address/ip |
| [BUNDLE_ID] | bundleid |
| [APP_NAME] | appname |
| [IFA] | IDFA/IFA idfa/ifa (iOS device ID) |
| [IFA] | GAID/AID (Android device ID) |
| [USER_CONSENT] | user_consent |
| [GDPR] | gdpr |
| [APP_STORE_URL] | app_store_url |
| [APP_CATEGORY] | app_category |