
Schedule Custom Reports
Unity LevelPlay offers the ability to configure a custom report with the option to schedule the report to run daily, weekly or monthly and receive it straight to your inbox. You can schedule reports for yourself and anybody within your organization.
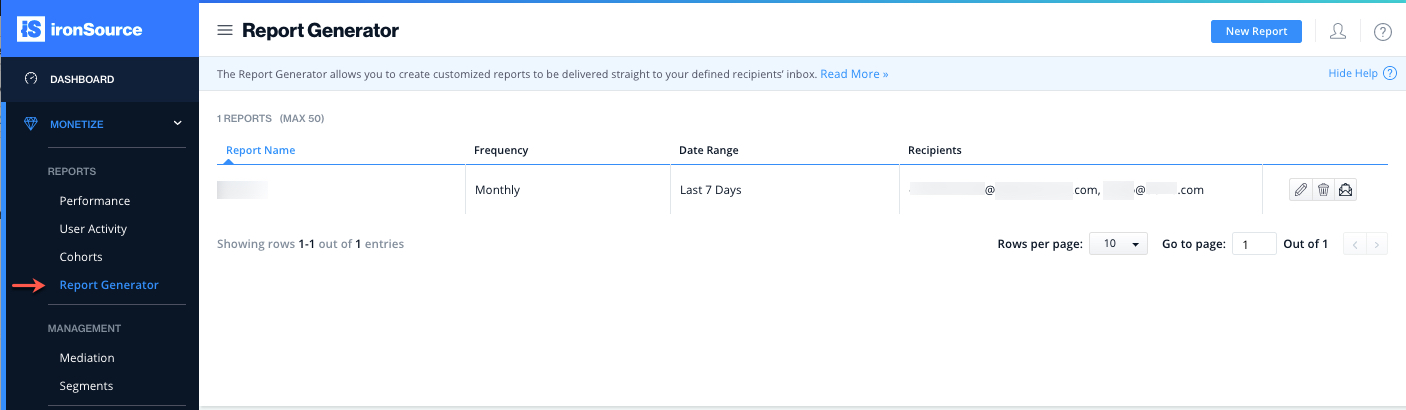
Step 1. Navigate to the Report Generator Page
Log in to your ironSource account and navigate to the Report Generator page under Monetize.
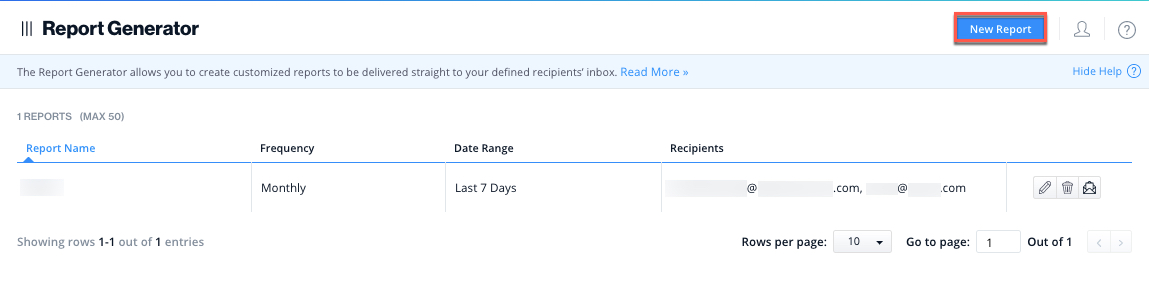
Step 2. Define Your Custom Report
To create a new custom report to be delivered straight to your inbox, select ‘New Report‘.
Report Details
Your Report Details reflect the scheduling and recipients of the report you will define:
- Scheduling: If you’d like to schedule the report to run periodically, switch the toggle to Scheduled On.
- Frequency: Select the recurrence of the report
- Selecting Daily will deliver the report to your defined recipients’ inbox at 10 AM UTC every day
- Selecting Weekly will deliver the report to your defined recipients’ inbox on the selected day at 10 AM UTC
- Selecting Monthly will deliver the report to your defined recipients’ inbox on the selected day of every month at 10 AM UTC
- Recipients: Define who should receive the report by inserting their name in the Add Recipients field. You can send the report to any email. A dropdown will display users that are affiliated with your account.

Report Settings
Next, define the contents of your report.
- Report Name: The name of your report. Recipients will be able to see the name of the report so we recommend providing a self-explanatory title for the report.
- Break By: Break down your data by Date, app, ad unit, ad source, instance, country, platform, connection type, segment, placement, idfa, app version, att, ab ,os version or SDK version. These breakdowns help refine your report and make the information easier to comprehend.
- Metrics: Build your report with the relevant metrics. Some metrics will be inapplicable for the Ad Source breakdown.
Filters
Filters allow you to limit the report to a subset of the total data.
You can choose to filter the report by app or country. This means you will only see data for the defined apps and/or country. If you wish to see data across all of your apps and for all countries, simply leave this section empty.
Date Range
You can set the timeframe for the report under Date Range. You can select a preset or define a custom data range from within the calendar.
- Yesterday: Data for the previous calendar date
- Last 7 days: Data for the past 7 days
- Last 14 days: Data for the past 14 days
- This Month: Data for the first day of the month to the current day
- Last Month: Data for the first to last day of the previous calendar month
- Last 30 days: Data for the past 30 days
- Custom Date Range: Simply selected your desired timeframe for the calendar. You can retrieve data for up to a year.
Step 3. Save Your Report
Once you’ve configured your report, select ‘Save‘ and you will see the below success message as well as the Report Details, Date Range and Recipients summarized on the page. You can easily edit or delete the custom report in addition to generating the report on the spot to send directly to the recipients.
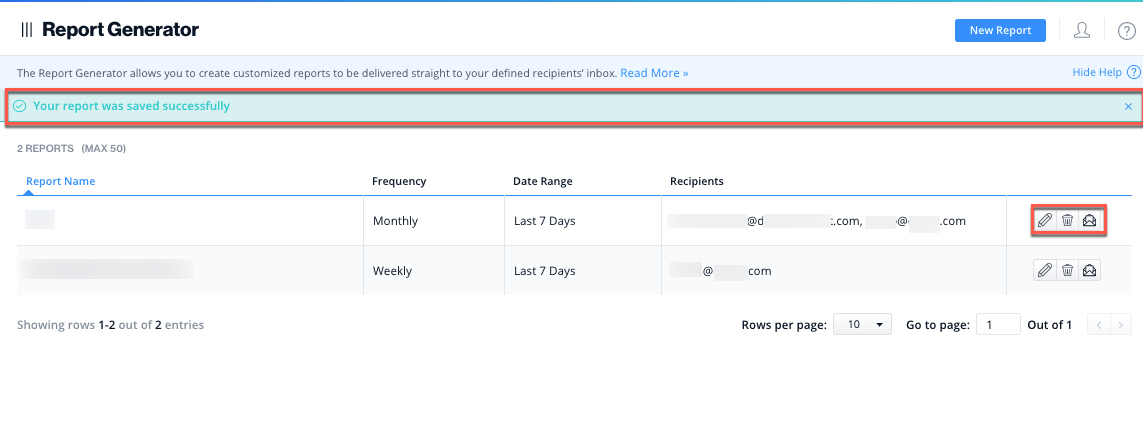
Done! You’ve successfully generated and/or scheduled a custom report!