
Mediation management
ironSource supports leading ad networks on the Mediation platform. Once you set up the ad network on your dashboard, you can serve mediated ads on your app based on eCPM prediction and country.
Follow this guide to manage your mediation activity.
Step 1. Navigate to page
Log in to your ironSource account, then go to Monetize ➣ Management ➣ Mediation
Step 2. Select application and ad unit
Select the app you want to manage from your Applications drop-down menu at the top of the Mediation management page. Then, select the relevant ad unit.
Step 3. Define instance rates for ad networks
You will see the ad networks and instances you’ve activated on the Networks and Instances page and can manage them according to your preference.
A waterfall includes the following:
- Rate
Rate is a manual price you can assign to an instance to make sure it is prioritized correctly. It is used only to prioritize the instance in your waterfall. This value is not sent back to the network and does not affect revenue reporting.

-
- Rate Setup:
- Instance level: Global rate can be set on instance creation within the SDK Networks module. It will apply to all mediation groups and countries this instance is included in.
- Group level: Instance level rates can be overridden on the group level. Group level rate applies to all countries included in the group.
- Country level: Group level rates can be overridden on the country level. Country level rate applies only to the country it is set to.
- Rate functionality:
- Non-bidding ad networks instances waterfall position:
In ‘Sort by CPM’ and ‘Optimized’ tier types, if a rate is set, then instances will be prioritized according to the rate. If no rate is set, instances are prioritized based on eCPM. In the ‘Manual’ tier type, the rate does not impact the instance position. - Bidding ad network waterfall position:
If a rate is set, the bidder algorithm will take it under consideration when placing the bidder within the waterfall instead of the eCPM.
- Non-bidding ad networks instances waterfall position:
- Rate Setup:
Step 4. Create a country group
In case you would like to define different waterfalls for different countries you’re able to create a group by clicking ‘Add‘ and add countries and segments to be included or click ‘Duplicate’ to create a new group with an existing group’s full setup.
Creating customized groups of countries and segments can help you manage ad netwroks and compare the predicted eCPMs. For example, by including your best-performing countries in one group (e.g., Top Countries), you can efficiently analyze, optimize, and manage the ad networks of the specific countries within the group.
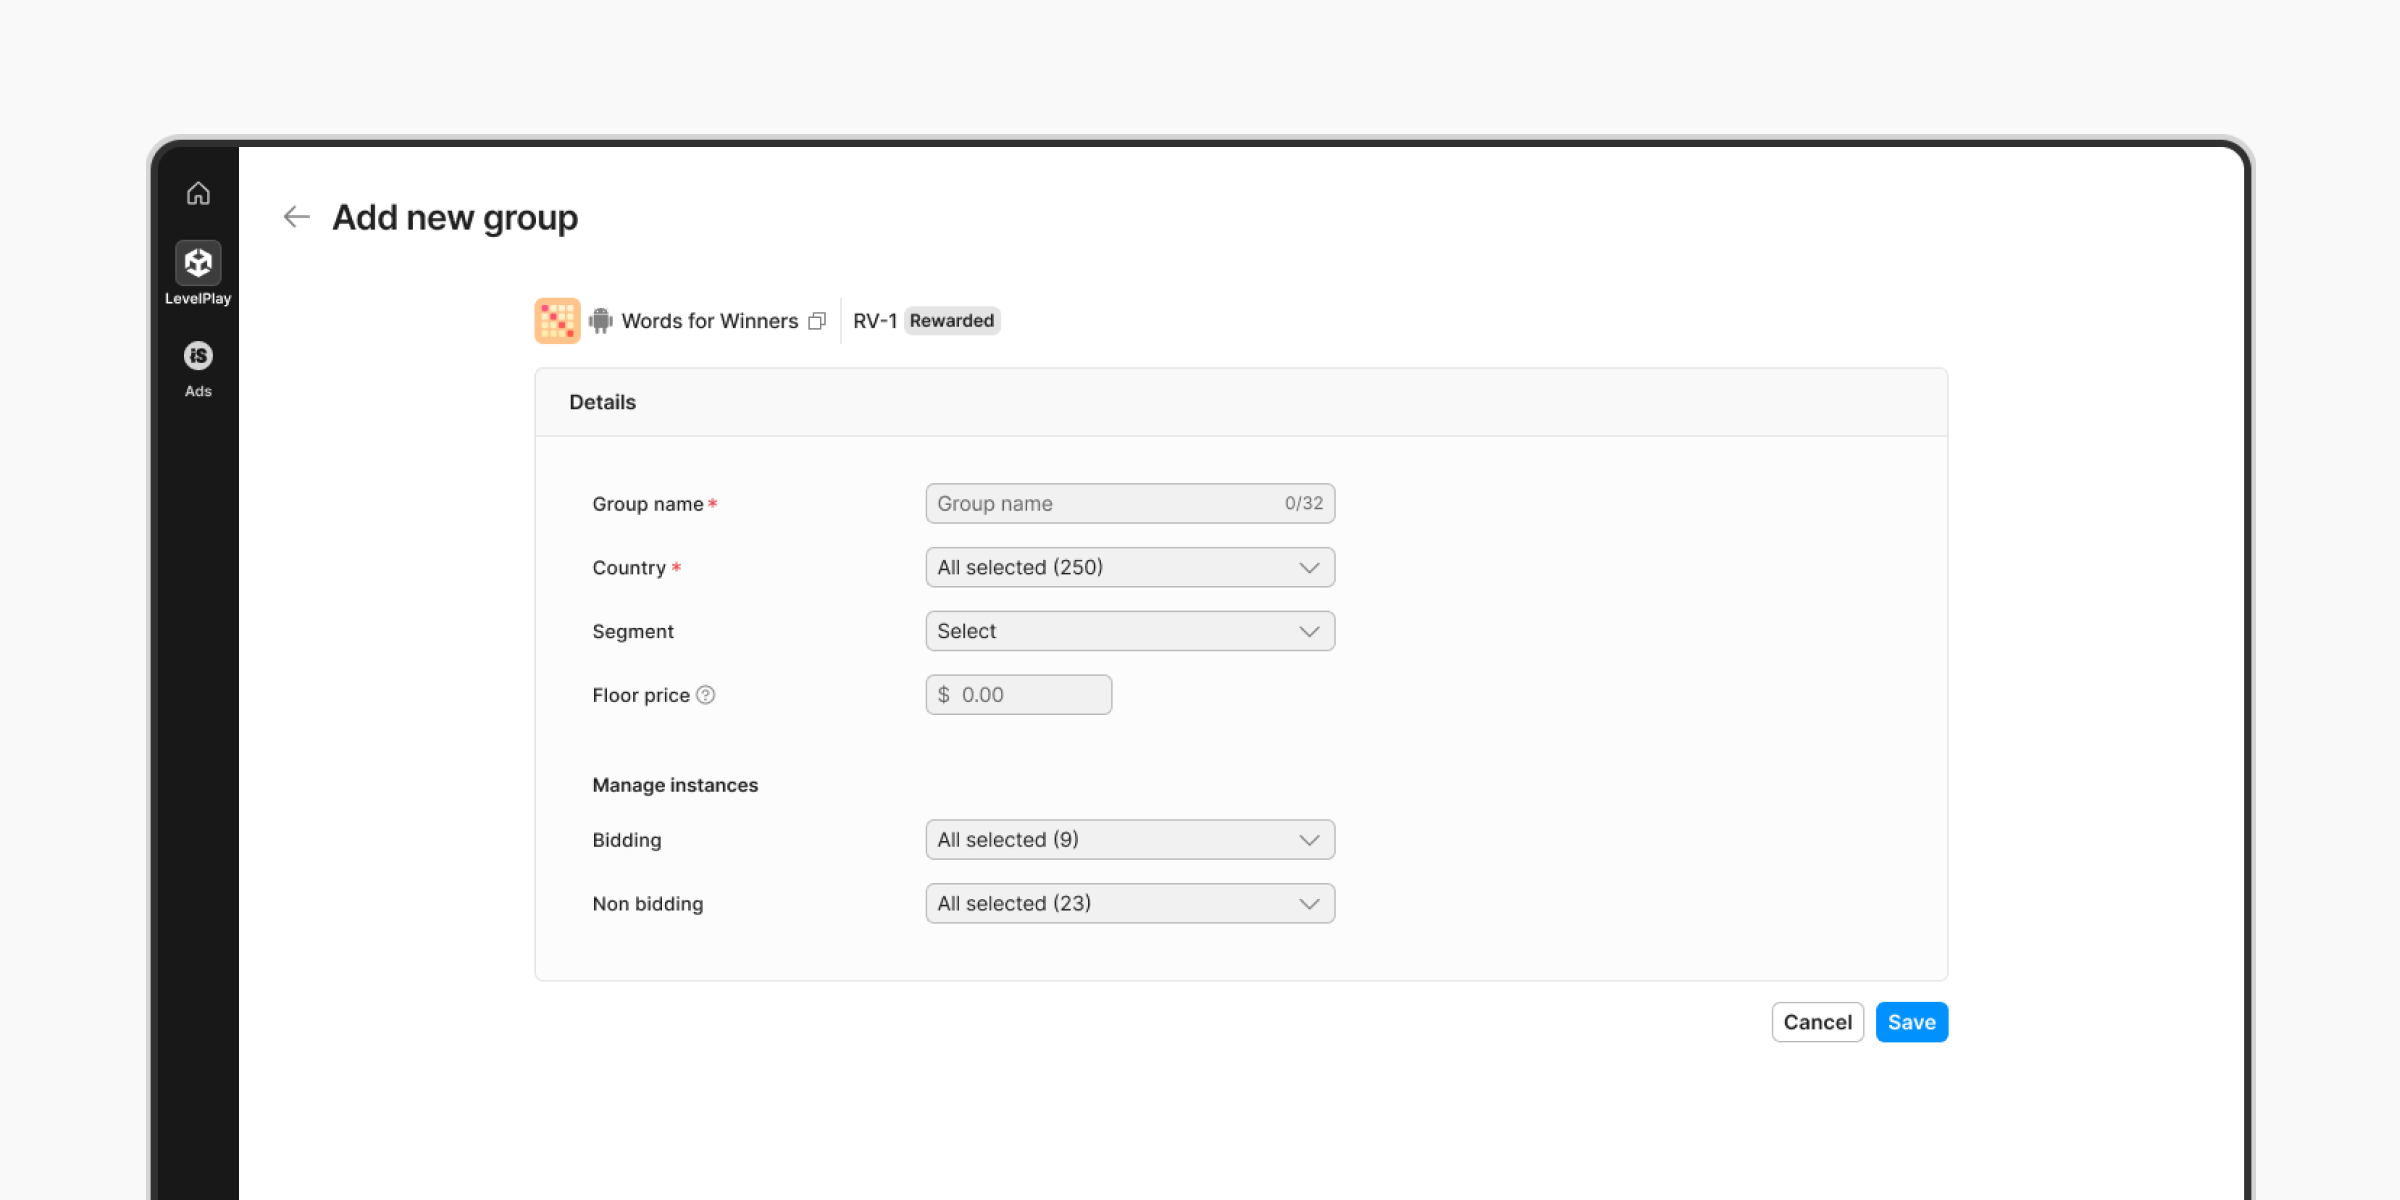
Within each group, you can individually customize the ad network waterfall and priorities for enhanced flexibility to control user group targeting and optimization.
To determine the minimum price you will accept for impressions from bidding networks for your group, set a floor price. Any bidding network that bids below the set floor price won’t be included in the auction. This feature gives you more control over your inventory and the eCPM you earn.
Once you’ve added groups you’ll have to decide on the group hierarchy. Group hierarchy is important because it’s possible for a user to belong to more than one group. Therefore, the hierarchy you decide will determine which ad network waterfall that user receives.
You will then see the Ad Netwrok Priority options for the selected country on the right-hand side.
Group settings:
- Click the three dots icon on the group:
- Edit: Adjust any of group configurations, including group name, countries, segments, and active instances
- Duplicate: Copy the waterfall to a new group. Select a new group name, countries, segments and adjust the active instances, if desired. All instances will be copied from the duplicated group in their exact positions within the waterfall sections.
- Delete: Delete an entire group and it’s waterfall
Step 5. Understand waterfall performance
For further insights into the performance of each network, you can:
- Analyze available metrics: Find helpful metrics for each active instance directly from your waterfall. Use these insights to help optimize your waterfall and extract maximum value from each ad network.
Non Bidding metrics:
-
- Rate: The manual price you set to an instance to make sure it’s prioritized correctly
- eCPM: Effective cost per thousand Impressions; calculated as (Revenue / Impressions) * 1000
- Impressions: Total impressions served
- Revenue: Total revenue earned
- Availability rate: The rate at which an ad network had an ad available when an ad was requested
- Impression SOV: Represents the instance’s impression share relative to the total impressions from both bidding and non-bidding sources
- Share of wallet (SOW): Represents the instance’s revenue
Bidding metrics:
- eCPM: Effective cost per thousand Impressions; calculated as (Revenue / Impressions) * 1000
- Impressions: Total impressions served
- Revenue: Total revenue earned
- Availability rate: The rate at which an ad network had an ad available when an ad was requested
- Impression SOV: Represents the instance’s impression share relative to the total impressions from both bidding and non-bidding sources
- Share of wallet (SOW): Represents the instance’s revenue
Check out our best practices guide here for tips on how to manage your waterfall most effectively