
Kochava
This guide will help you configure ironSource as an integrated partner with Kochava.
Setting up ironSource
- Log into your Kochava account
- Navigate to the desired app
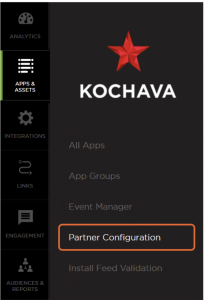
- Select App Tools > Partner Configuration
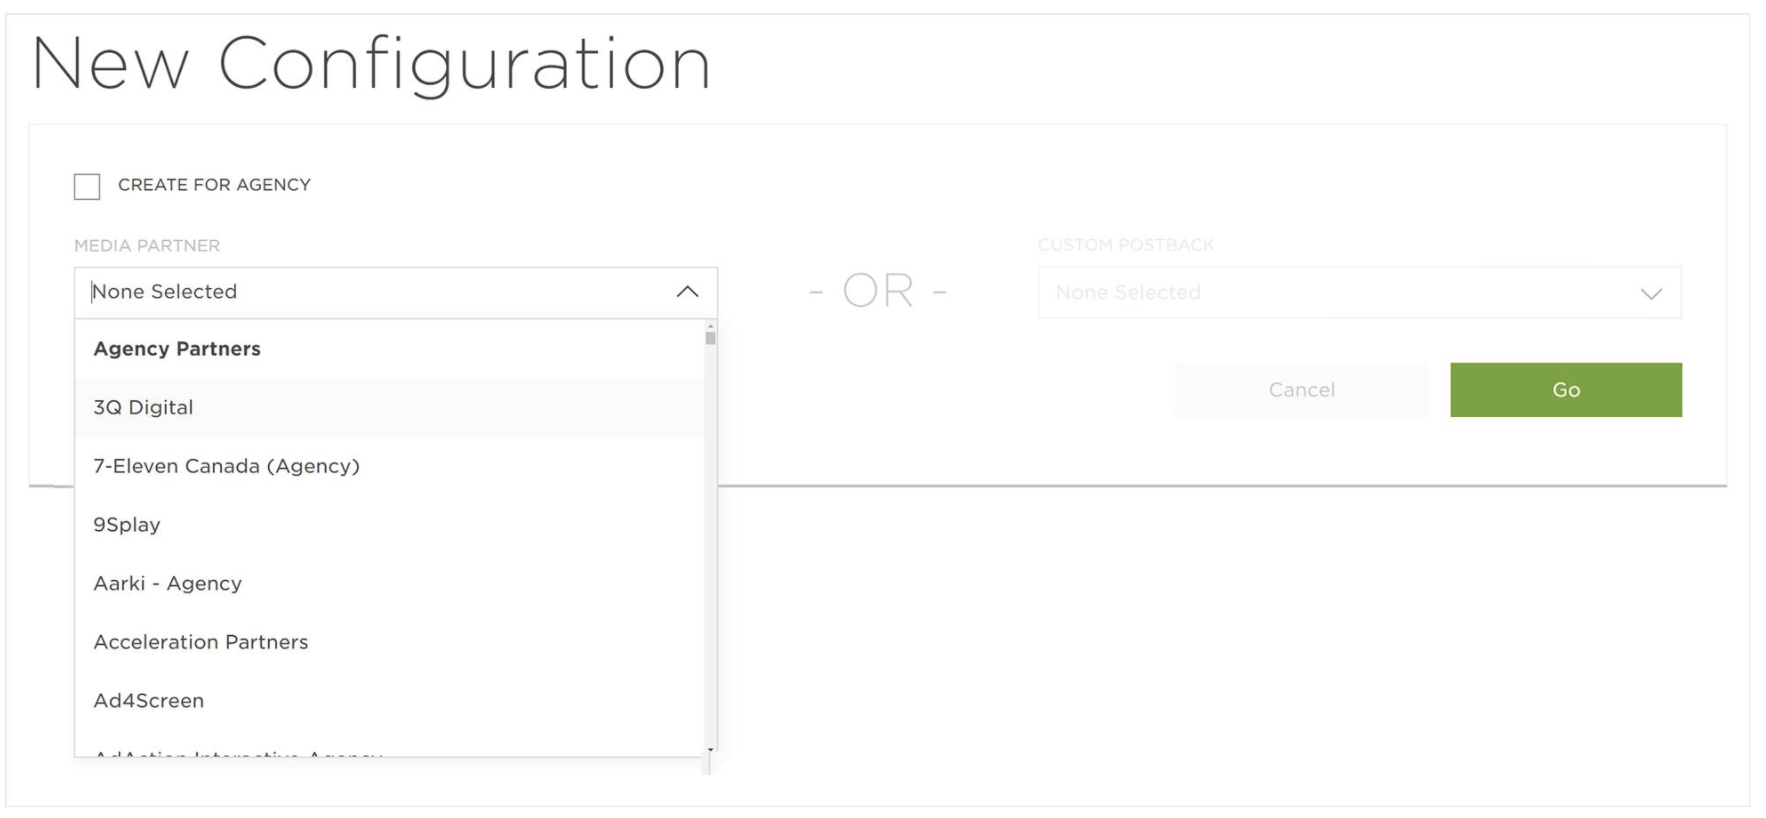
- Click on Add a Configuration
- Select ironSource under Network Partner and click Go
Creating a tracker
- Select the desired account and app
- Select Links > Campaign Manager
- Click Add a Tracker or select Segment Tools > Add a Tracker
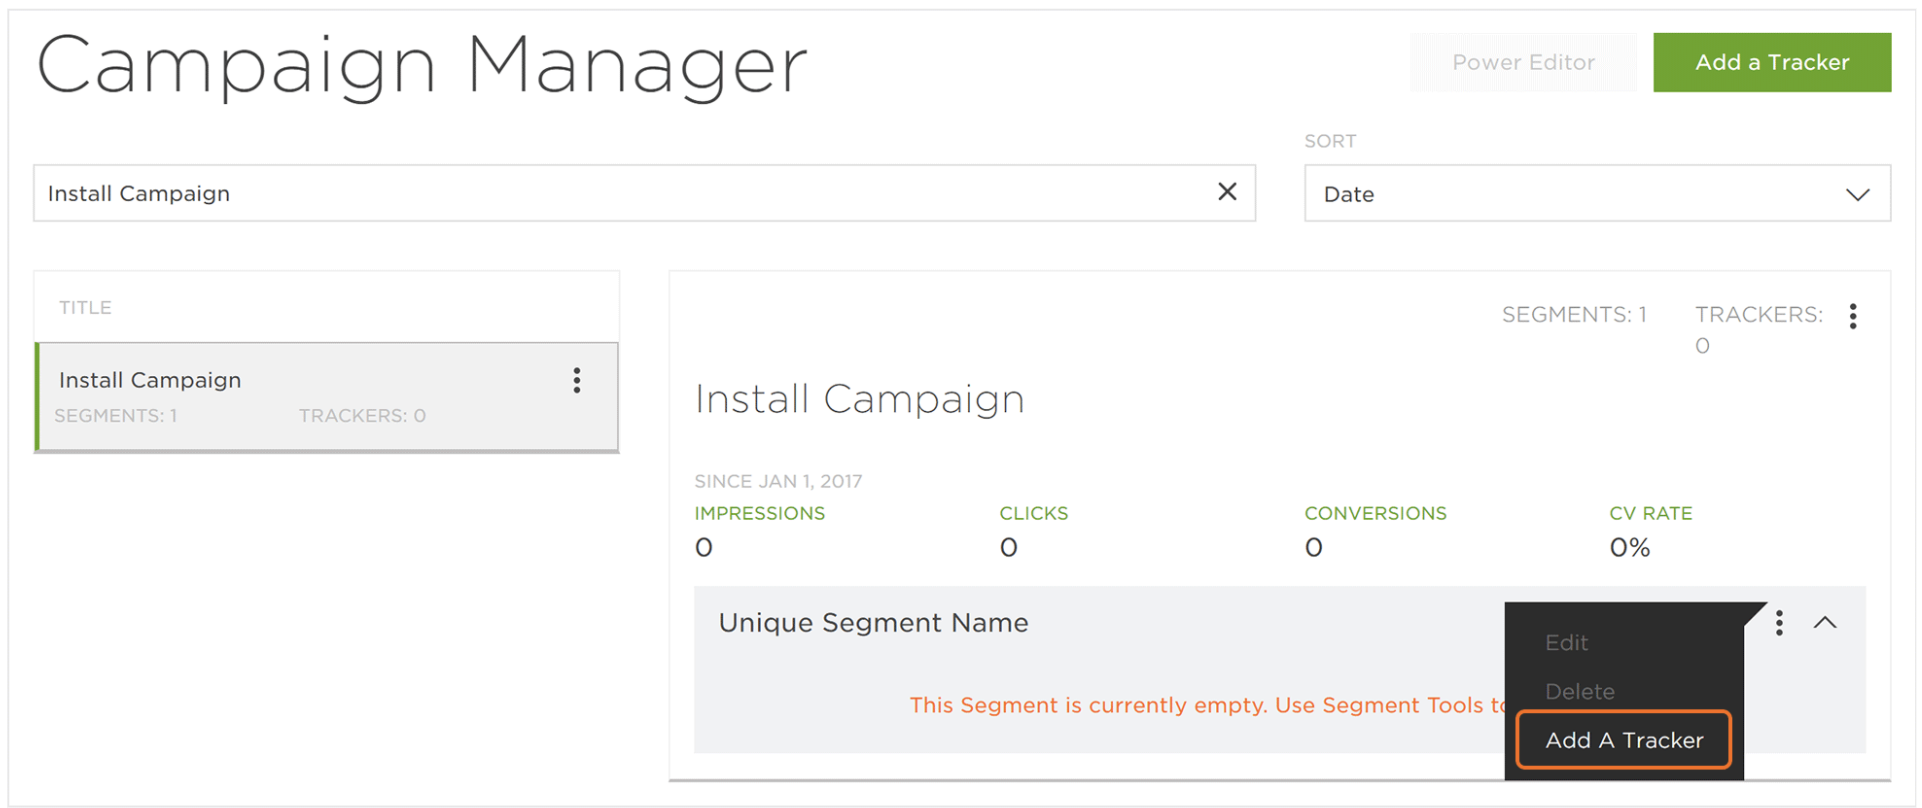
- Click the provided link to create a campaign or segment
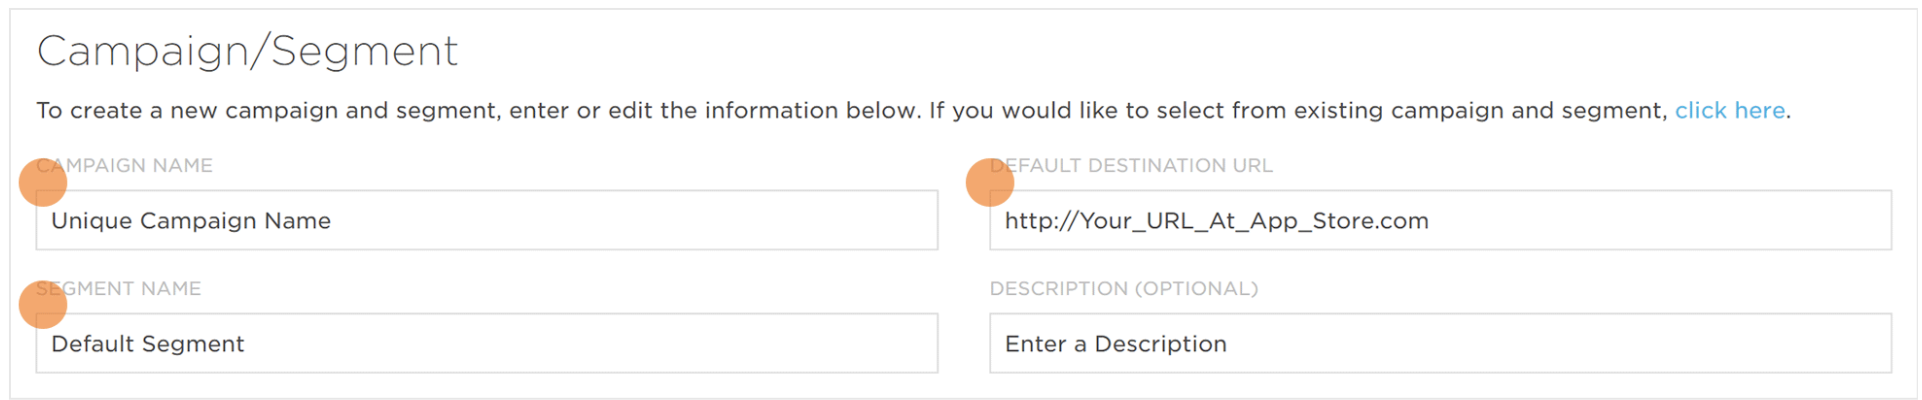
- Enter a campaign name
- Enter the default destination URL
- Enter a segment name and description
Note:
You can also create a segment within an existing campaign by selecting a campaign and opening the Segment drop-down menu > Create Segment.
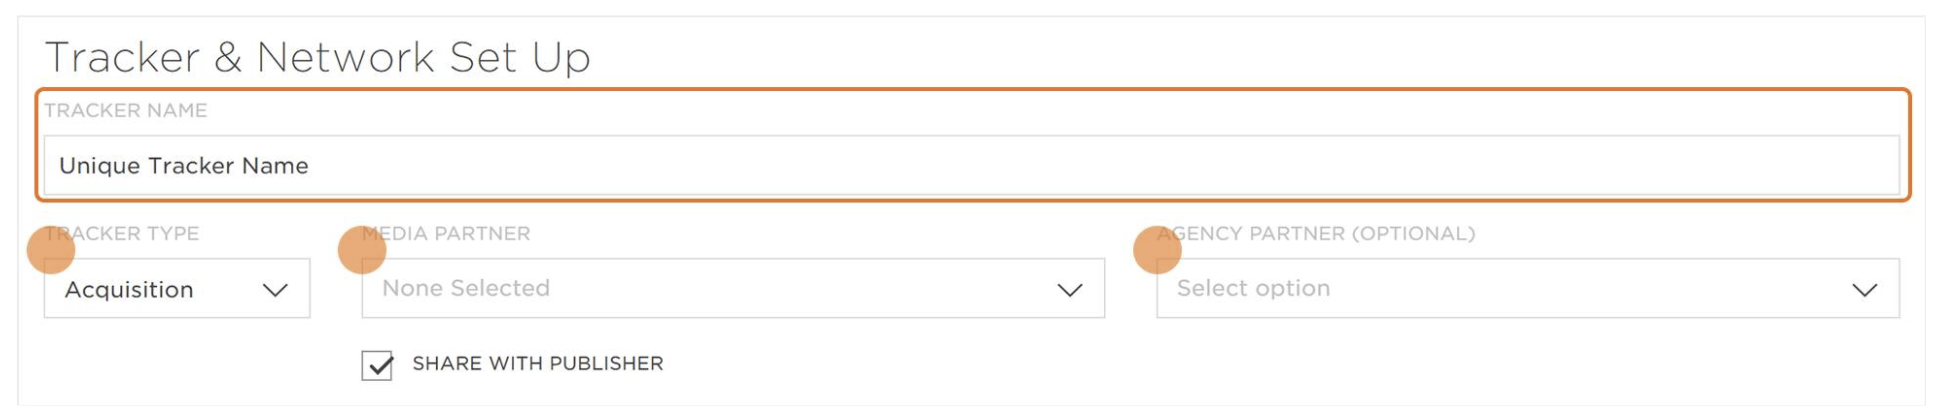
- Enter a Tracker Name
- Select Tracker Type > Acquisition
- Select a Media Partner > ironSource
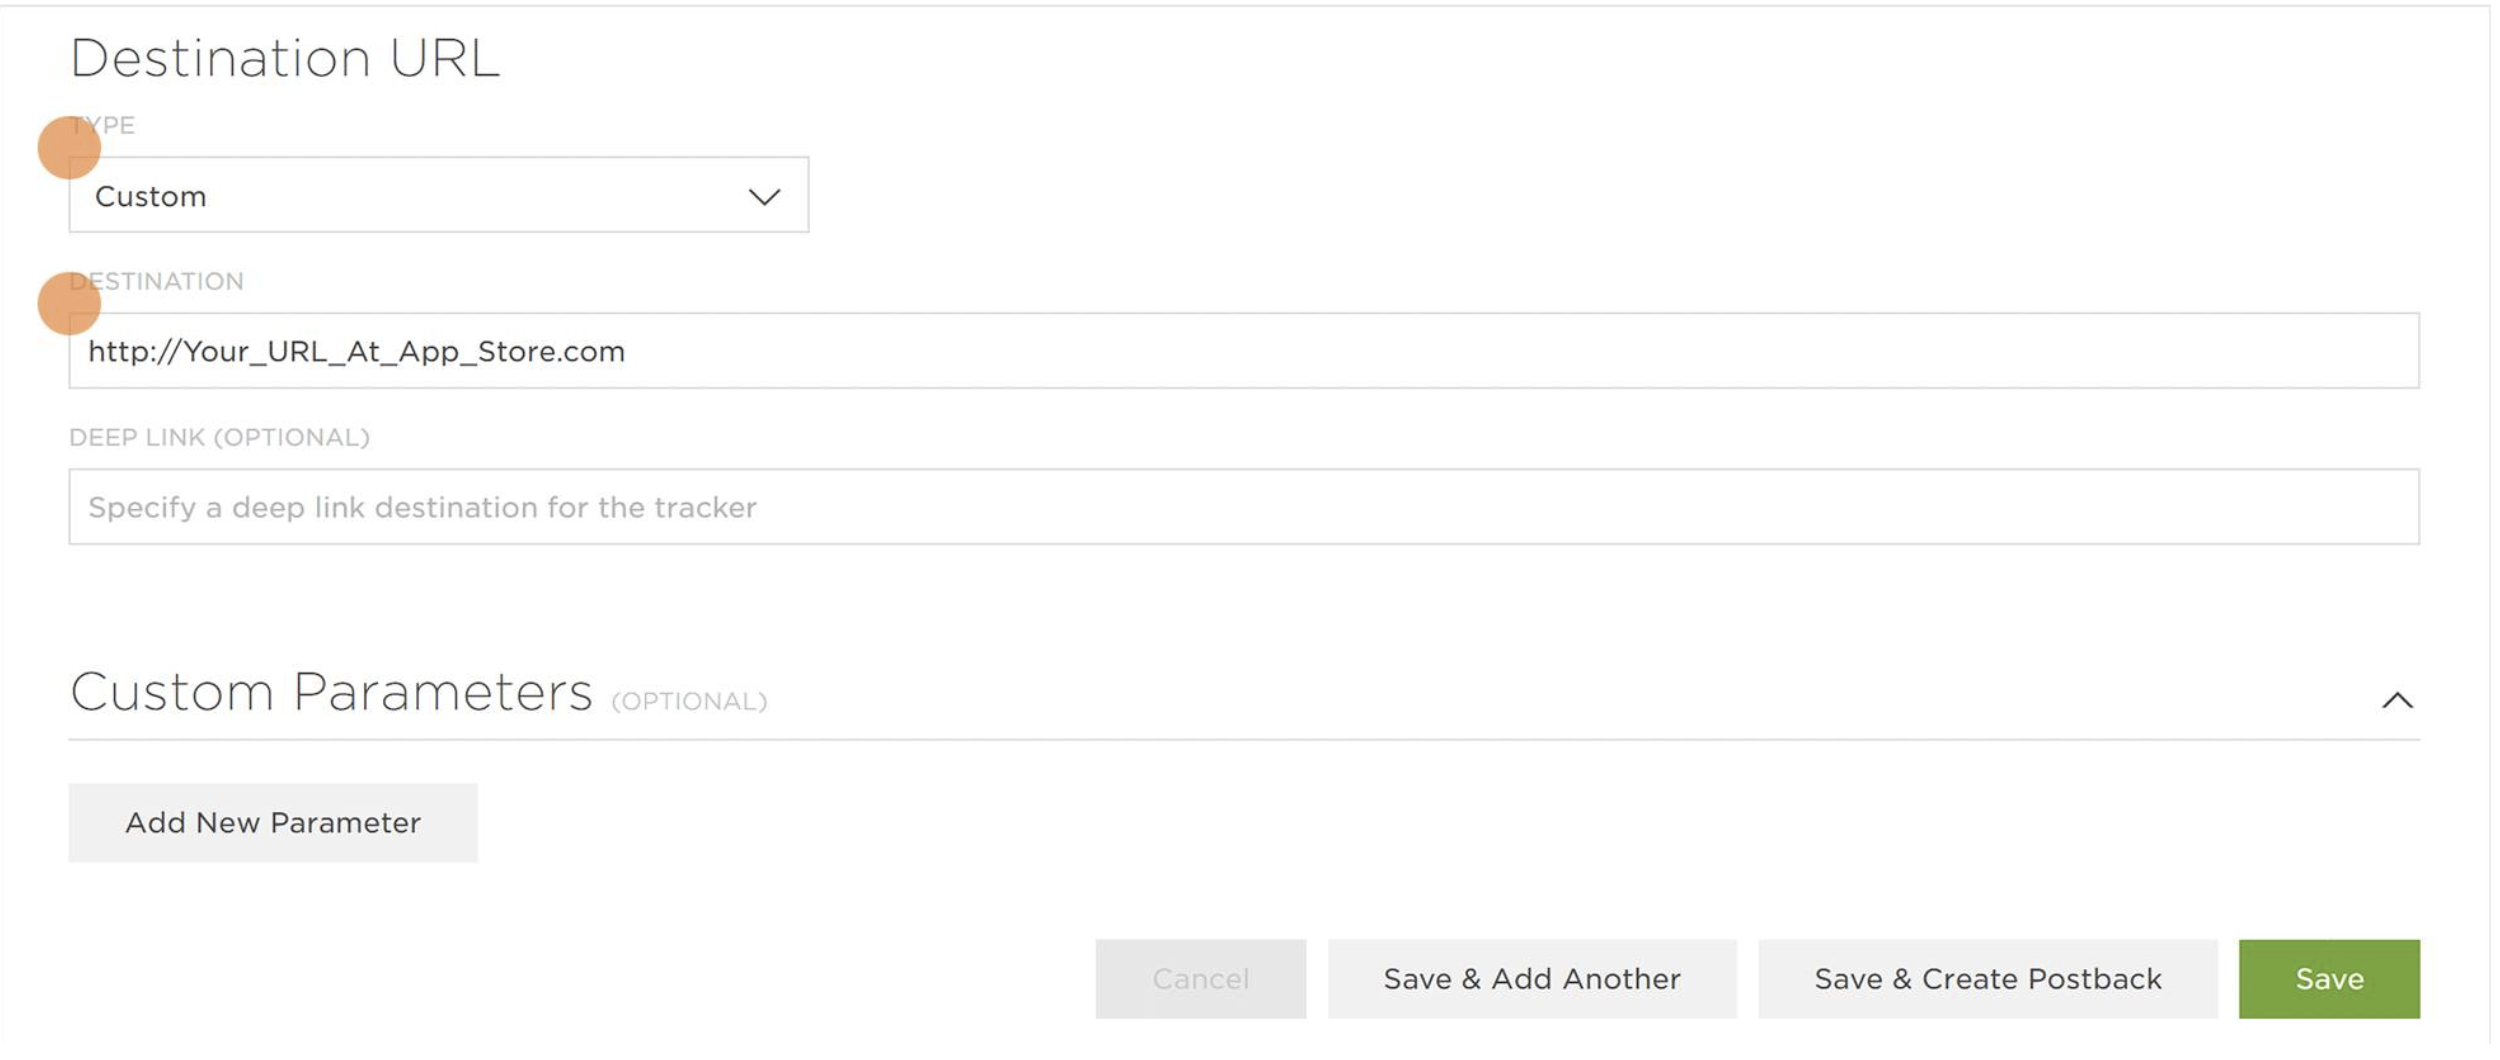
- Select the Destination URL Type
- Enter the Install Destination URL
- If needed, you can add custom parameters to your tracker:
-
- Click Add a Parameter
- Enter the custom parameter
- The custom parameter will be inserted automatically as the Click URL
- To remove a custom parameter, click the X button associated with the specific parameter
- Click Save & Create Postback (if a postback needs to be created for the media partner)
- Use the click URL and impression URL in your ironSource campaigns
Configuring postbacks
After activating ironSource within your Kochava account, the install postback will be created by default and will require some mandatory information.
Here’s how to start configuring a postback:
- Select Apps & Assets > Partner Configuration
- Click Add a Configuration
- Under Media Partner, select ironSource and click Go
Install event postbacks
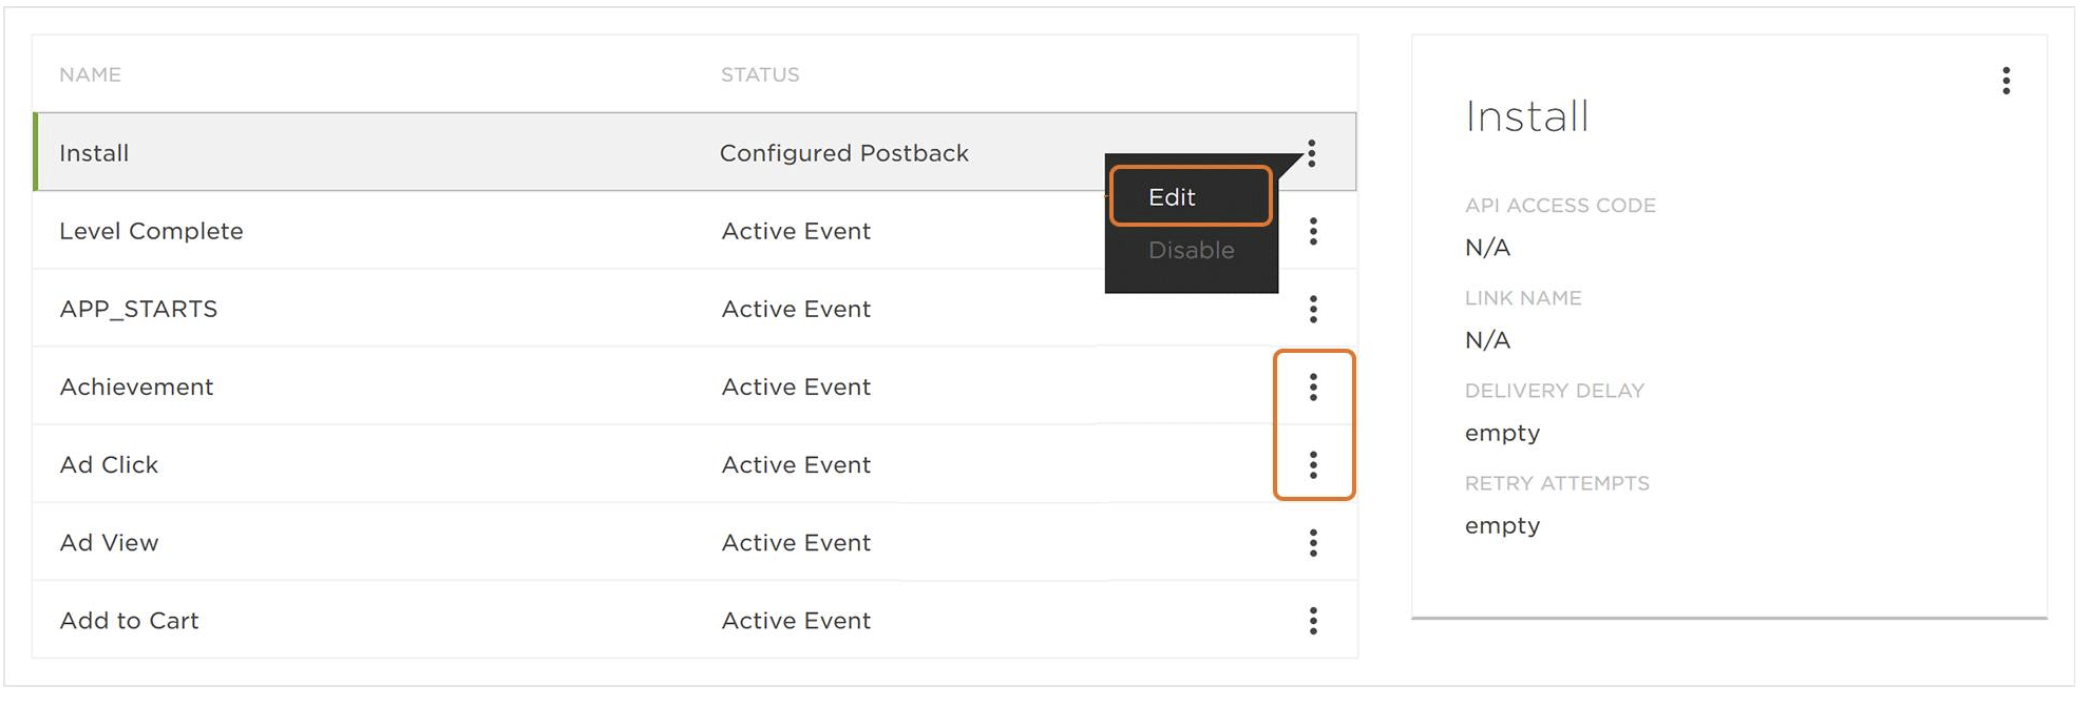
- Click Install > Postback Tools (:) > Edit
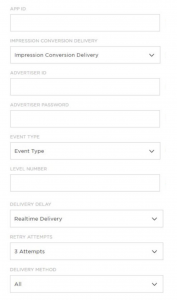
- Enter the Package Name (Android) or Bundle ID (iOS)
- For impression conversion delivery, select Deliver All to enable view through attribution
- For Delivery Delay, select Realtime Delivery
- For Retry Attempts, select 3 Attempts
- For Delivery Method, select All (this will be used for suppression, and will allow all installs to be shared with ironSource)
- Enter your ironSource advertiser ID and password in the designated fields
- Click Save
Custom event postbacks
- Under Custom Postback, select the custom event created for this postback and click Go
- Set the Event Status as Active
- For Delivery Delay, select Realtime Delivery
- For Retry Attempts, select 3 Attempts
- Select Macros (if the event is a levelAchieved event, make sure the {level_number} macro exists)
- Click Save